-@shu223-black.svg?style=flat)
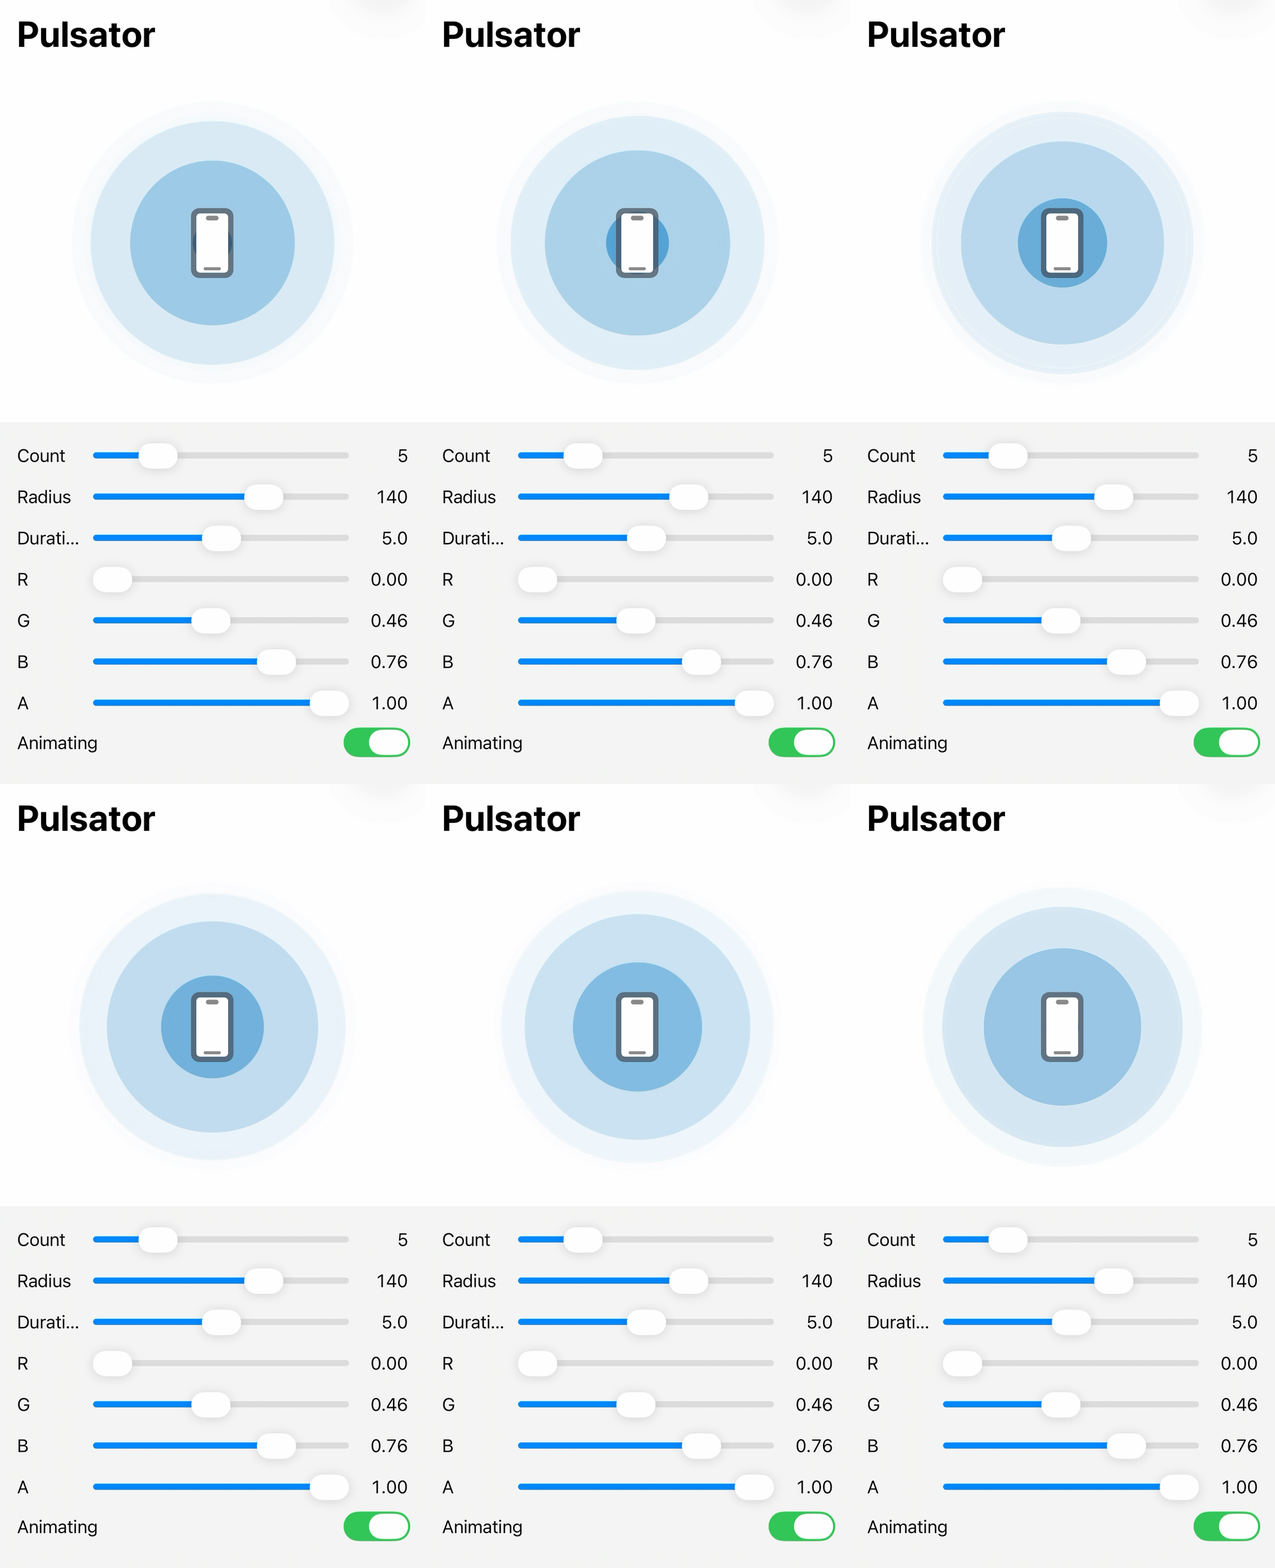
Pulse animation for iOS and macOS, usable from both UIKit and SwiftUI.
Great For:
In Xcode, choose File → Add Package Dependencies… and enter this repository's URL:
Add into your Podfile.
pod "Pulsator"
Then $ pod install
Just 1 line! Add the .pulsator() modifier to any view.
yourView
    .pulsator()
Initiate and add to your view's layer, then call start!
let pulsator = Pulsator()
view.layer.addSublayer(pulsator)
pulsator.start()
SwiftUI example:
yourView
    .pulsator(
        numPulse: 3,
        radius: 240,
        animationDuration: 5,
        color: pulseColor,
        isPulsating: isPulsating
    )
Use numPulse property.
pulsator.numPulse = 3
Use radius property.
pulsator.radius = 240.0
Just set the backgroundColor property.
pulsator.backgroundColor = UIColor(red: 1, green: 1, blue: 0, alpha: 1).cgColor
Use following properties
animationDuration : duration for each pulsepulseInterval : interval between pulsesYou can set the timingFunction property.
Use repeatCount property.
Try changing the radius, backgroundColor or other properties with the demo apps.
Example/SwiftUI/PulsatorDemo.xcodeprojExample/UIKit/PulsatorDemo.xcodeprojAdd into your Podfile, then run pod install.
platform :osx, '10.9'

target 'Pulsator' do
  use_frameworks!
  pod "Pulsator"
end
The usage is same as iOS.
let pulsator = Pulsator()
view.layer?.addSublayer(pulsator)
pulsator.start()
There is an ObjC version, but it's not maintained now.
You can use Pulsator also with Objective-C.
#import "Pulsator-Swift.h"
Shuichi Tsutsumi
iOS freelancer in Japan. Welcome works from abroad!

471 followers · starred May 2020
53 followers · starred Apr 2016
325 followers · starred May 2016
Pulse animation for iOS and macOS, usable from both UIKit and SwiftUI.
Great For:
In Xcode, choose File → Add Package Dependencies… and enter this repository's URL:
Add into your Podfile.
pod "Pulsator"
Then $ pod install
Just 1 line! Add the .pulsator() modifier to any view.
yourView
    .pulsator()
Initiate and add to your view's layer, then call start!
let pulsator = Pulsator()
view.layer.addSublayer(pulsator)
pulsator.start()
SwiftUI example:
yourView
    .pulsator(
        numPulse: 3,
        radius: 240,
        animationDuration: 5,
        color: pulseColor,
        isPulsating: isPulsating
    )
Use numPulse property.
pulsator.numPulse = 3
Use radius property.
pulsator.radius = 240.0
Just set the backgroundColor property.
pulsator.backgroundColor = UIColor(red: 1, green: 1, blue: 0, alpha: 1).cgColor
Use following properties
animationDuration : duration for each pulsepulseInterval : interval between pulsesYou can set the timingFunction property.
Use repeatCount property.
Try changing the radius, backgroundColor or other properties with the demo apps.
Example/SwiftUI/PulsatorDemo.xcodeprojExample/UIKit/PulsatorDemo.xcodeprojAdd into your Podfile, then run pod install.
platform :osx, '10.9'

target 'Pulsator' do
  use_frameworks!
  pod "Pulsator"
end
The usage is same as iOS.
let pulsator = Pulsator()
view.layer?.addSublayer(pulsator)
pulsator.start()
There is an ObjC version, but it's not maintained now.
You can use Pulsator also with Objective-C.
#import "Pulsator-Swift.h"
Shuichi Tsutsumi
iOS freelancer in Japan. Welcome works from abroad!
471 followers · starred May 2020
53 followers · starred Apr 2016
325 followers · starred May 2016