🌎English | 🇨🇳中文
This is a repository for reinforcement learning implementation based on Unitree robots, supporting Unitree Go2, H1, H1_2, and G1.
Isaac Gym | Mujoco | Physical |
|---|---|---|
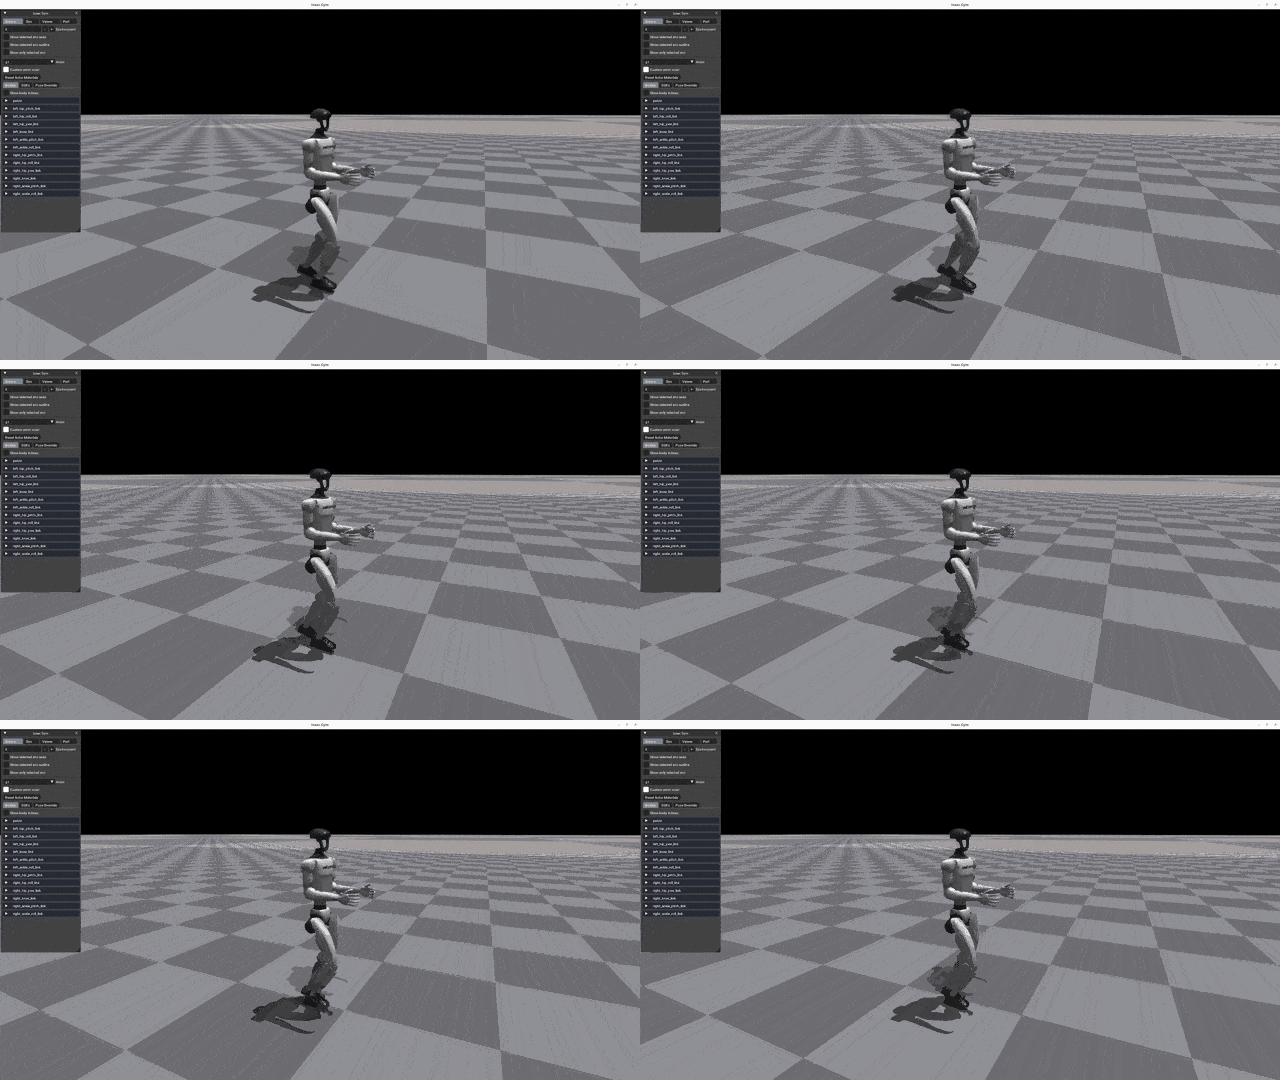 | 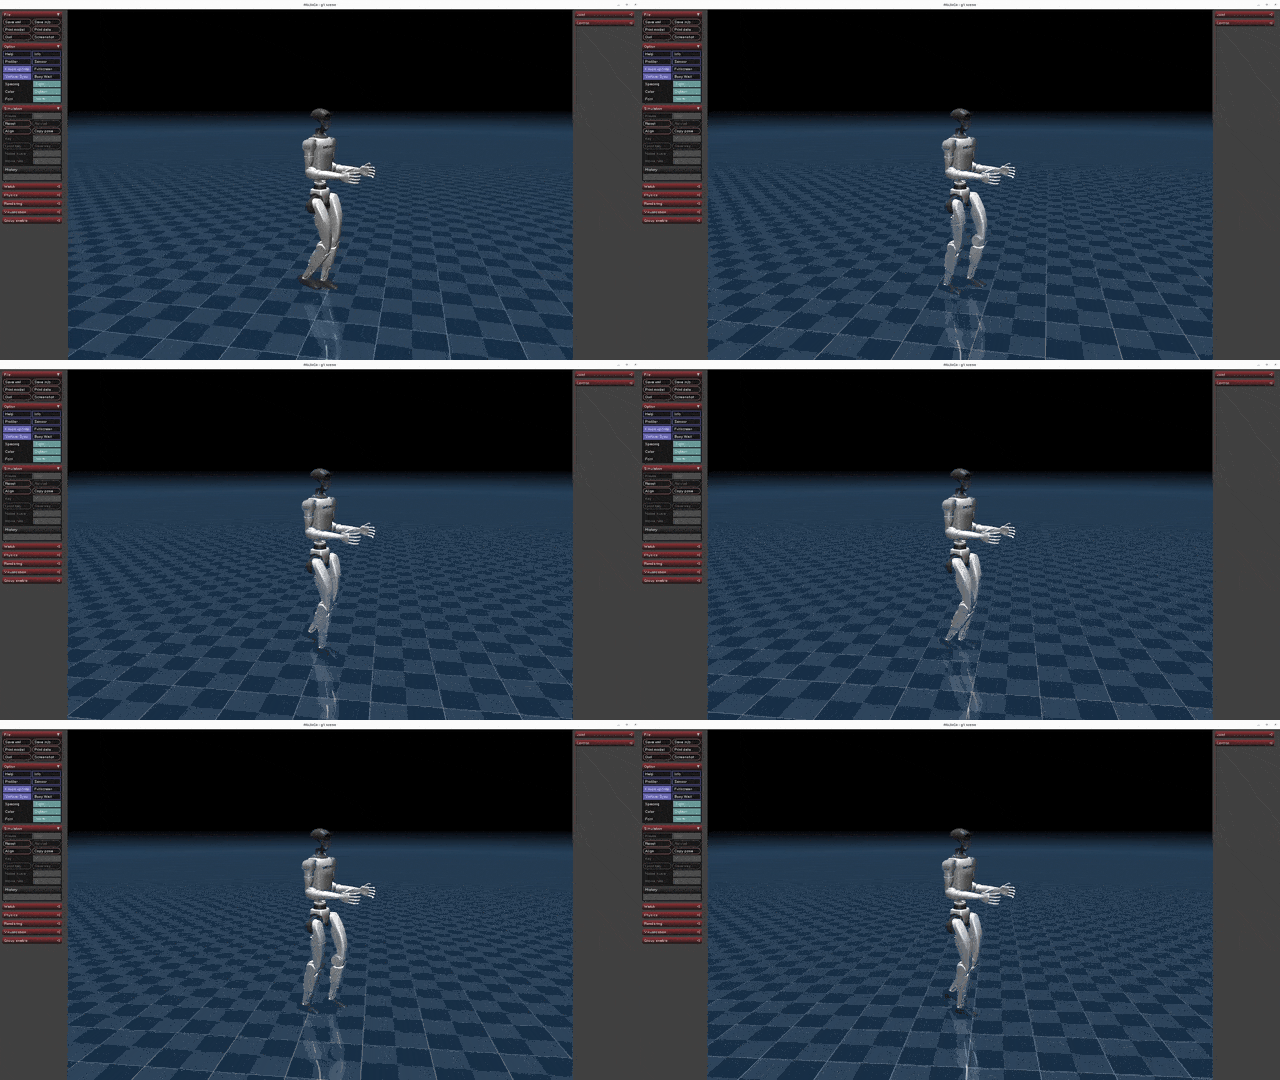 | 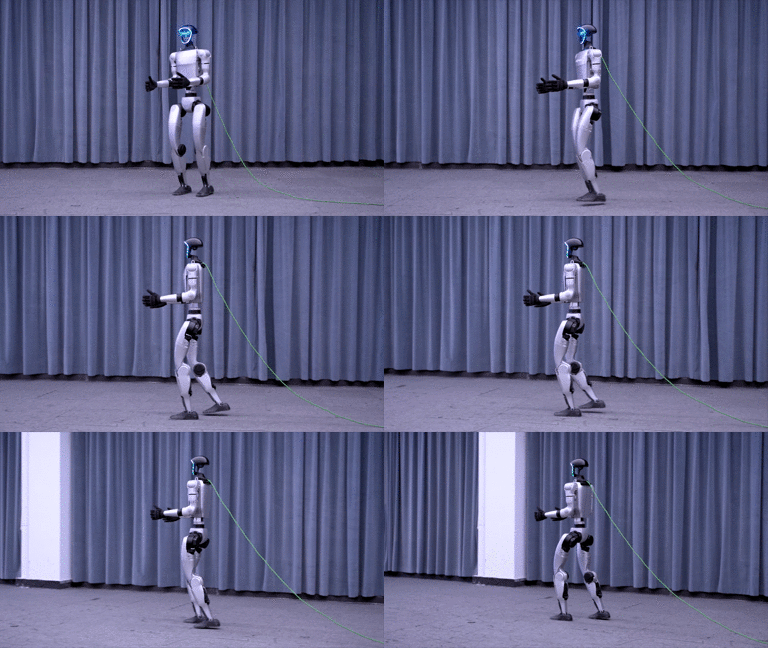 |
Please refer to setup.md for installation and configuration steps.
The basic workflow for using reinforcement learning to achieve motion control is:
Train → Play → Sim2Sim → Sim2Real
Run the following command to start training:
python legged_gym/scripts/train.py --task=xxx
--task: Required parameter; values can be (go2, g1, h1, h1_2).--headless: Defaults to starting with a graphical interface; set to true for headless mode (higher efficiency).--resume: Resume training from a checkpoint in the logs.--experiment_name: Name of the experiment to run/load.--run_name: Name of the run to execute/load.--load_run: Name of the run to load; defaults to the latest run.--checkpoint: Checkpoint number to load; defaults to the latest file.--num_envs: Number of environments for parallel training.--seed: Random seed.--max_iterations: Maximum number of training iterations.--sim_device: Simulation computation device; specify CPU as --sim_device=cpu.--rl_device: Reinforcement learning computation device; specify CPU as --rl_device=cpu.Default Training Result Directory: logs/<experiment_name>/<date_time>_<run_name>/model_<iteration>.pt
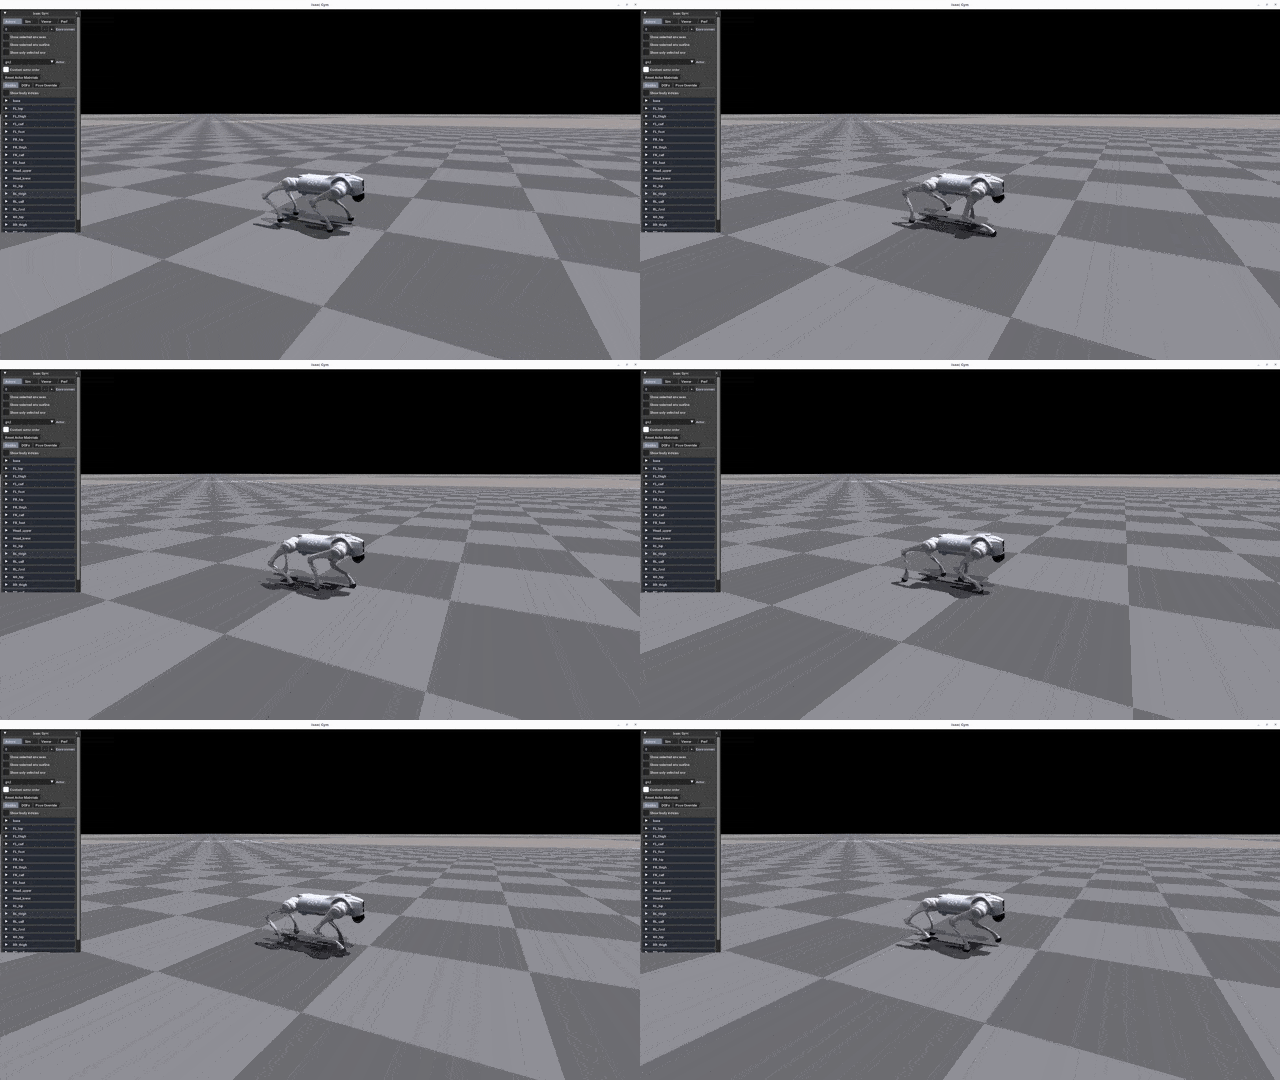
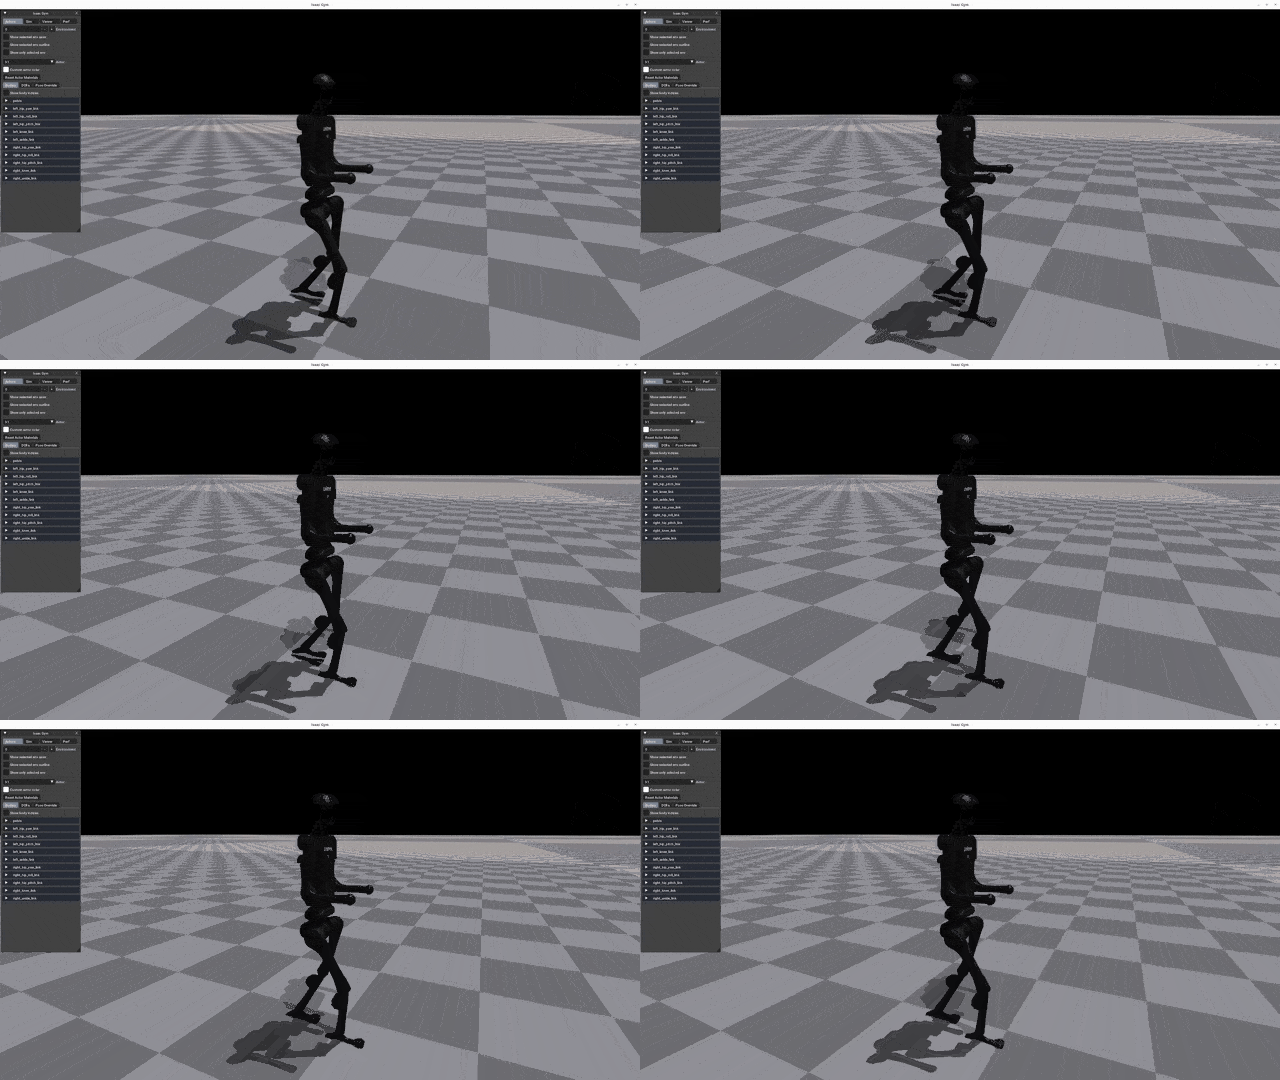
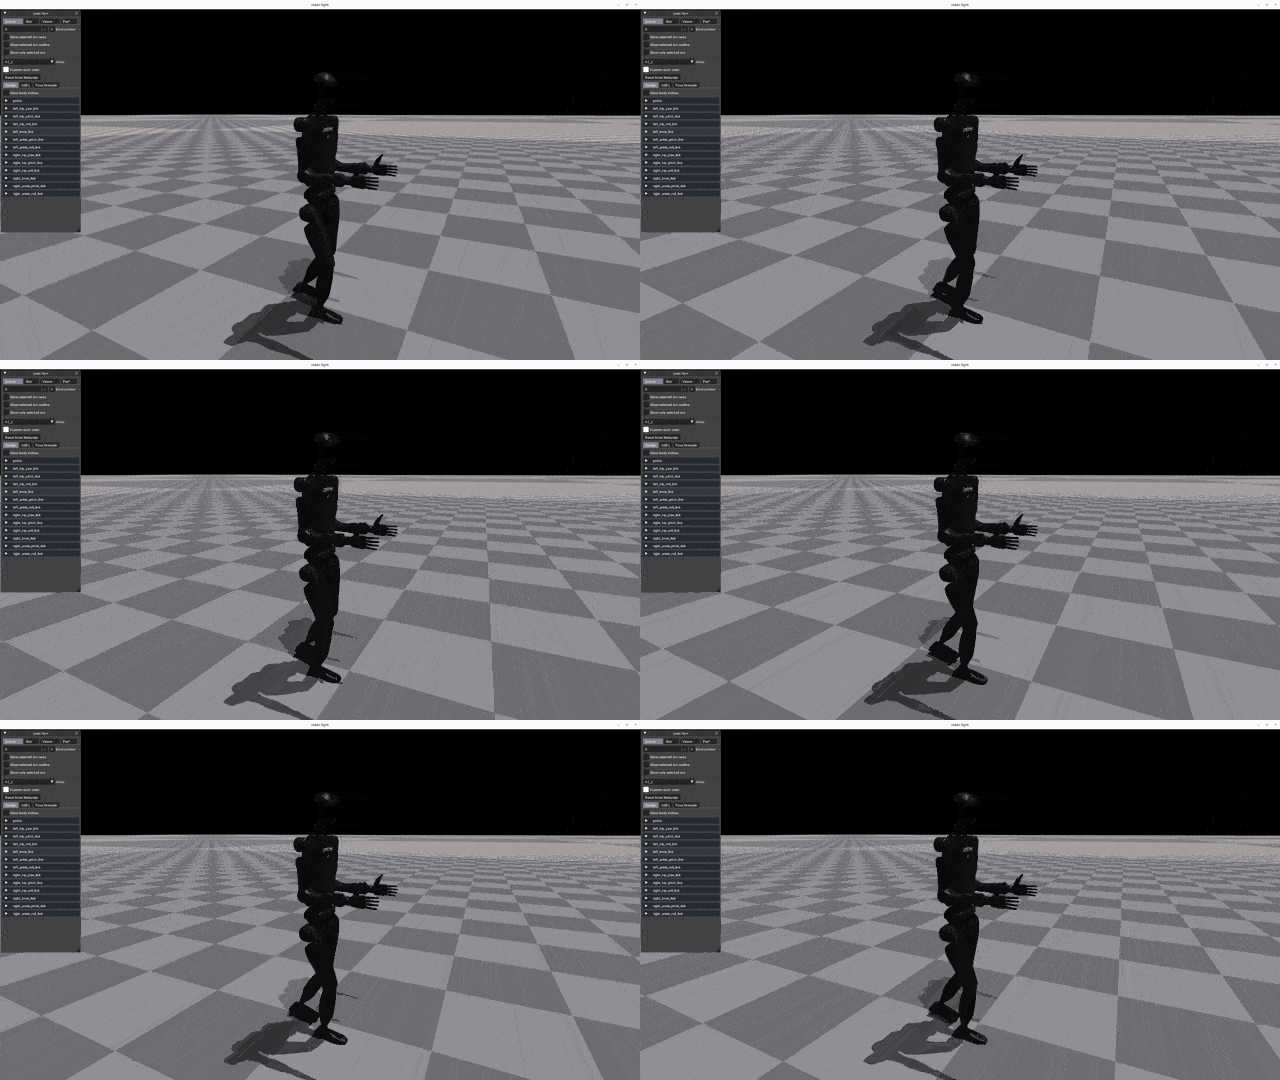
To visualize the training results in Gym, run the following command:
python legged_gym/scripts/play.py --task=xxx
Description:
load_run and checkpoint.Play exports the Actor network, saving it in logs/{experiment_name}/exported/policies:
policy_1.pt.policy_lstm_1.pt.| Go2 | G1 | H1 | H1_2 |
|---|---|---|---|
 | |  |  |
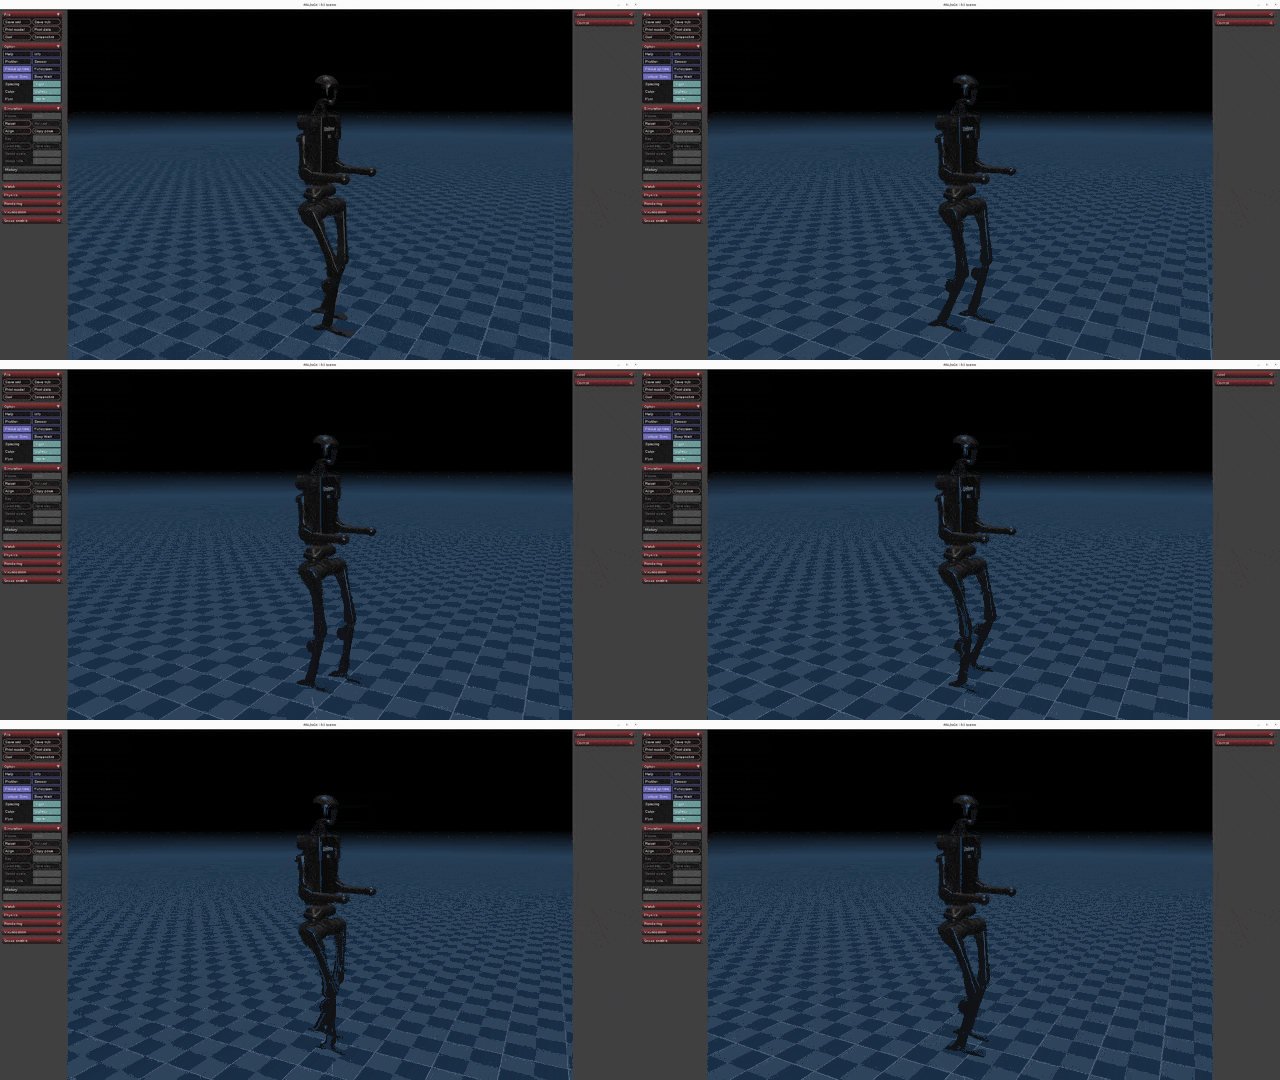
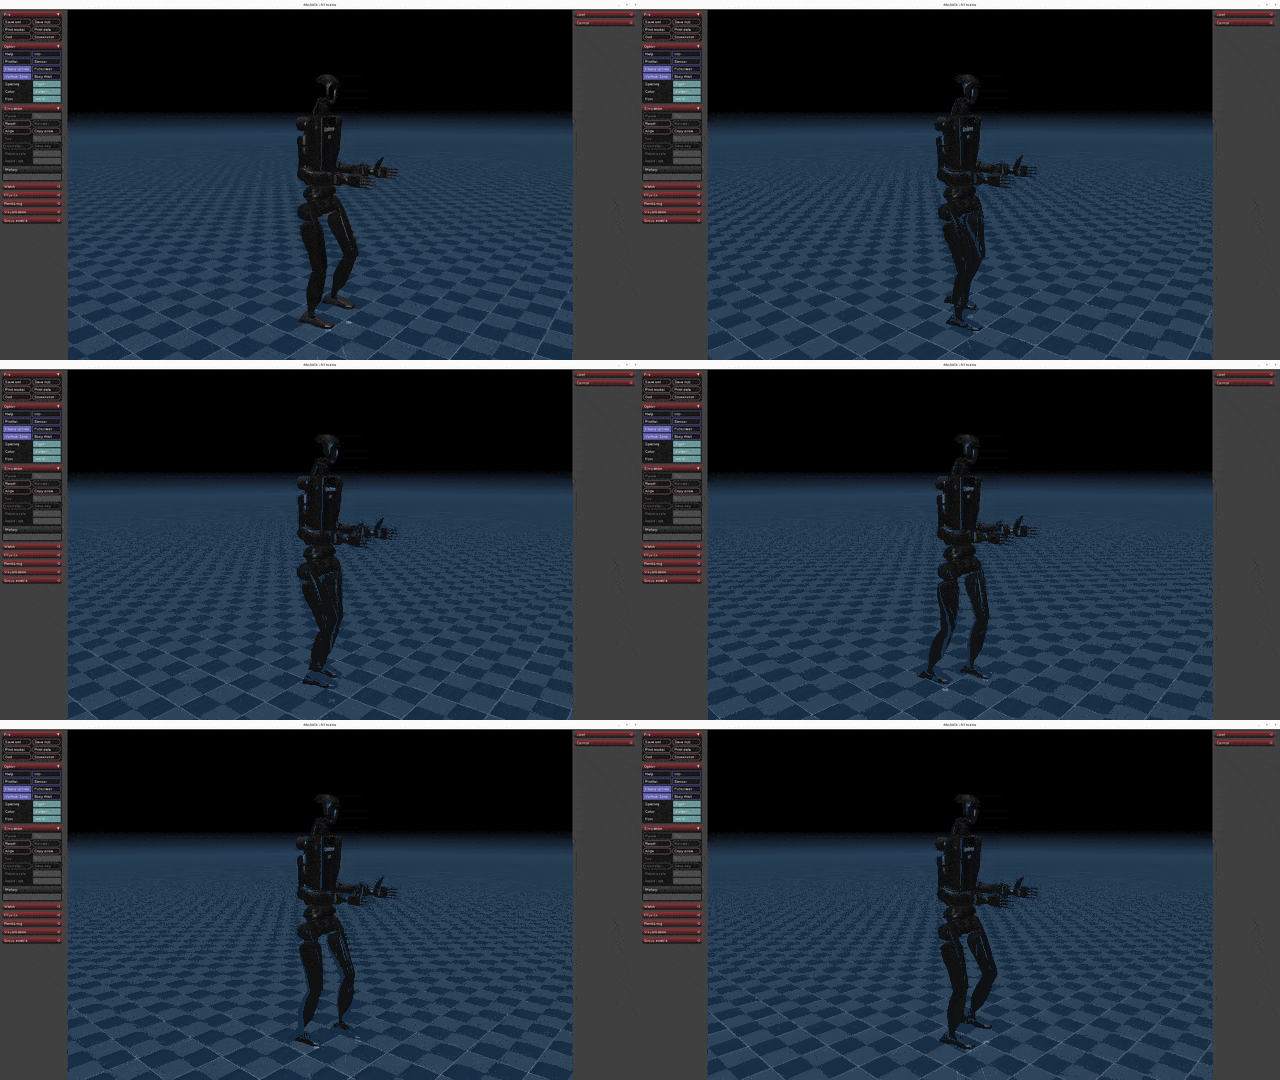
Run Sim2Sim in the Mujoco simulator:
python deploy/deploy_mujoco/deploy_mujoco.py {config_name}
config_name: Configuration file; default search path is deploy/deploy_mujoco/configs/.python deploy/deploy_mujoco/deploy_mujoco.py g1.yaml
The default model is located at deploy/pre_train/{robot}/motion.pt; custom-trained models are saved in logs/g1/exported/policies/policy_lstm_1.pt. Update the policy_path in the YAML configuration file accordingly.
| G1 | H1 | H1_2 |
|---|---|---|
|  |  |
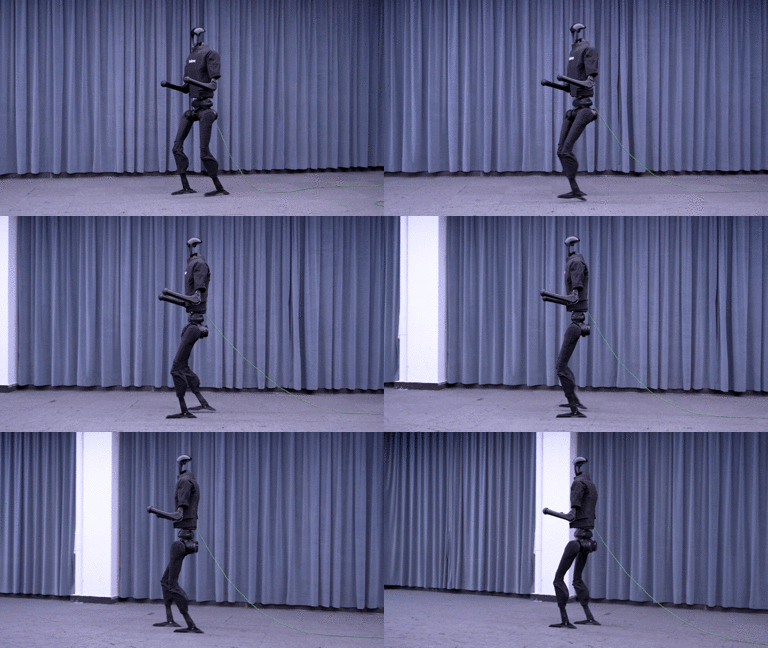
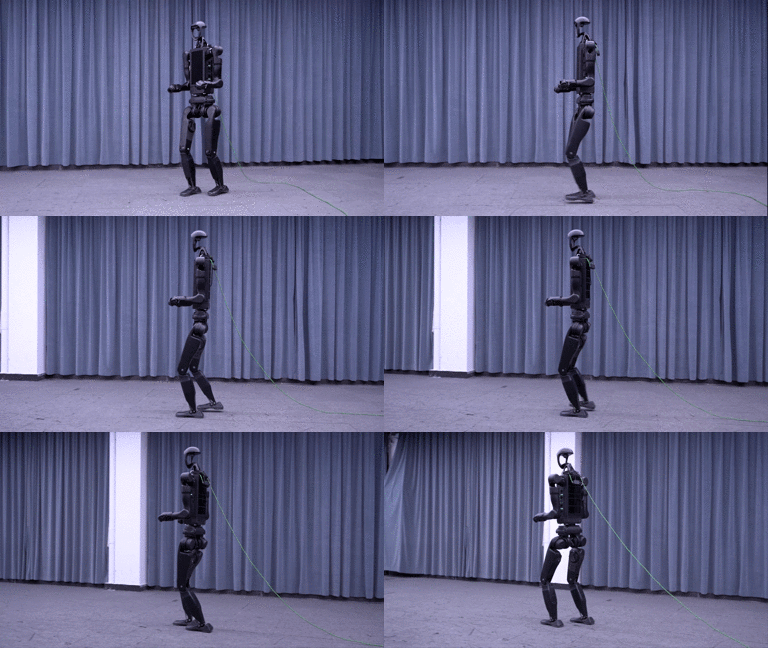
Before deploying to the physical robot, ensure it’s in debug mode. Detailed steps can be found in the Physical Deployment Guide:
python deploy/deploy_real/deploy_real.py {net_interface} {config_name}
net_interface: Network card name connected to the robot, e.g., enp3s0.config_name: Configuration file located in deploy/deploy_real/configs/, e.g., g1.yaml, h1.yaml, h1_2.yaml.| G1 | H1 | H1_2 |
|---|---|---|
|  |  |
There is also an example of deploying the G1 pre-trained model in C++. the C++ code is located in the following directory.
deploy/deploy_real/cpp_g1
First, navigate to the directory above.
cd deploy/deploy_real/cpp_g1
The C++ implementation depends on the LibTorch library, download the LibTorch
wget https://download.pytorch.org/libtorch/cpu/libtorch-cxx11-abi-shared-with-deps-2.7.1%2Bcpu.zip
unzip libtorch-cxx11-abi-shared-with-deps-2.7.1+cpu.zip
To build the project, executable the following steps
mkdir build
cd build
cmake ..
make -j4
After successful compilation, executate the program with:
./g1_deploy_run {net_interface}
Replace {net_interface} with your actual network interface name (e.g., eth0, wlan0).
This repository is built upon the support and contributions of the following open-source projects. Special thanks to:
This project is licensed under the BSD 3-Clause License:
For details, please read the full LICENSE file.
500 followers · starred Dec 2024
1,825 followers · starred Aug 2024
11 followers · starred Apr 2025
695 followers · starred Aug 2024
🌎English | 🇨🇳中文
This is a repository for reinforcement learning implementation based on Unitree robots, supporting Unitree Go2, H1, H1_2, and G1.
Isaac Gym | Mujoco | Physical |
|---|---|---|
| | |
Please refer to setup.md for installation and configuration steps.
The basic workflow for using reinforcement learning to achieve motion control is:
Train → Play → Sim2Sim → Sim2Real
Run the following command to start training:
python legged_gym/scripts/train.py --task=xxx
--task: Required parameter; values can be (go2, g1, h1, h1_2).--headless: Defaults to starting with a graphical interface; set to true for headless mode (higher efficiency).--resume: Resume training from a checkpoint in the logs.--experiment_name: Name of the experiment to run/load.--run_name: Name of the run to execute/load.--load_run: Name of the run to load; defaults to the latest run.--checkpoint: Checkpoint number to load; defaults to the latest file.--num_envs: Number of environments for parallel training.--seed: Random seed.--max_iterations: Maximum number of training iterations.--sim_device: Simulation computation device; specify CPU as --sim_device=cpu.--rl_device: Reinforcement learning computation device; specify CPU as --rl_device=cpu.Default Training Result Directory: logs/<experiment_name>/<date_time>_<run_name>/model_<iteration>.pt
To visualize the training results in Gym, run the following command:
python legged_gym/scripts/play.py --task=xxx
Description:
load_run and checkpoint.Play exports the Actor network, saving it in logs/{experiment_name}/exported/policies:
policy_1.pt.policy_lstm_1.pt.| Go2 | G1 | H1 | H1_2 |
|---|---|---|---|
| | | |
Run Sim2Sim in the Mujoco simulator:
python deploy/deploy_mujoco/deploy_mujoco.py {config_name}
config_name: Configuration file; default search path is deploy/deploy_mujoco/configs/.python deploy/deploy_mujoco/deploy_mujoco.py g1.yaml
The default model is located at deploy/pre_train/{robot}/motion.pt; custom-trained models are saved in logs/g1/exported/policies/policy_lstm_1.pt. Update the policy_path in the YAML configuration file accordingly.
| G1 | H1 | H1_2 |
|---|---|---|
| | |
Before deploying to the physical robot, ensure it’s in debug mode. Detailed steps can be found in the Physical Deployment Guide:
python deploy/deploy_real/deploy_real.py {net_interface} {config_name}
net_interface: Network card name connected to the robot, e.g., enp3s0.config_name: Configuration file located in deploy/deploy_real/configs/, e.g., g1.yaml, h1.yaml, h1_2.yaml.| G1 | H1 | H1_2 |
|---|---|---|
| | |
There is also an example of deploying the G1 pre-trained model in C++. the C++ code is located in the following directory.
deploy/deploy_real/cpp_g1
First, navigate to the directory above.
cd deploy/deploy_real/cpp_g1
The C++ implementation depends on the LibTorch library, download the LibTorch
wget https://download.pytorch.org/libtorch/cpu/libtorch-cxx11-abi-shared-with-deps-2.7.1%2Bcpu.zip
unzip libtorch-cxx11-abi-shared-with-deps-2.7.1+cpu.zip
To build the project, executable the following steps
mkdir build
cd build
cmake ..
make -j4
After successful compilation, executate the program with:
./g1_deploy_run {net_interface}
Replace {net_interface} with your actual network interface name (e.g., eth0, wlan0).
This repository is built upon the support and contributions of the following open-source projects. Special thanks to:
This project is licensed under the BSD 3-Clause License:
For details, please read the full LICENSE file.
500 followers · starred Dec 2024
1,825 followers · starred Aug 2024
11 followers · starred Apr 2025
695 followers · starred Aug 2024



