A workout tracking web application for personal use (or family, friends), geared towards running and other GPX-based activities
Go
1,249
1,913 commits
updated Oct 9, 2026






A workout tracking web application for personal use (or family, friends), geared towards running and other GPX-based activities
Self-hosted, everything included.
Chat with the community on Matrix
We are collecting real workout files for testing purposes. If you want to support the project, donate your files. You can open an issue and attach the file, or send a pull request.
We are looking for general files from all sources, but also "raw" files from devices. The first file type can be edited to remove personal information, but the second type should be as pure (raw) as possible.
Make sure the file does not contain personally identifiable information, specifically your home address! Preferably, share files from workouts that you recorded while travelling.
Be sure to add some metadata in the issue or pull request, such as:
By donating the files, you grant the project full permission to use them as they see fit.
Run the latest image from GitHub Container Registry (latest and release images are available for amd64 and arm64). The current directory is mounted as the data directory.
# Latest master build
docker run -p 8080:8080 -v .:/data ghcr.io/jovandeginste/workout-tracker:latest

# Tagged release
docker run -p 8080:8080 -v .:/data ghcr.io/jovandeginste/workout-tracker:2.0.2
docker run -p 8080:8080 -v .:/data ghcr.io/jovandeginste/workout-tracker:2.0
docker run -p 8080:8080 -v .:/data ghcr.io/jovandeginste/workout-tracker:2

# Latest release
docker run -p 8080:8080 -v .:/data ghcr.io/jovandeginste/workout-tracker:release

# Run as non-root user; make sure . is owned by uid 1000
docker run -p 8080:8080 -v .:/data -u 1000:1000 ghcr.io/jovandeginste/workout-tracker
Open your browser at http://localhost:8080
To persist data and sessions, run:
docker run -p 8080:8080 \
    -e WT_JWT_ENCRYPTION_KEY=my-secret-key \
    -v $PWD/data:/data \
    ghcr.io/jovandeginste/workout-tracker:master
or read the JWT encryption key from a file:
docker run -p 8080:8080 \
    -e WT_JWT_ENCRYPTION_KEY_FILE=/run/secrets/jwt_encryption_key.txt \
    -v $PWD/jwt_encryption_key.txt:/run/secrets/jwt_encryption_key.txt \
    -v $PWD/data:/data \
    ghcr.io/jovandeginste/workout-tracker:master
or use docker compose
# Create directory that stores your data
mkdir -p /opt/workout-tracker
cd /opt/workout-tracker

# Download the base docker compose file
curl https://raw.githubusercontent.com/jovandeginste/workout-tracker/master/docker/docker-compose.base.yaml --output docker-compose.base.yaml

## For sqlite as database:
curl https://raw.githubusercontent.com/jovandeginste/workout-tracker/master/docker/docker-compose.sqlite.yaml --output docker-compose.yaml

## For postgres as database:
curl https://raw.githubusercontent.com/jovandeginste/workout-tracker/master/docker/docker-compose.postgres.yaml --output docker-compose.yaml
curl https://raw.githubusercontent.com/jovandeginste/workout-tracker/master/docker/postgres.env --output postgres.env

# Start the server
docker compose up -d
NOTE: If using postgres, configure the parameters in
postgres.env.
Download a pre-built binary or build it yourself (see Development below).
Eg. for v2.0.2 on Linux x86_64:
wget https://github.com/jovandeginste/workout-tracker/releases/download/v2.0.2/workout-tracker-v2.0.2-linux-amd64.tar.gz
tar xf workout-tracker-v2.0.2-linux-amd64.tar.gz
./workout-tracker
To persist sessions, run:
export WT_JWT_ENCRYPTION_KEY=my-secret-key
./workout-tracker
or read the JWT encryption key from a file:
echo "my-secret-key" > ./jwt_encryption_key.txt
export WT_JWT_ENCRYPTION_KEY_FILE=./jwt_encryption_key.txt
./workout-tracker
This will create a new database file in the current directory and start the web
server at http://localhost:8080.
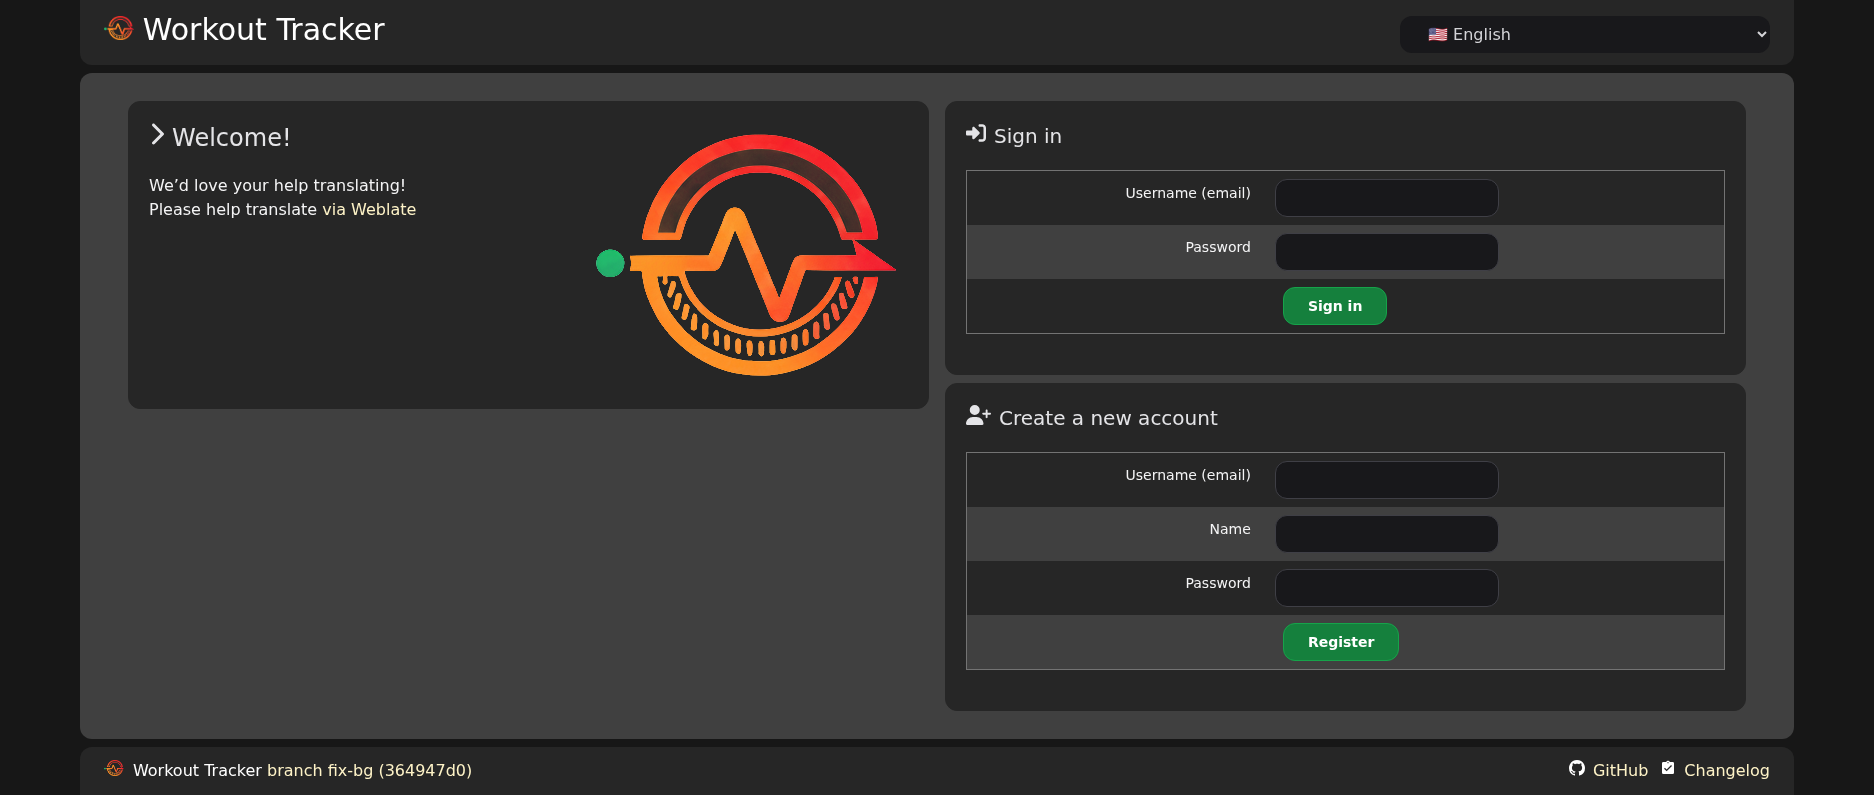
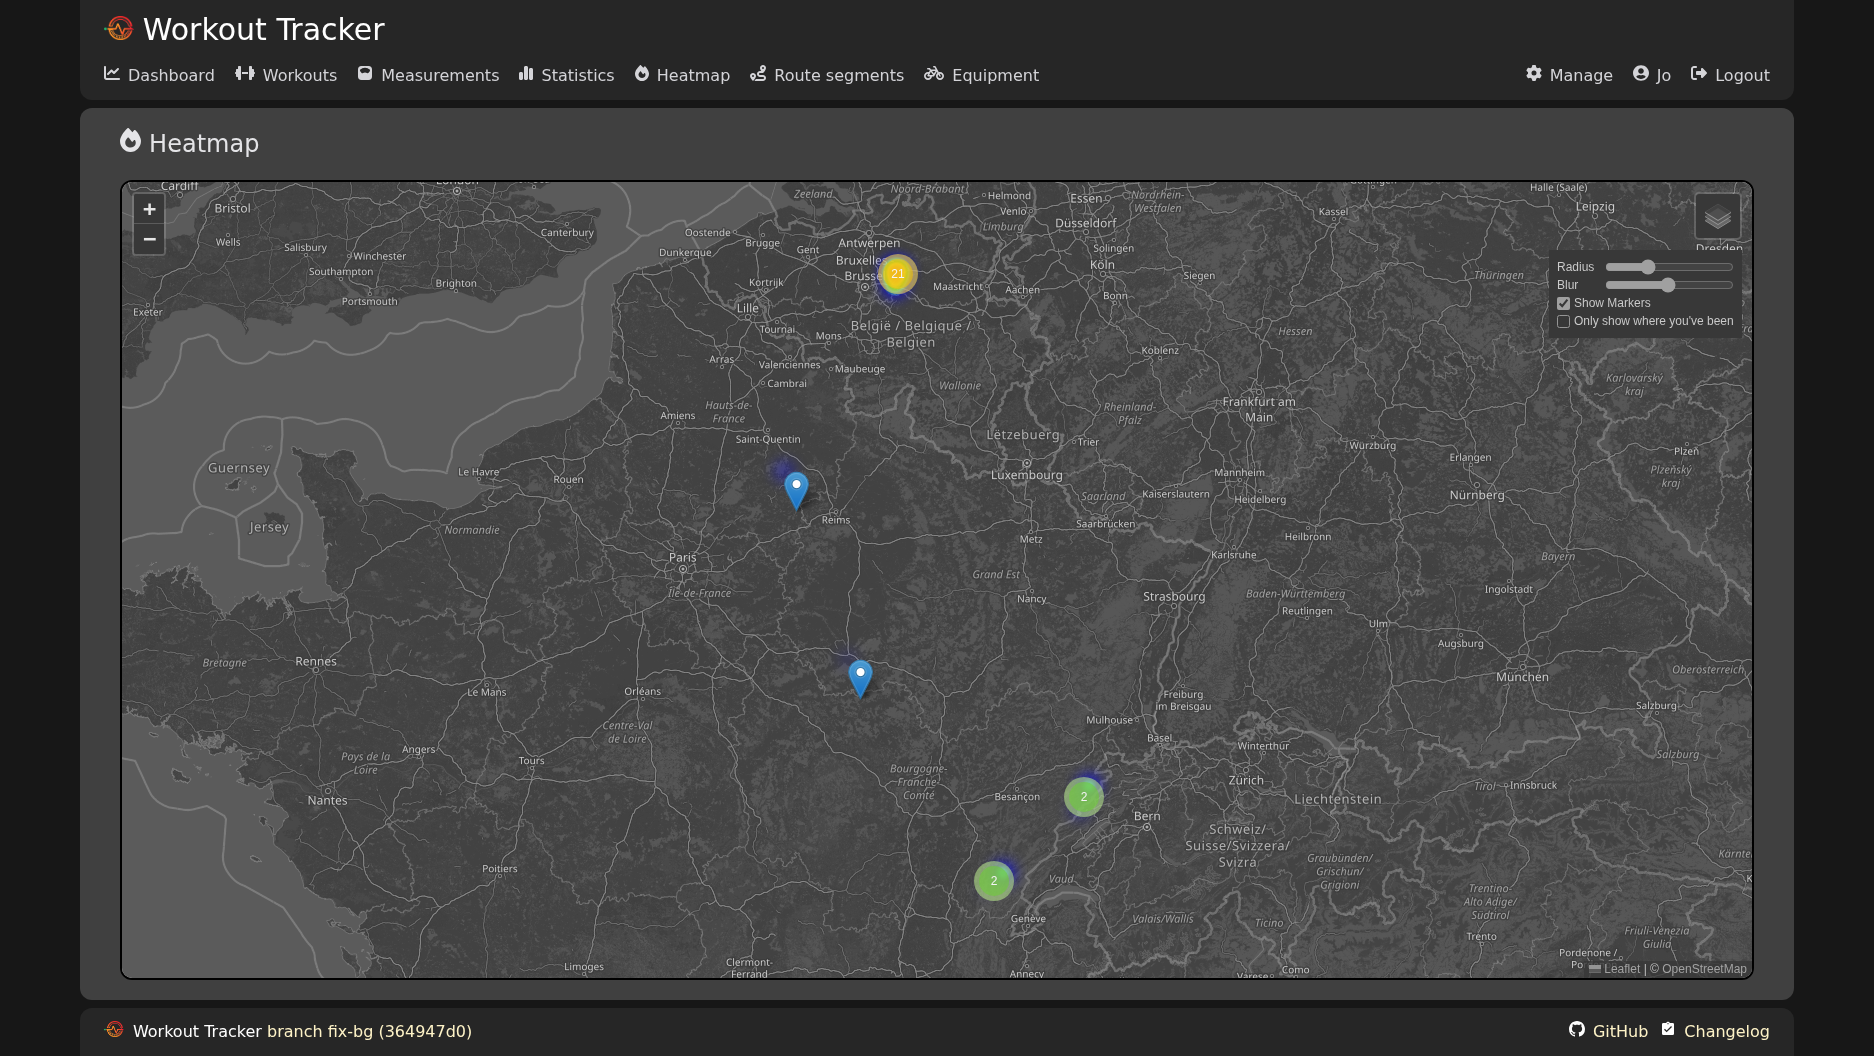
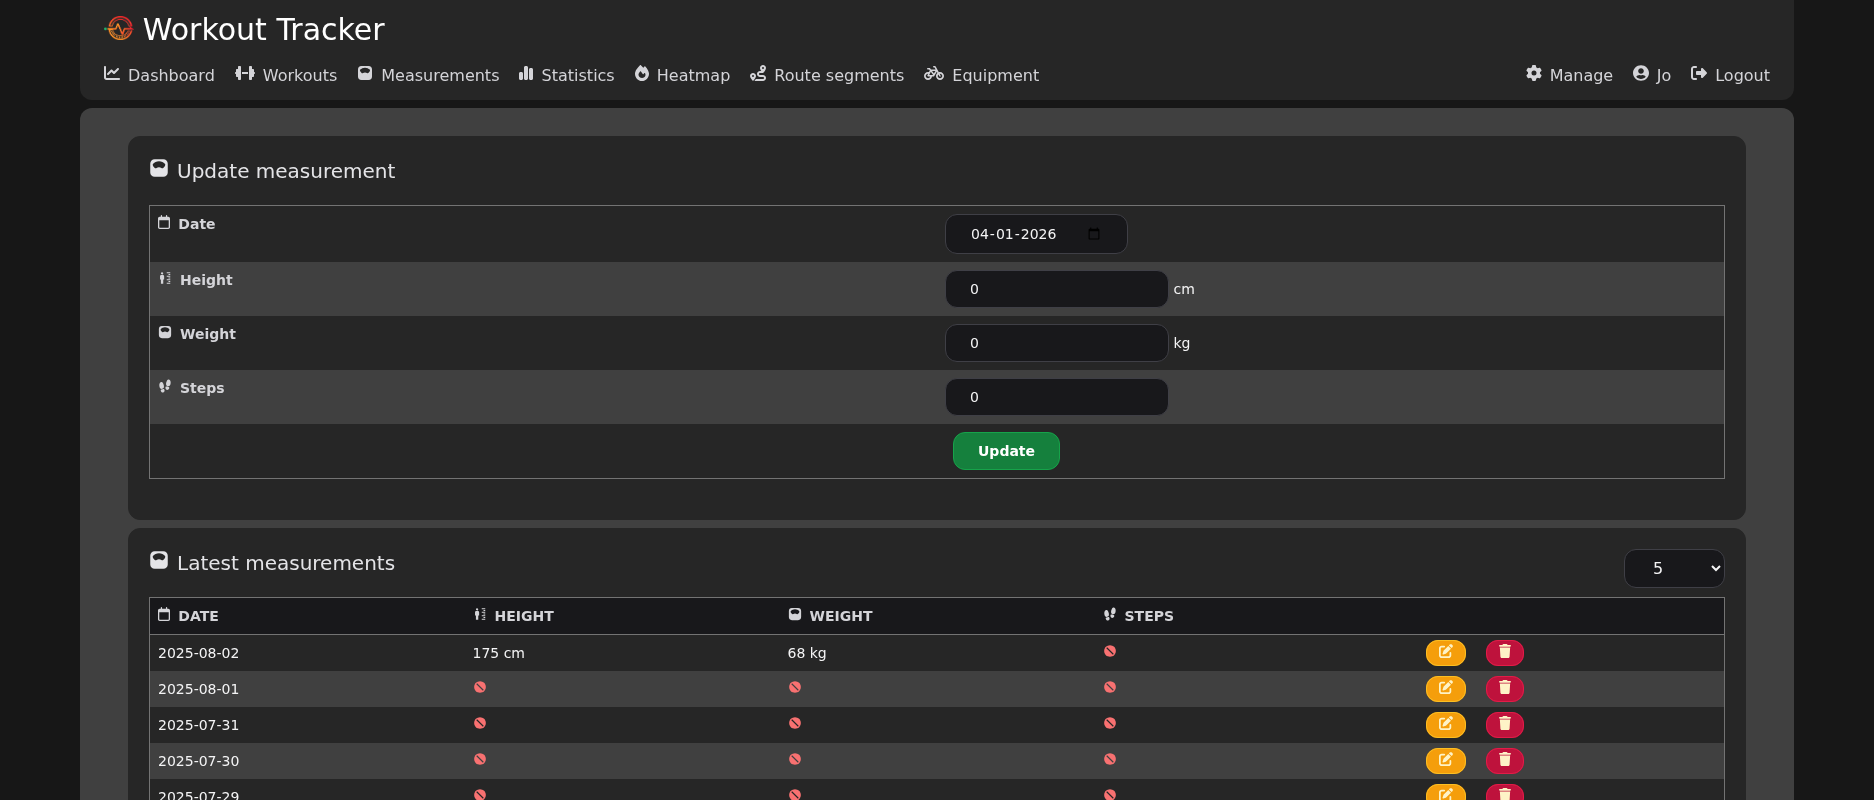
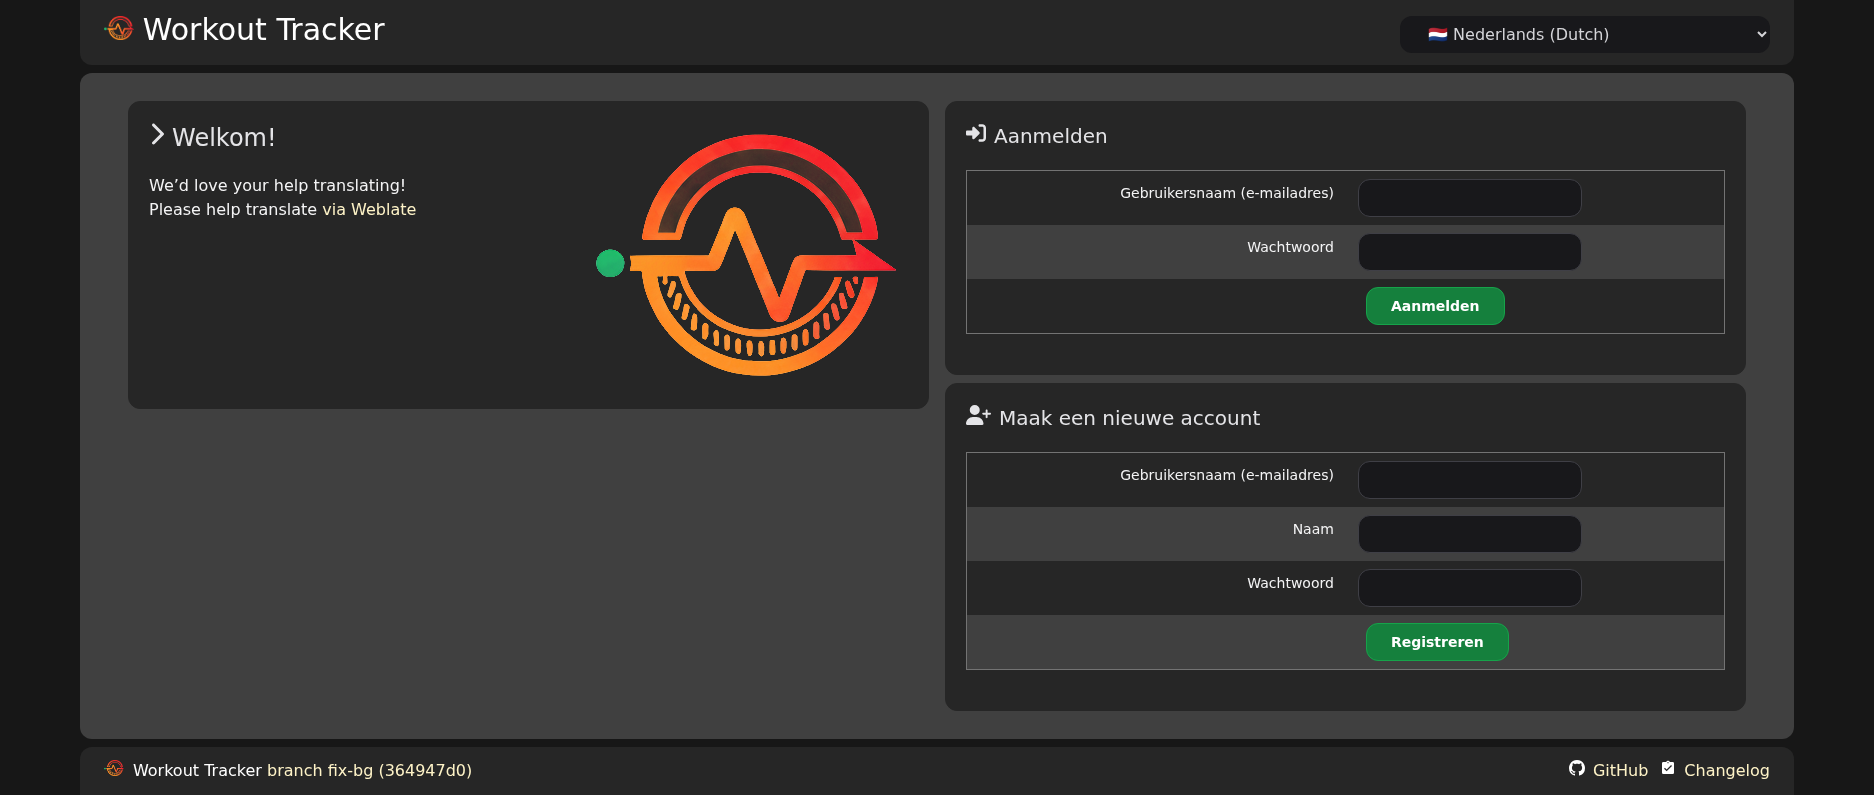
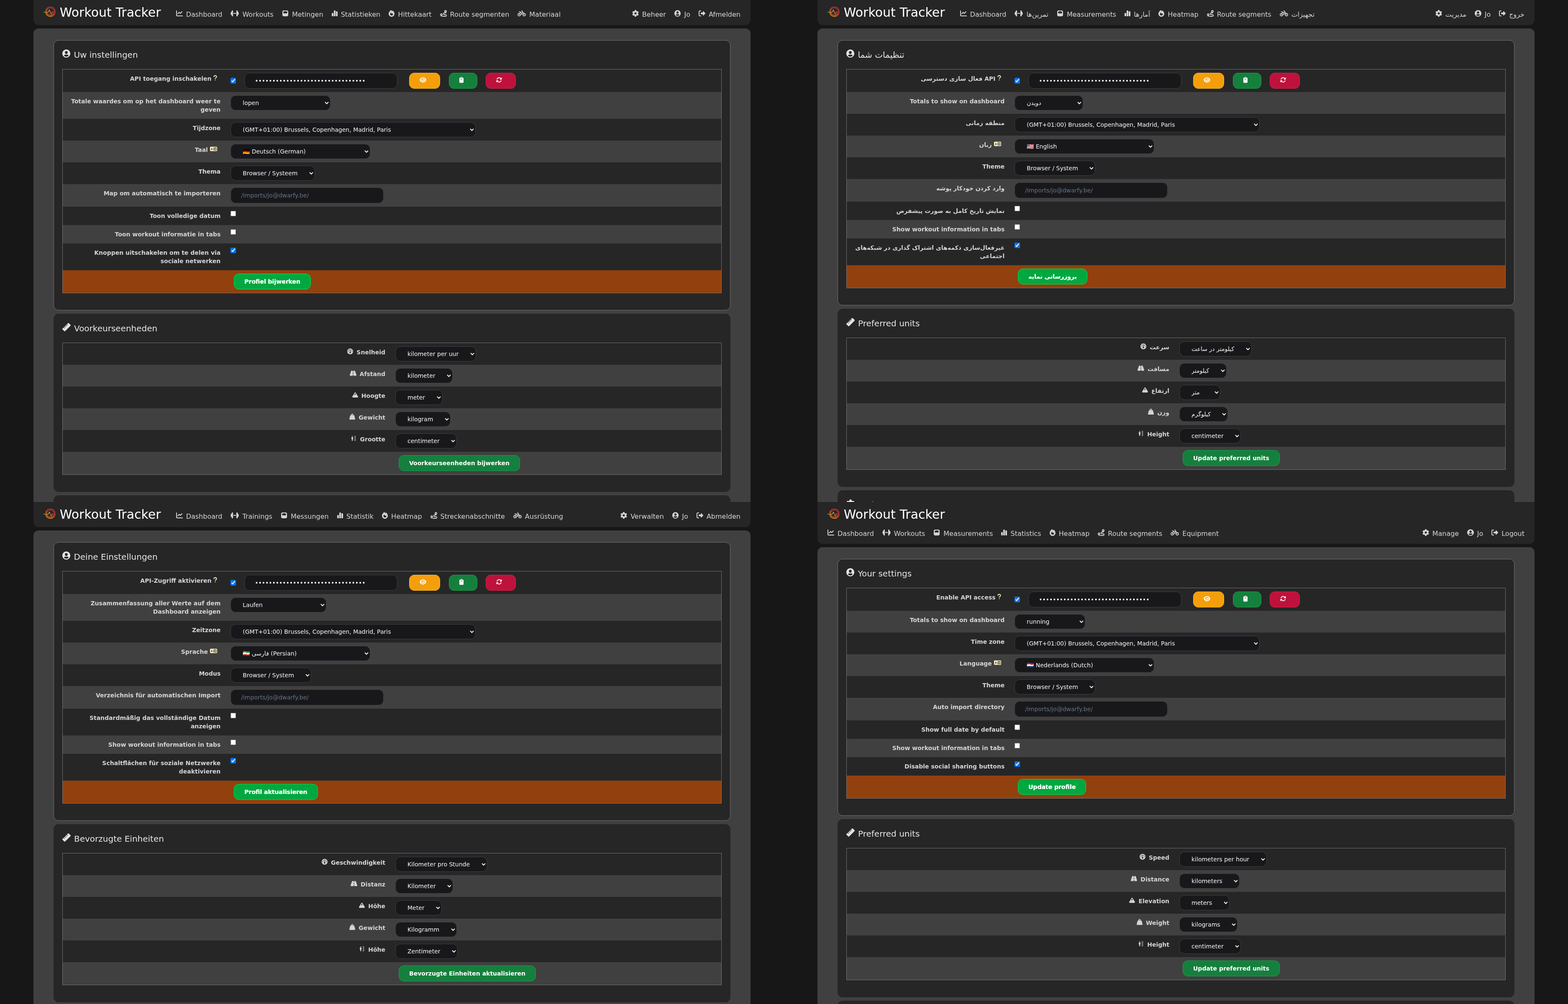
Login / registration form
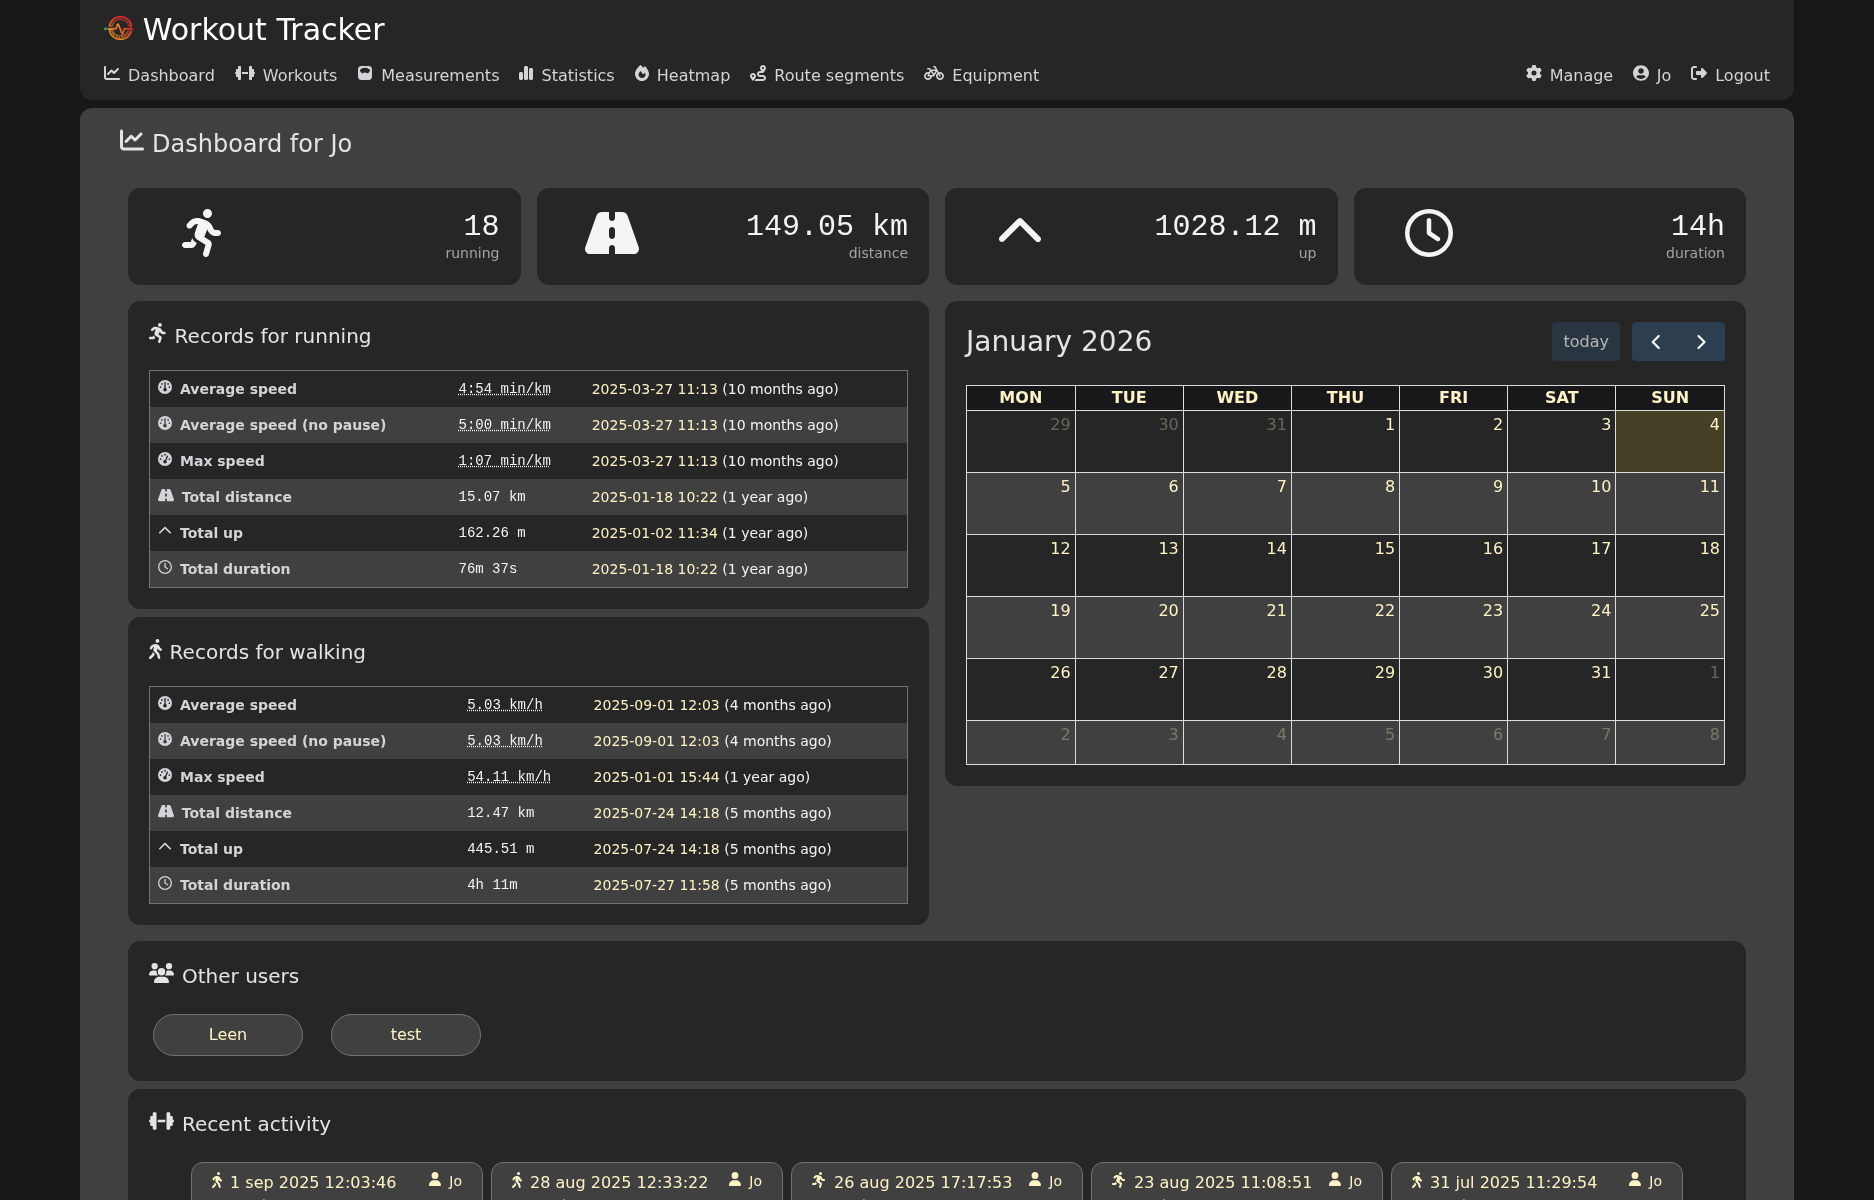
Dashboard view with:
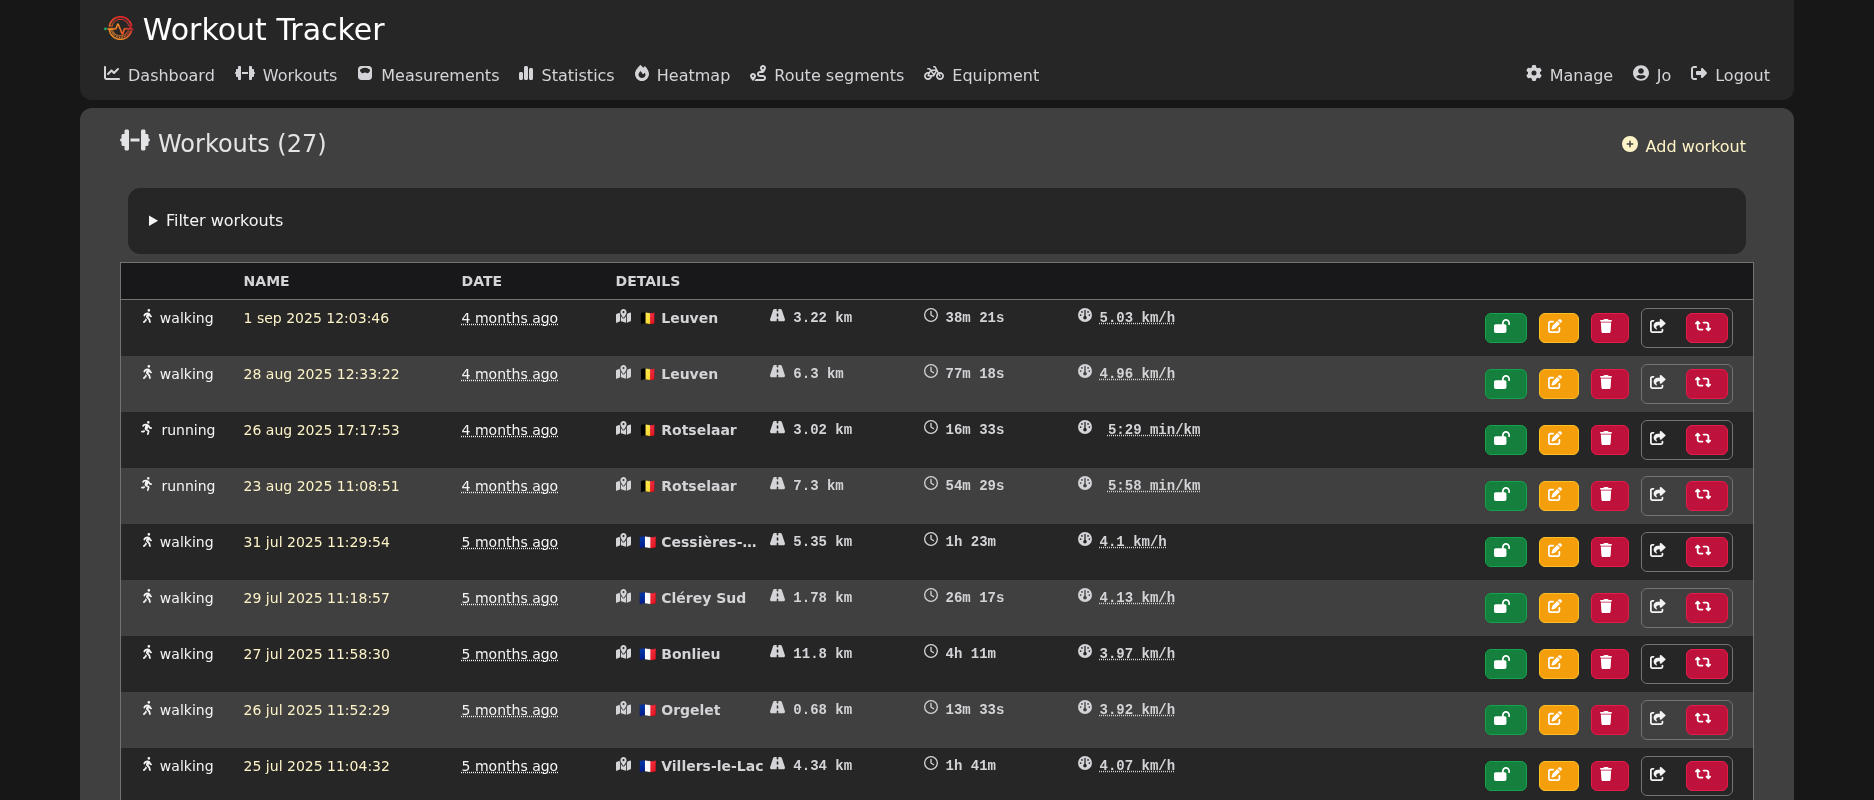
Overview of all your activities, with summaries.
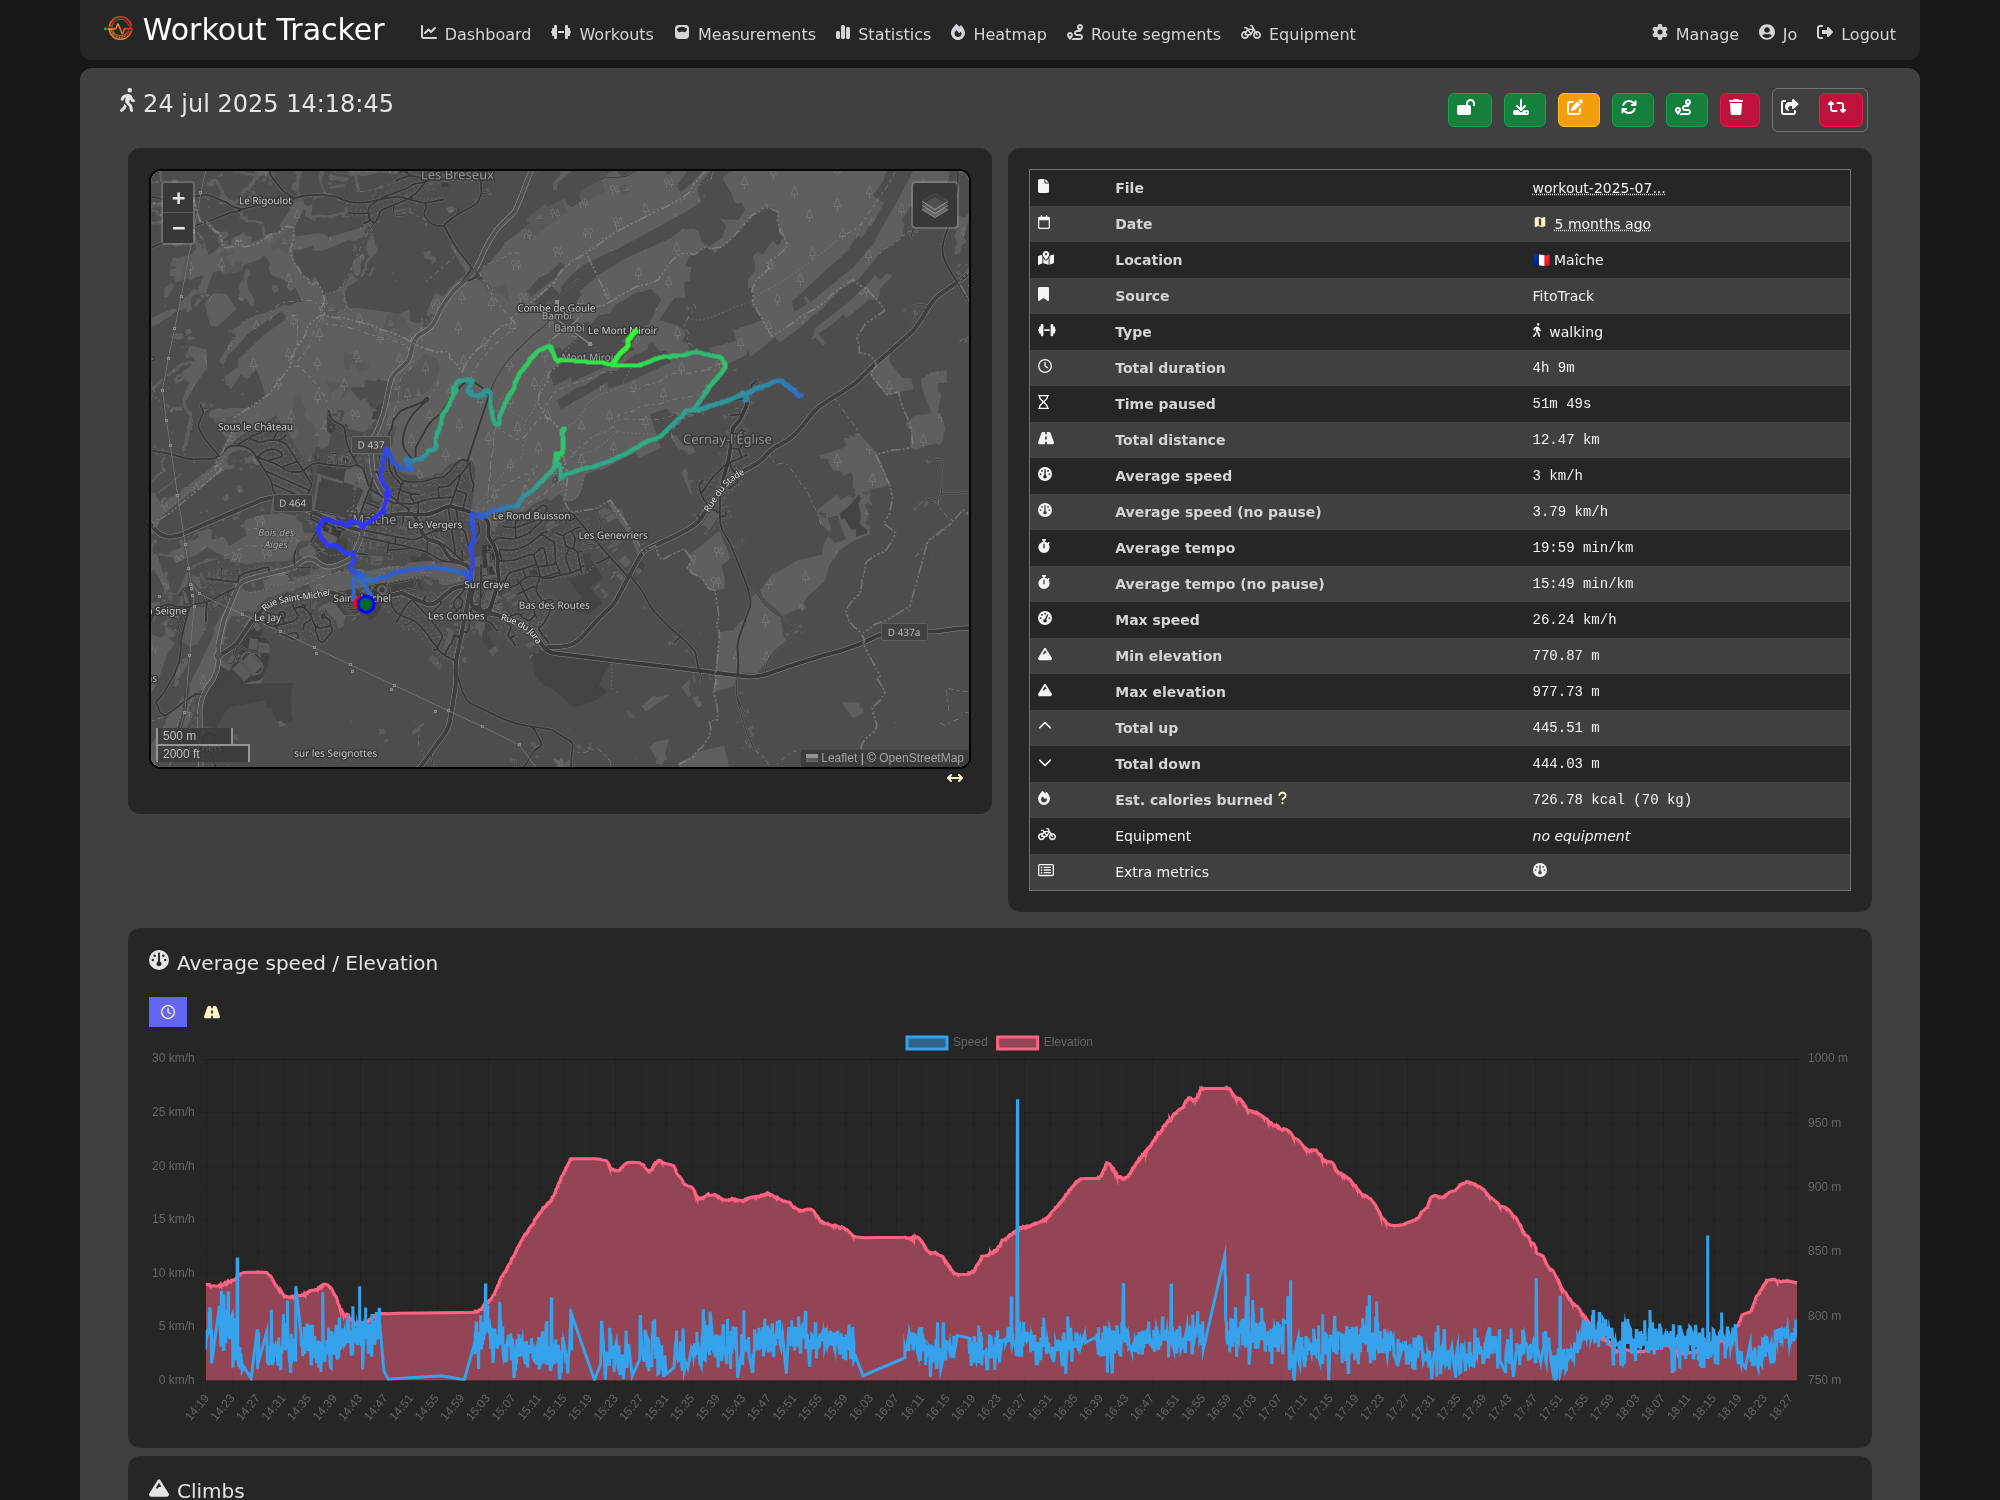
Details of a workout, with:
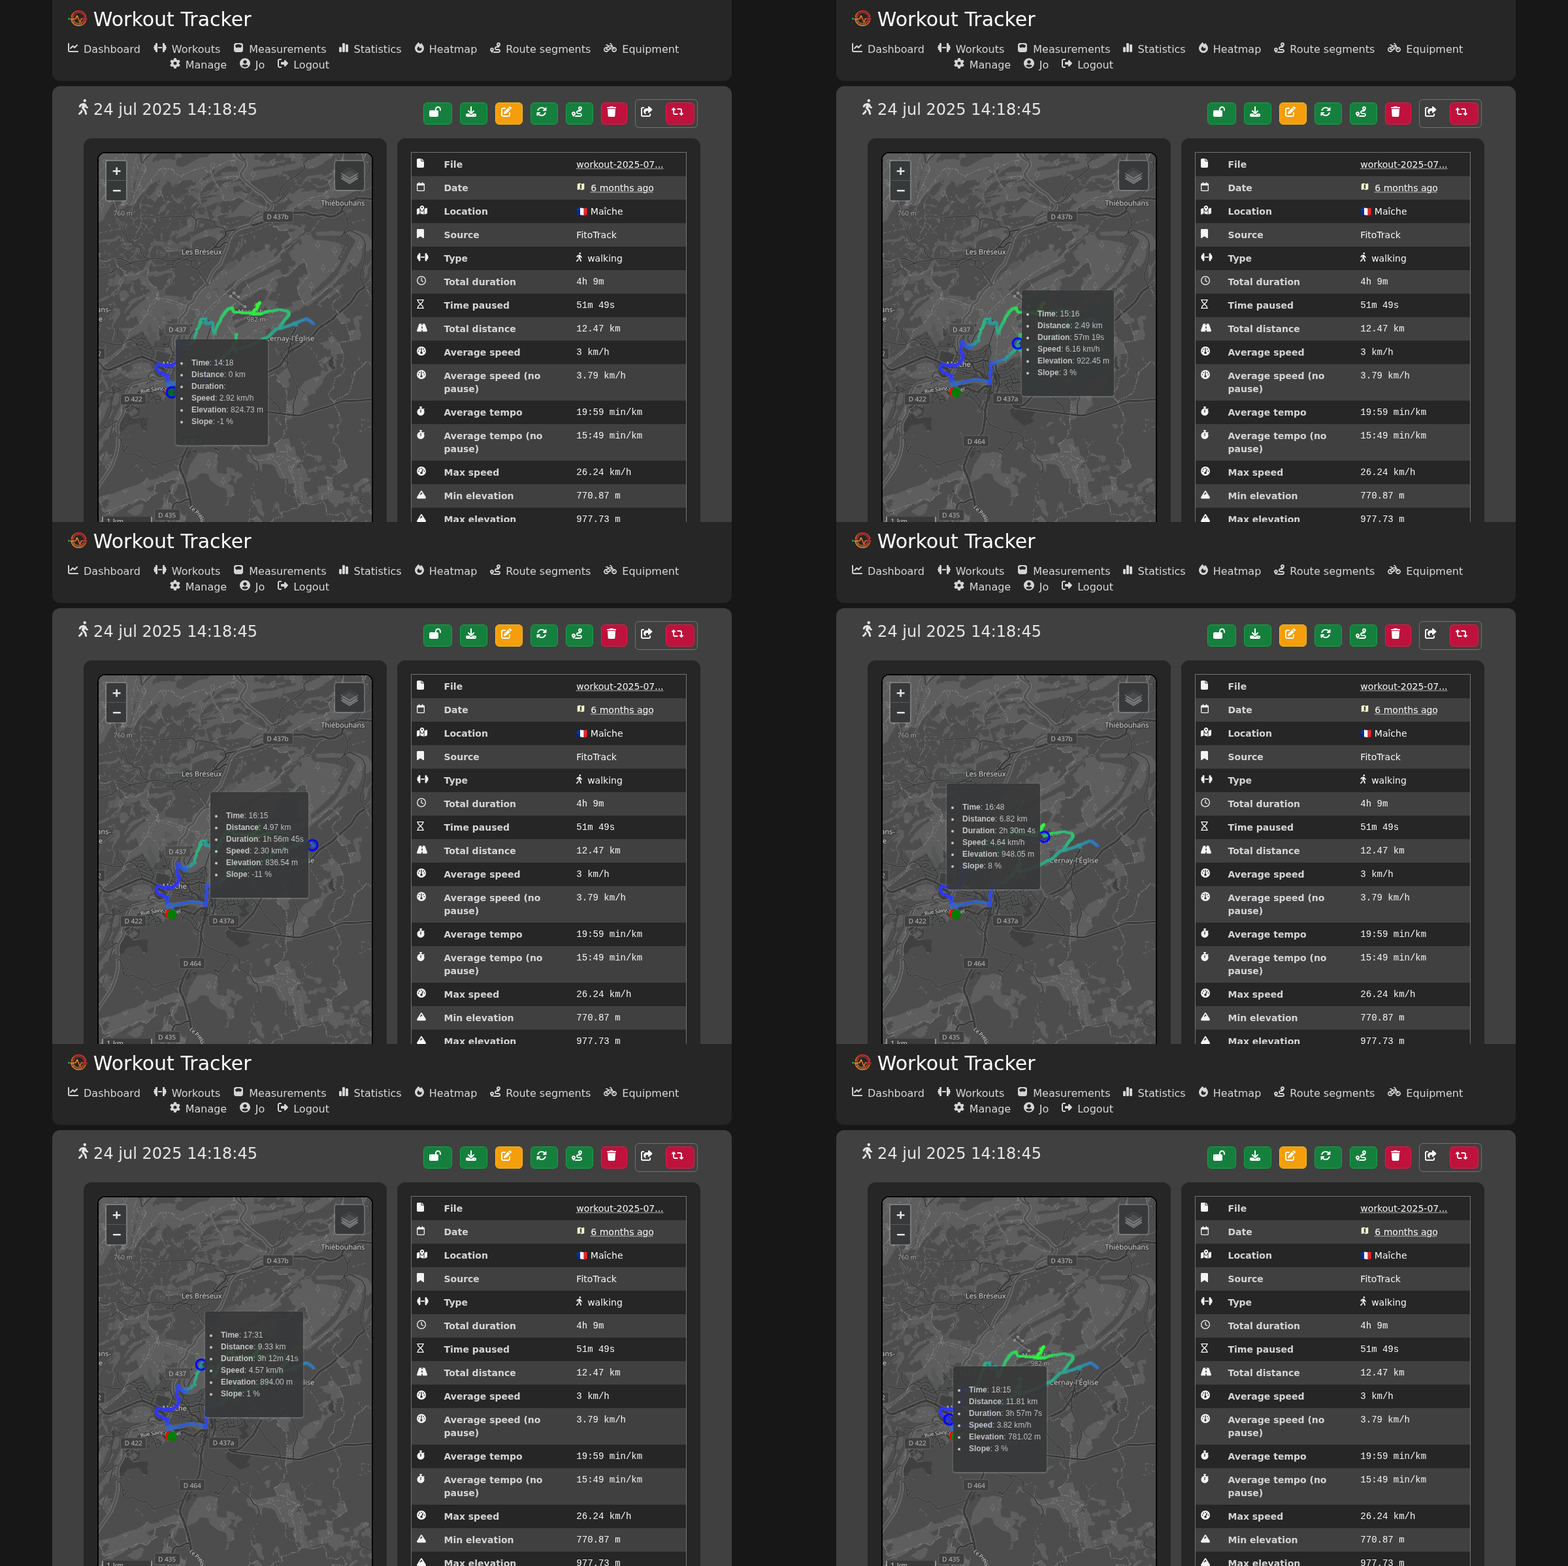
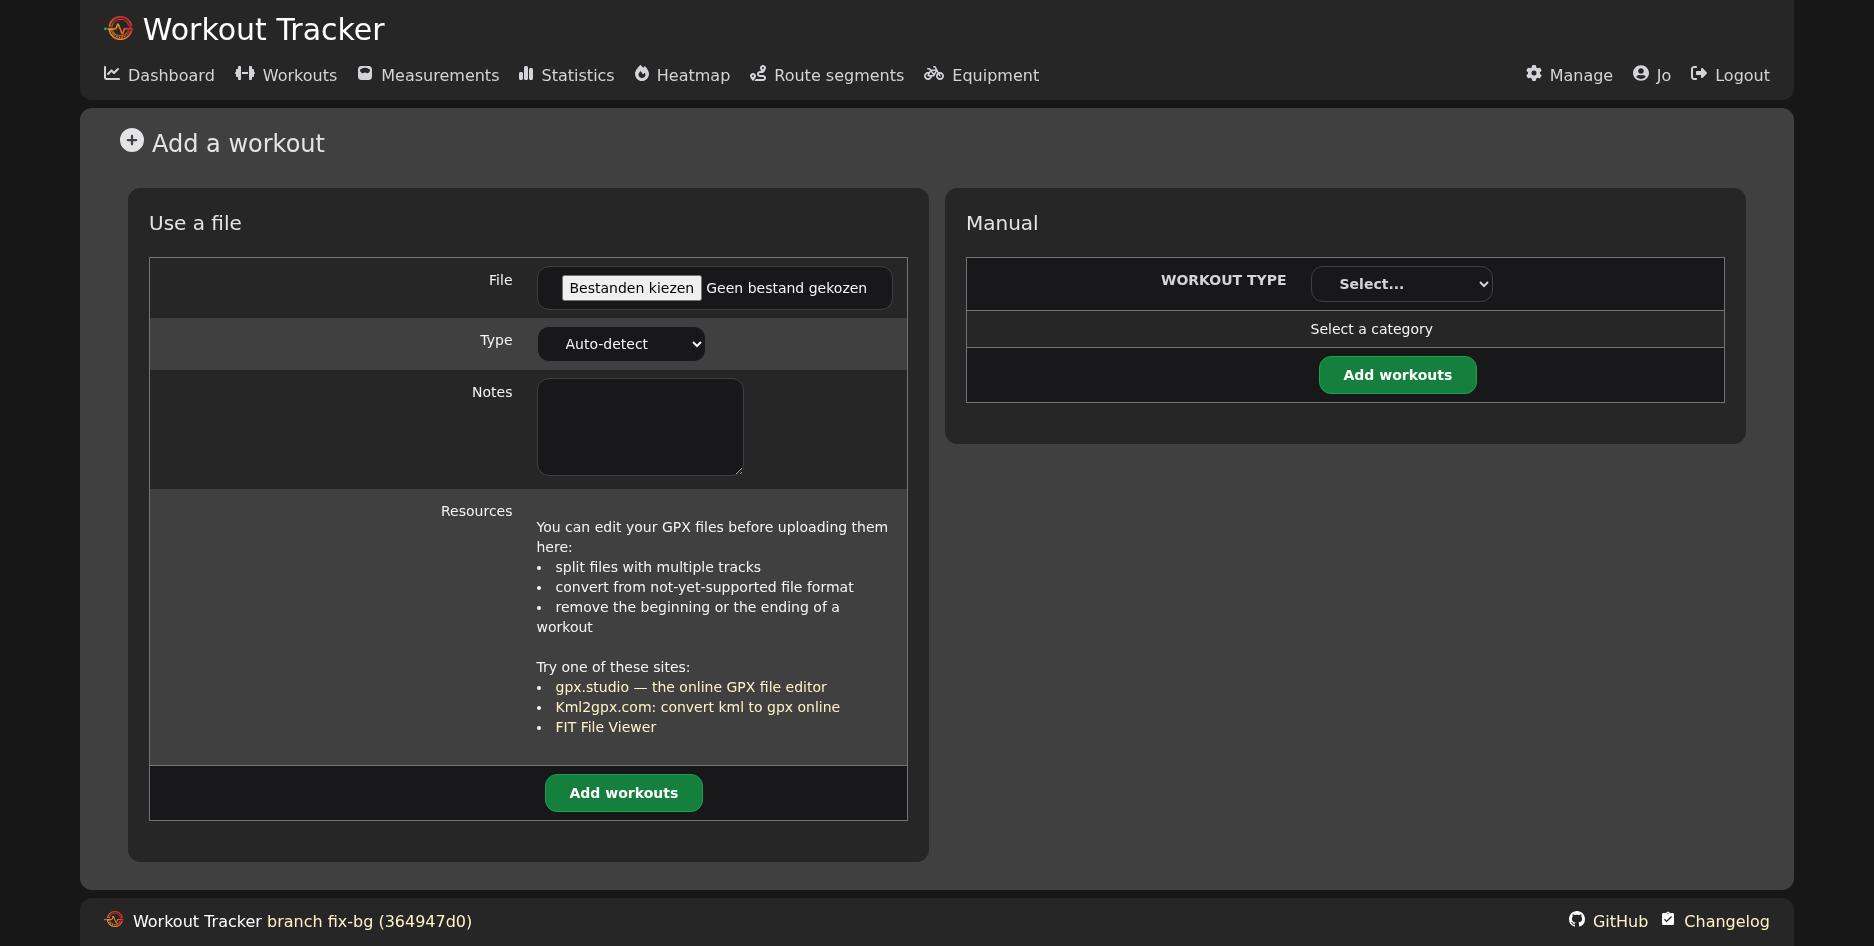
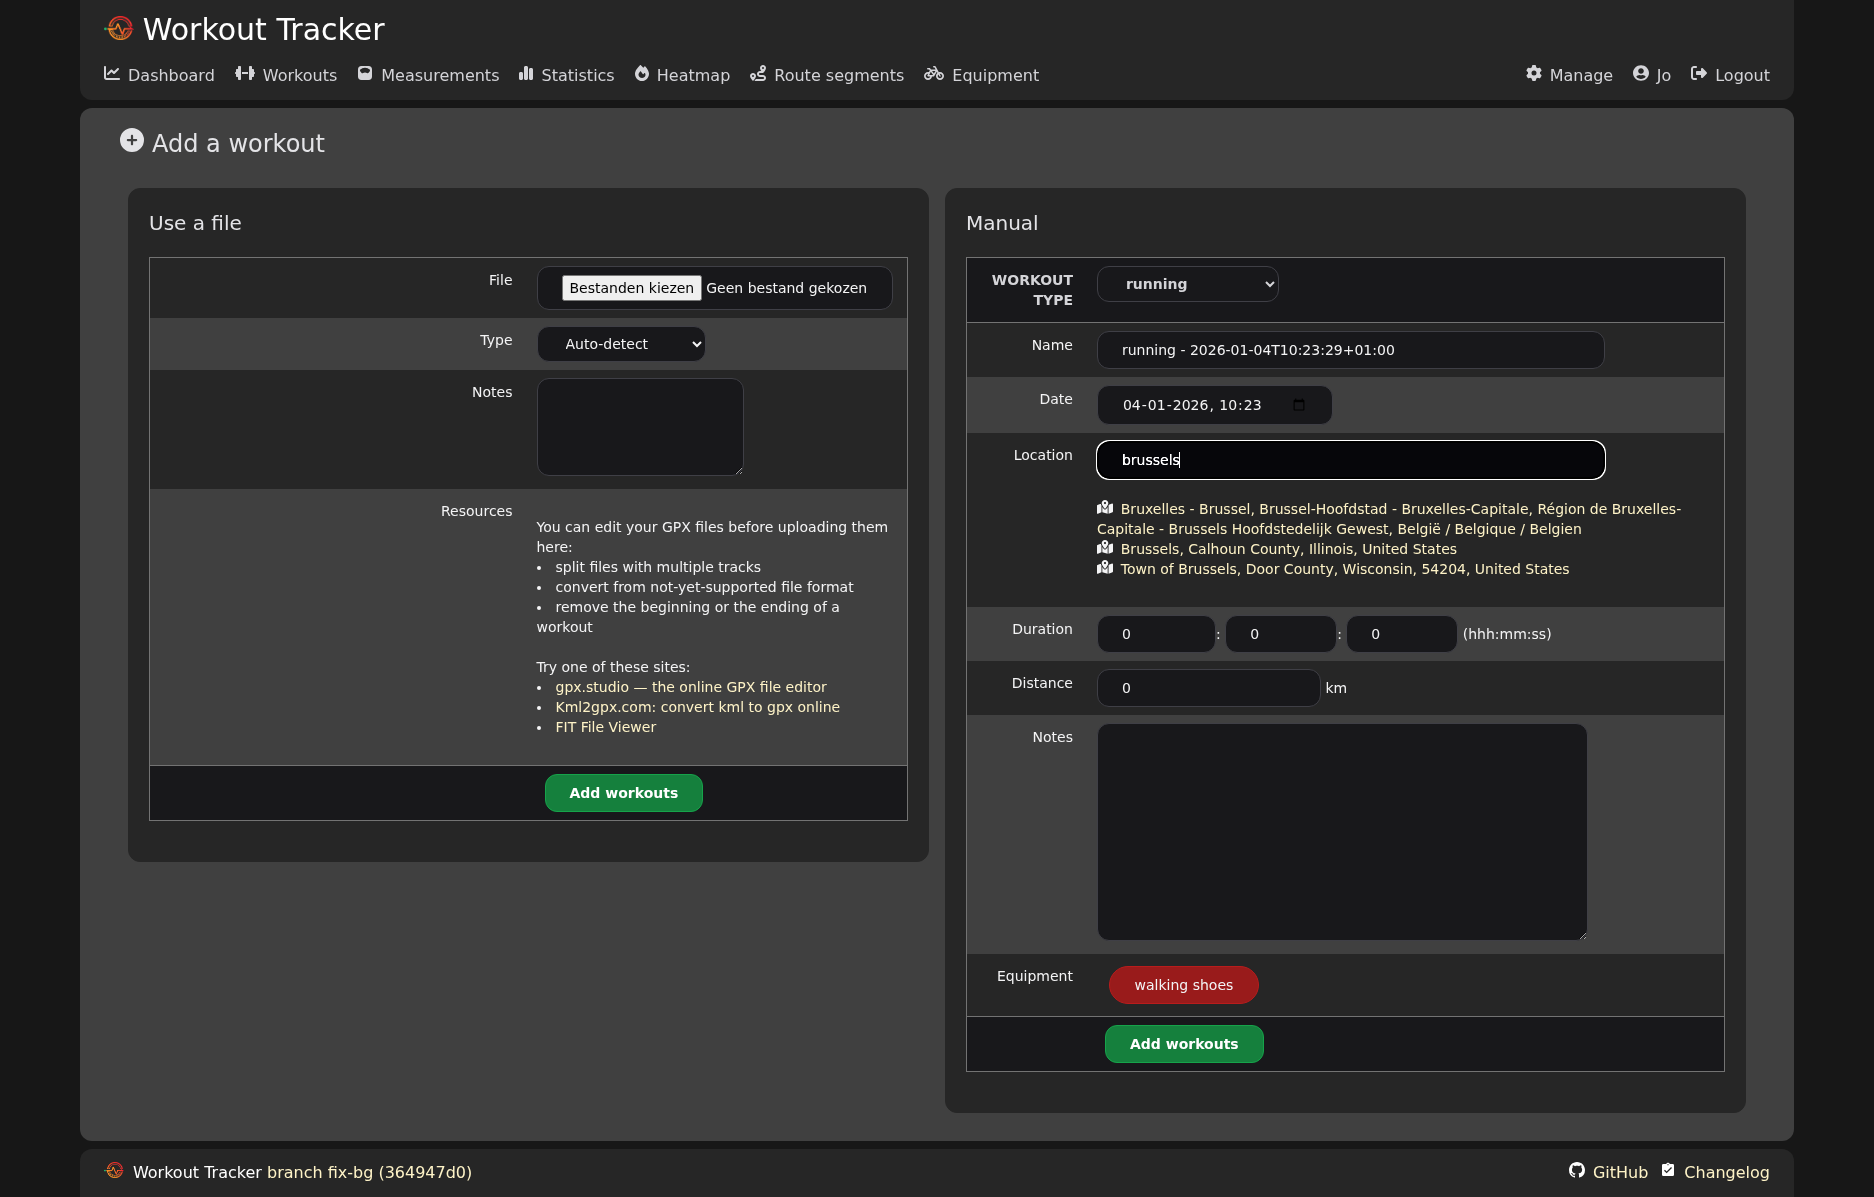
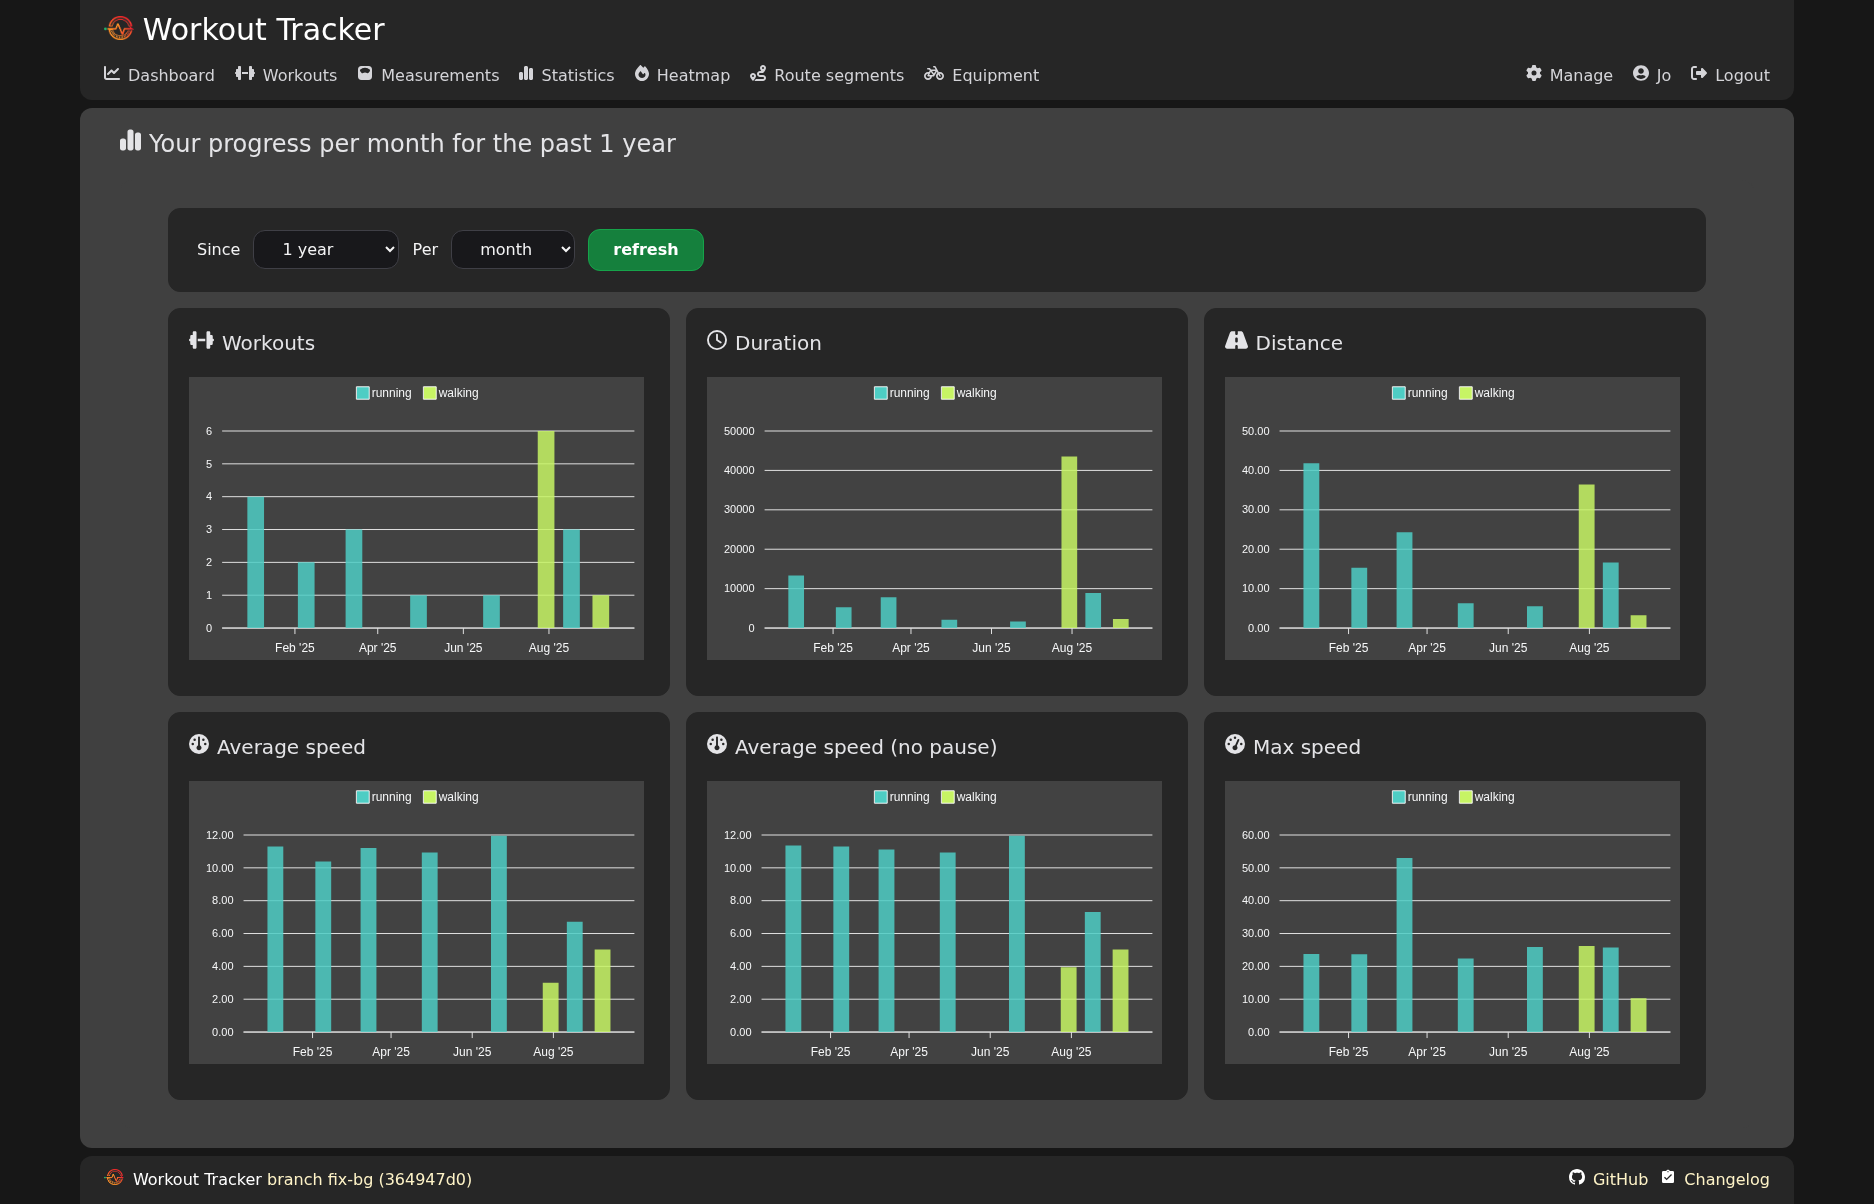
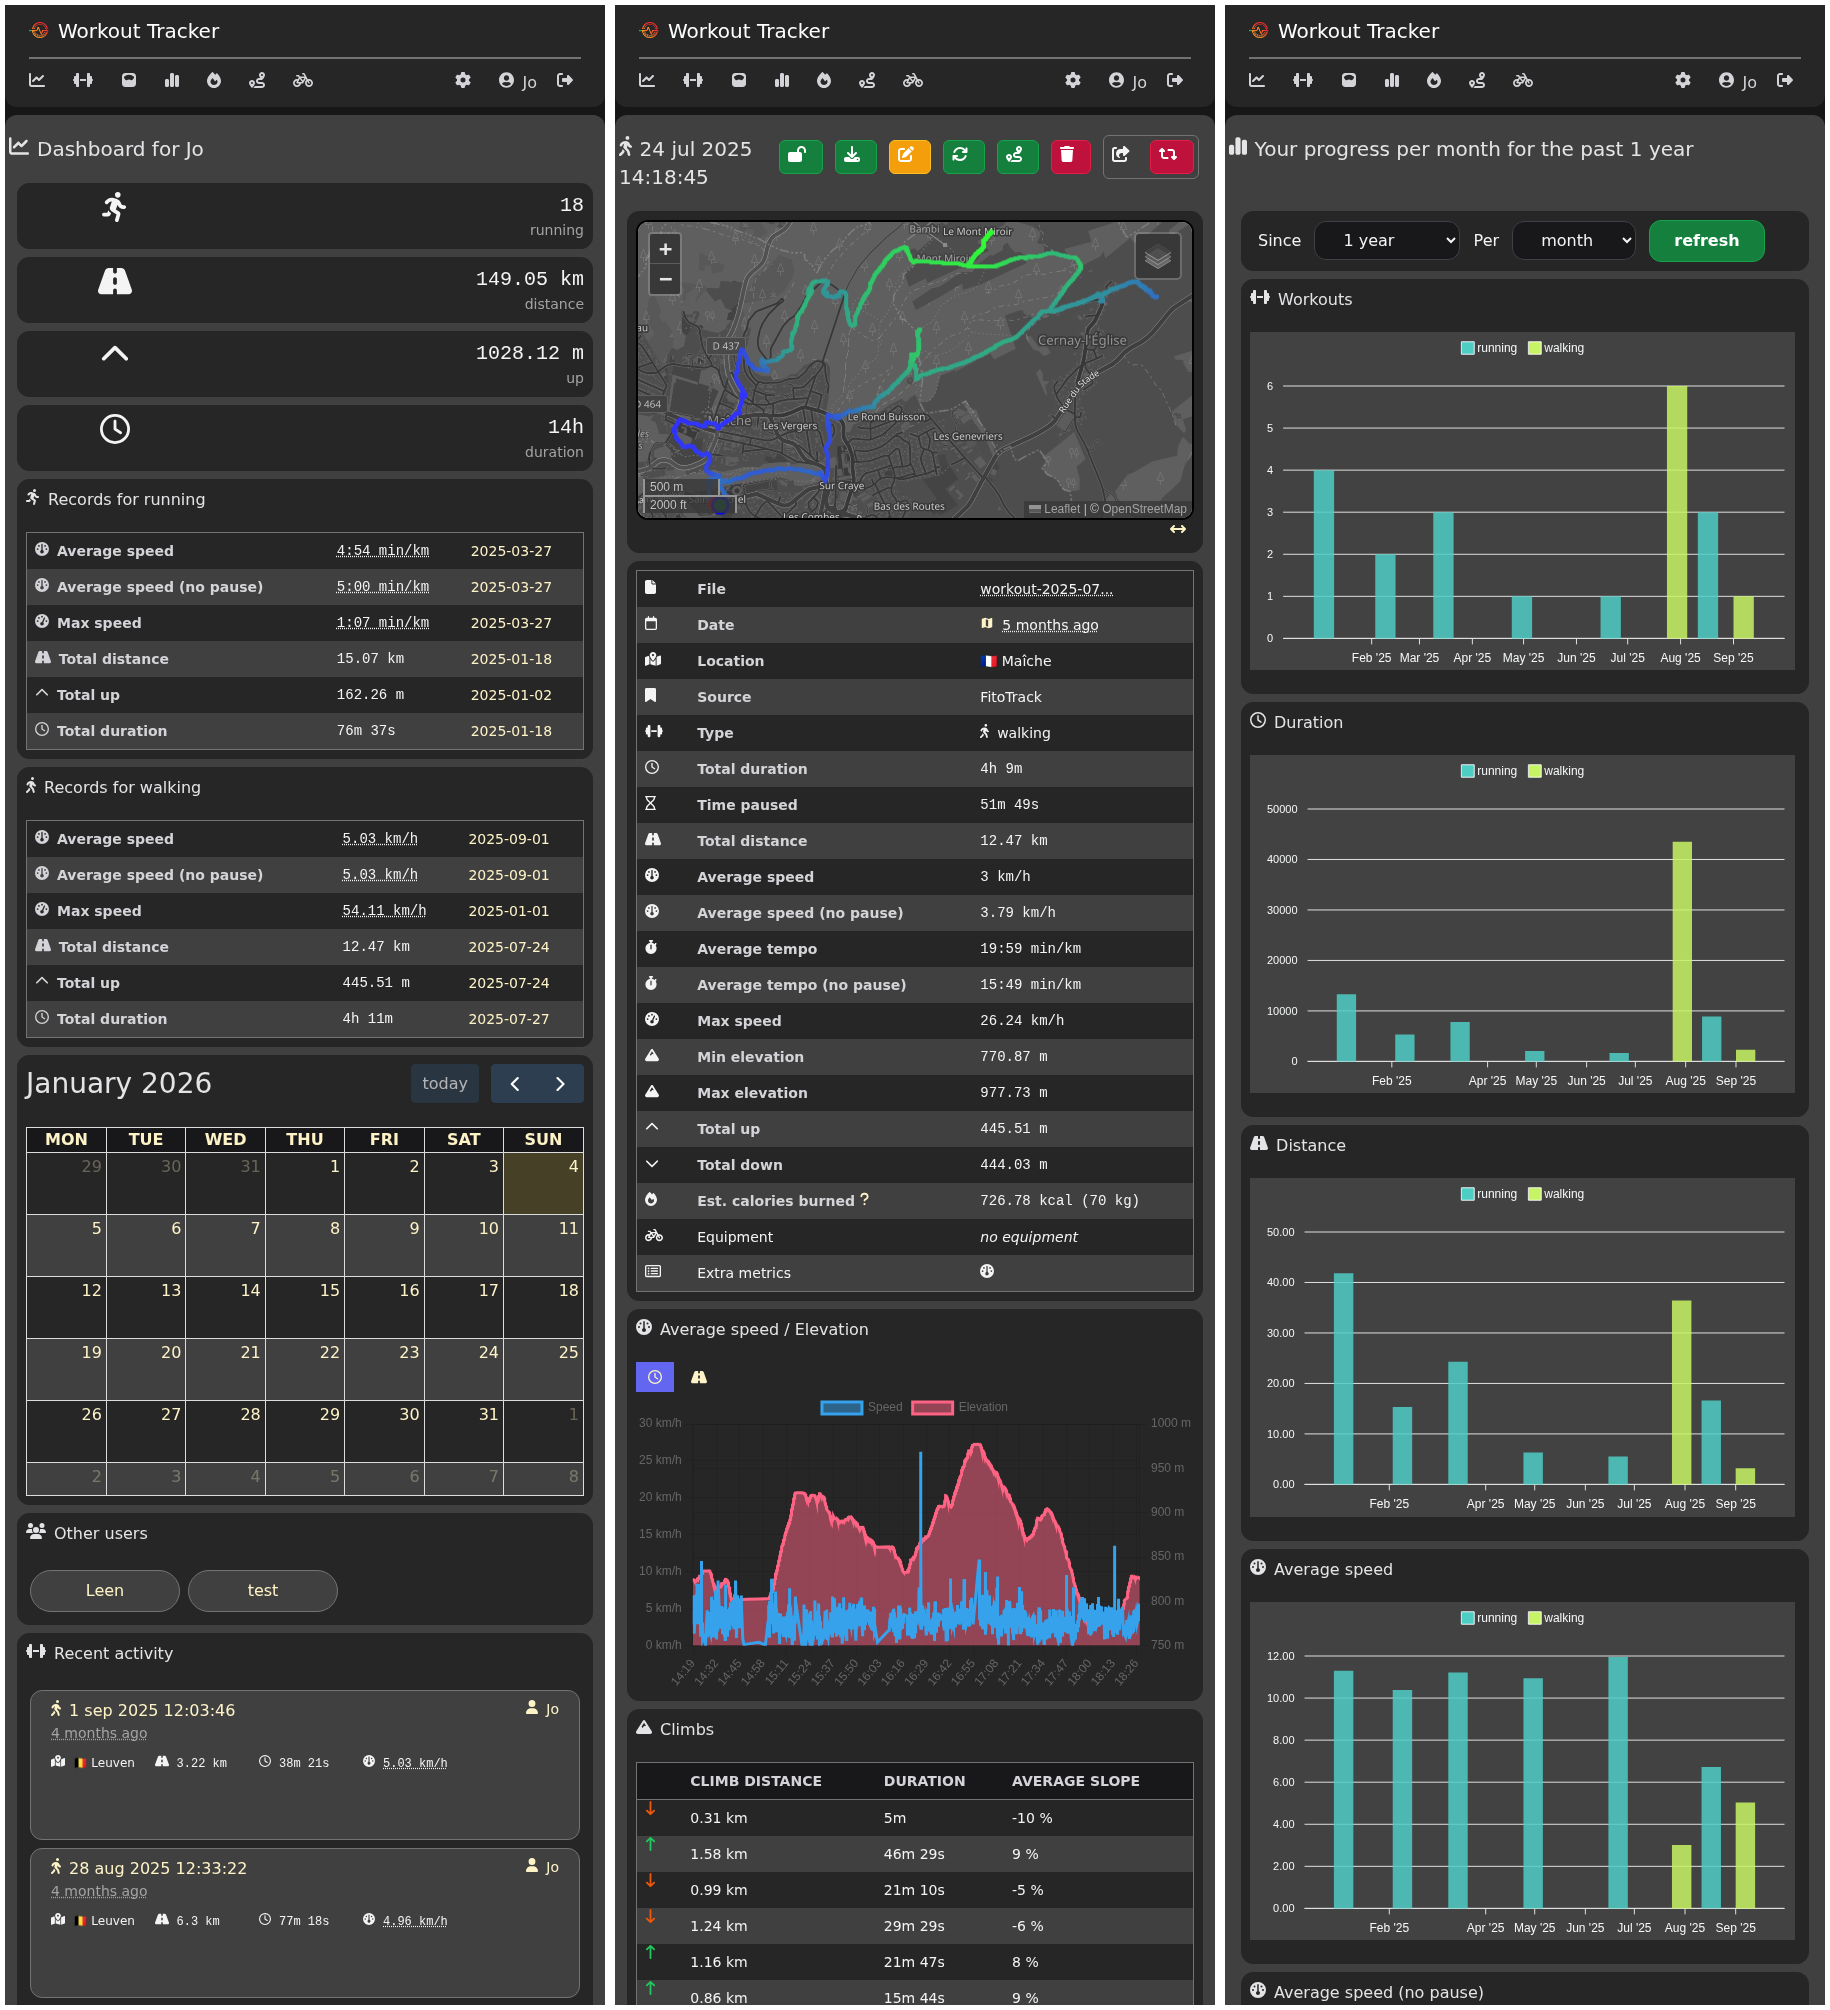
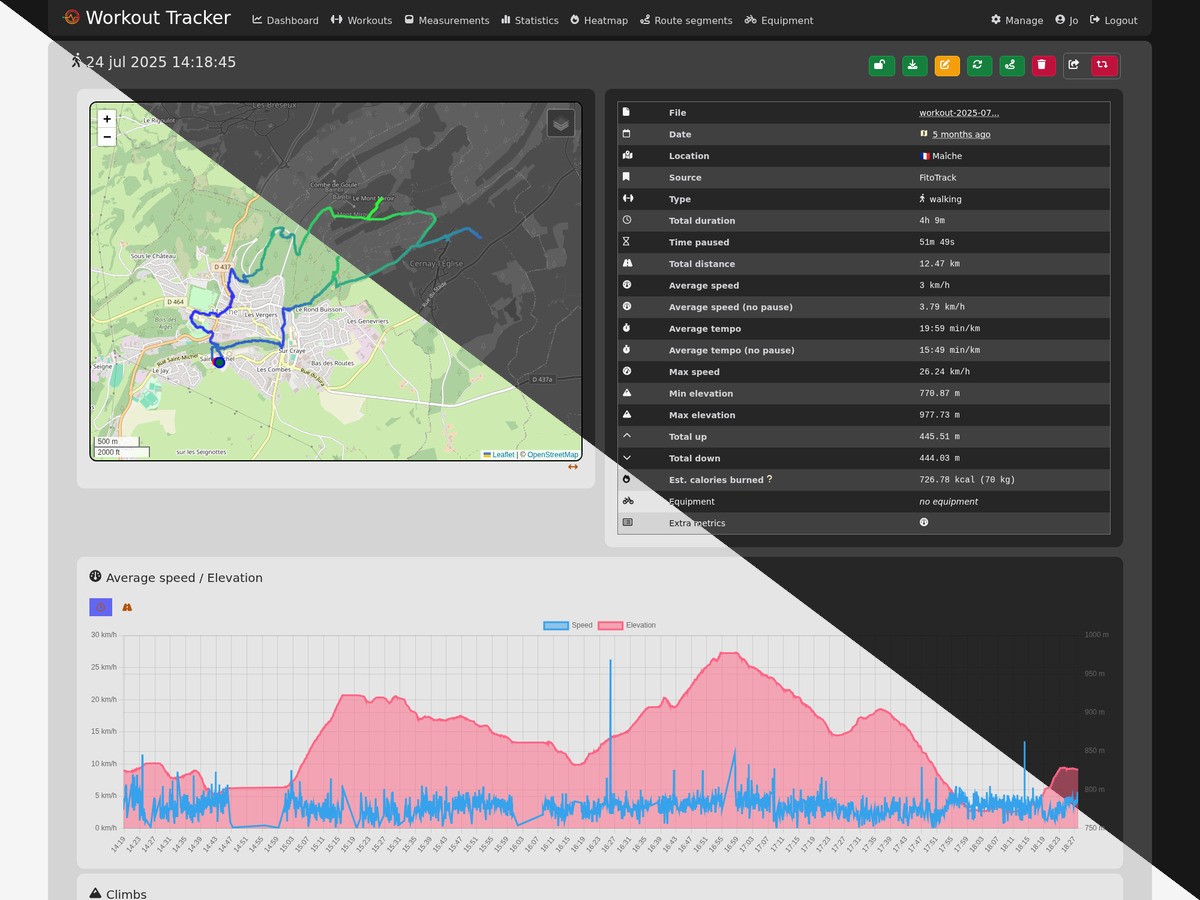
The web server looks for a file workout-tracker.yaml (or json or toml) in
the current directory, or takes it's configuration from environment variables.
The most important variable is the JWT encryption key. If you don't provide it,
the key is randomly generated every time the server starts, invalidating all
current sessions.
Generate a secure key and write it to workout-tracker.yaml:
echo "jwt_encryption_key_file: ./jwt_encryption_key.txt" > ./workout-tracker.yaml
pwgen -c 32 > ./jwt_encryption_key.txt
or export it as an environment variable:
export WT_JWT_ENCRYPTION_KEY="$(pwgen -c 32)"
See workout-tracker.example.yaml for more options and details.
Other environment variables, with their default values:
WT_BIND="[::]:8080"
WT_WEB_ROOT="/my-workout-tracker"
WT_LOGGING="true"
WT_DEBUG="false"
WT_DATABASE_DRIVER="sqlite"
WT_DSN="./database.db"
WT_REGISTRATION_DISABLED="false"
WT_SOCIALS_DISABLED="false"
WT_DEV="false"
WT_WORKER_DELAY_SECONDS=60
WT_OFFLINE="false"
[!NOTE]
SettingWT_OFFLINEtotrueruns the app without making external geocoding requests (useful for offline environments or to avoid rate limits). In this mode, geocoding functions return nil results.
After starting the server, you can access it at http://localhost:8080 (the default port). A login form is shown.
If no users are in the database (eg. when starting with an empty database), a
default admin user is created with password admin. You should change this
password in a production environment.
The API is documented using
swagger.
You must enable API access for your user, and copy the API key. You can use the
API key as a query parameter (?api-key=${API_KEY}) or as a header
(Authorization: Bearer ${API_KEY}).
You can configure some tools to automatically upload files to Workout Tracker,
using the POST /api/v1/import/$program API endpoint.
You can set or update a daily measurement record:
curl -sSL -H "Authorization: bearer your-api-key" \
  http://localhost:8080/api/v1/daily \
  --data @- <<EOF
{
  "date": "2025-01-13",
  "weight": 70,
  "weight_unit": "kg",
  "height": 178,
  "height_unit": "cm"
}
EOF
You can create a workout manually:
curl -sSL -H "Authorization: bearer your-api-key" \
  http://localhost:8080/api/v1/workouts \
  --data @- <<EOF
{
  "name": "Workout name",
  "date": "2025-02-03T10:26",
  "duration_hours": 1,
  "duration_minutes": 10,
  "distance": 13,
  "type": "running"
}
EOF
The generic upload endpoint takes the recording as body. Prepend the path with
@ to tell curl to read the data from a file:
If you are uploading a GPX file (default):
curl -sSL -H "Authorization: bearer your-api-key" \
  http://localhost:8080/api/v1/import/generic \
  --data @path/to/recorded.gpx
If you upload FIT files or other file types, including GPX, include a query
paramter name:
curl -sSL -H "Authorization: bearer your-api-key" \
  http://localhost:8080/api/v1/import/generic?name=recorded.fit \
  --data @path/to/recorded.fit
Read their documentation before you continue.
The path to POST to is: /api/v1/import/fitotrack?api-key=${API_KEY}
This project contains a
pre-built development container
ghcr.io/jovandeginste/workout-tracker-dev-container:latest (see
.devcontainer/devcontainer.json). Inside the container, just run
make build-server serve. After building the project when running it, the app
port will be exposed automatically and you can access the app locally on your
machine via http://localhost:8080/.
For building the dev container locally, the variables GO_VERSION and
NODE_VERSION must be set. Afterwards, the dev container can be built using the
Dev Container CLI via
devcontainer build --workspace-folder ./.devcontainer-template/ --image-name ghcr.io/jovandeginste/workout-tracker-dev-container.
Here's a full example using PowerShell:
$env:GO_VERSION="1.24.1"
$env:NODE_VERSION="22"
devcontainer build --workspace-folder ./.devcontainer-template/ --image-name ghcr.io/jovandeginste/workout-tracker-dev-container
go mod vendor
go build -o workout-tracker ./cmd/workout-tracker/
./workout-tracker
This does not require npm or Tailwind, since the compiled css is included in the repository.
You need to install Golang and npm.
Alternatively, if you use Nix, you can use the provided flake:
nix develop
# or with direnv
direnv allow
Because I keep forgetting how to build every component, I created a Makefile.
# Make everything. This is also the default target.
make all # Run tests and build all components

# Install Javascript libraries
make install-deps

# Testing
make test # Runs all the tests
make test-assets test-go # Run tests for the individual components

# Building
make build # Builds all components
make build-frontend # Builds the frontend assets
make build-templates # Builds the templ templates
make build-server # Builds the web server (includes build-templates)
make build-docker # Performs all builds inside Docker containers, creates a Docker image
make swagger # Generates swagger docs
make track-gif # Generates animated track demonstration (docs/track.gif)


# Running it
make serve # Runs the compiled binary

# Cleanin' up
make clean # Removes build artifacts

# Development
make dev-docker # Runs the server in a docker compose setup
make dev-docker-sqlite # Runs the server in a docker compose setup with SQLite
make dev-docker-clean # Removes volumes created by the dev-docker targets
A single binary that runs on any platform, with no dependencies.
The binary contains all assets to serve a web interface, through which you can upload your GPX files, visualize your tracks and see their statistics and graphs. The web application is multi-user, with a simple registration and authentication form, session cookies and JWT tokens). New accounts are inactive by default. An admin user can activate (or edit, delete) accounts. The default database storage is a single SQLite file.
The application uses OpenStreetMap and Esri as its map providers and for geocoding a GPS coordinate to a location.
This is a work in progress. If you find any problems, please let us know. The application is tested with GPX files from these sources:
Latest release
Releases this year
656 followers · starred Mar 2024
973 followers · starred Mar 2024
23 followers · starred Mar 2024
62 followers · starred Aug 2026
A workout tracking web application for personal use (or family, friends), geared towards running and other GPX-based activities
Go
1,249
1,913 commits
updated Oct 9, 2026
A workout tracking web application for personal use (or family, friends), geared towards running and other GPX-based activities
Self-hosted, everything included.
Chat with the community on Matrix
We are collecting real workout files for testing purposes. If you want to support the project, donate your files. You can open an issue and attach the file, or send a pull request.
We are looking for general files from all sources, but also "raw" files from devices. The first file type can be edited to remove personal information, but the second type should be as pure (raw) as possible.
Make sure the file does not contain personally identifiable information, specifically your home address! Preferably, share files from workouts that you recorded while travelling.
Be sure to add some metadata in the issue or pull request, such as:
By donating the files, you grant the project full permission to use them as they see fit.
Run the latest image from GitHub Container Registry (latest and release images are available for amd64 and arm64). The current directory is mounted as the data directory.
# Latest master build
docker run -p 8080:8080 -v .:/data ghcr.io/jovandeginste/workout-tracker:latest

# Tagged release
docker run -p 8080:8080 -v .:/data ghcr.io/jovandeginste/workout-tracker:2.0.2
docker run -p 8080:8080 -v .:/data ghcr.io/jovandeginste/workout-tracker:2.0
docker run -p 8080:8080 -v .:/data ghcr.io/jovandeginste/workout-tracker:2

# Latest release
docker run -p 8080:8080 -v .:/data ghcr.io/jovandeginste/workout-tracker:release

# Run as non-root user; make sure . is owned by uid 1000
docker run -p 8080:8080 -v .:/data -u 1000:1000 ghcr.io/jovandeginste/workout-tracker
Open your browser at http://localhost:8080
To persist data and sessions, run:
docker run -p 8080:8080 \
    -e WT_JWT_ENCRYPTION_KEY=my-secret-key \
    -v $PWD/data:/data \
    ghcr.io/jovandeginste/workout-tracker:master
or read the JWT encryption key from a file:
docker run -p 8080:8080 \
    -e WT_JWT_ENCRYPTION_KEY_FILE=/run/secrets/jwt_encryption_key.txt \
    -v $PWD/jwt_encryption_key.txt:/run/secrets/jwt_encryption_key.txt \
    -v $PWD/data:/data \
    ghcr.io/jovandeginste/workout-tracker:master
or use docker compose
# Create directory that stores your data
mkdir -p /opt/workout-tracker
cd /opt/workout-tracker

# Download the base docker compose file
curl https://raw.githubusercontent.com/jovandeginste/workout-tracker/master/docker/docker-compose.base.yaml --output docker-compose.base.yaml

## For sqlite as database:
curl https://raw.githubusercontent.com/jovandeginste/workout-tracker/master/docker/docker-compose.sqlite.yaml --output docker-compose.yaml

## For postgres as database:
curl https://raw.githubusercontent.com/jovandeginste/workout-tracker/master/docker/docker-compose.postgres.yaml --output docker-compose.yaml
curl https://raw.githubusercontent.com/jovandeginste/workout-tracker/master/docker/postgres.env --output postgres.env

# Start the server
docker compose up -d
NOTE: If using postgres, configure the parameters in
postgres.env.
Download a pre-built binary or build it yourself (see Development below).
Eg. for v2.0.2 on Linux x86_64:
wget https://github.com/jovandeginste/workout-tracker/releases/download/v2.0.2/workout-tracker-v2.0.2-linux-amd64.tar.gz
tar xf workout-tracker-v2.0.2-linux-amd64.tar.gz
./workout-tracker
To persist sessions, run:
export WT_JWT_ENCRYPTION_KEY=my-secret-key
./workout-tracker
or read the JWT encryption key from a file:
echo "my-secret-key" > ./jwt_encryption_key.txt
export WT_JWT_ENCRYPTION_KEY_FILE=./jwt_encryption_key.txt
./workout-tracker
This will create a new database file in the current directory and start the web
server at http://localhost:8080.
Login / registration form
Dashboard view with:
Overview of all your activities, with summaries.
Details of a workout, with:
The web server looks for a file workout-tracker.yaml (or json or toml) in
the current directory, or takes it's configuration from environment variables.
The most important variable is the JWT encryption key. If you don't provide it,
the key is randomly generated every time the server starts, invalidating all
current sessions.
Generate a secure key and write it to workout-tracker.yaml:
echo "jwt_encryption_key_file: ./jwt_encryption_key.txt" > ./workout-tracker.yaml
pwgen -c 32 > ./jwt_encryption_key.txt
or export it as an environment variable:
export WT_JWT_ENCRYPTION_KEY="$(pwgen -c 32)"
See workout-tracker.example.yaml for more options and details.
Other environment variables, with their default values:
WT_BIND="[::]:8080"
WT_WEB_ROOT="/my-workout-tracker"
WT_LOGGING="true"
WT_DEBUG="false"
WT_DATABASE_DRIVER="sqlite"
WT_DSN="./database.db"
WT_REGISTRATION_DISABLED="false"
WT_SOCIALS_DISABLED="false"
WT_DEV="false"
WT_WORKER_DELAY_SECONDS=60
WT_OFFLINE="false"
[!NOTE]
SettingWT_OFFLINEtotrueruns the app without making external geocoding requests (useful for offline environments or to avoid rate limits). In this mode, geocoding functions return nil results.
After starting the server, you can access it at http://localhost:8080 (the default port). A login form is shown.
If no users are in the database (eg. when starting with an empty database), a
default admin user is created with password admin. You should change this
password in a production environment.
The API is documented using
swagger.
You must enable API access for your user, and copy the API key. You can use the
API key as a query parameter (?api-key=${API_KEY}) or as a header
(Authorization: Bearer ${API_KEY}).
You can configure some tools to automatically upload files to Workout Tracker,
using the POST /api/v1/import/$program API endpoint.
You can set or update a daily measurement record:
curl -sSL -H "Authorization: bearer your-api-key" \
  http://localhost:8080/api/v1/daily \
  --data @- <<EOF
{
  "date": "2025-01-13",
  "weight": 70,
  "weight_unit": "kg",
  "height": 178,
  "height_unit": "cm"
}
EOF
You can create a workout manually:
curl -sSL -H "Authorization: bearer your-api-key" \
  http://localhost:8080/api/v1/workouts \
  --data @- <<EOF
{
  "name": "Workout name",
  "date": "2025-02-03T10:26",
  "duration_hours": 1,
  "duration_minutes": 10,
  "distance": 13,
  "type": "running"
}
EOF
The generic upload endpoint takes the recording as body. Prepend the path with
@ to tell curl to read the data from a file:
If you are uploading a GPX file (default):
curl -sSL -H "Authorization: bearer your-api-key" \
  http://localhost:8080/api/v1/import/generic \
  --data @path/to/recorded.gpx
If you upload FIT files or other file types, including GPX, include a query
paramter name:
curl -sSL -H "Authorization: bearer your-api-key" \
  http://localhost:8080/api/v1/import/generic?name=recorded.fit \
  --data @path/to/recorded.fit
Read their documentation before you continue.
The path to POST to is: /api/v1/import/fitotrack?api-key=${API_KEY}
This project contains a
pre-built development container
ghcr.io/jovandeginste/workout-tracker-dev-container:latest (see
.devcontainer/devcontainer.json). Inside the container, just run
make build-server serve. After building the project when running it, the app
port will be exposed automatically and you can access the app locally on your
machine via http://localhost:8080/.
For building the dev container locally, the variables GO_VERSION and
NODE_VERSION must be set. Afterwards, the dev container can be built using the
Dev Container CLI via
devcontainer build --workspace-folder ./.devcontainer-template/ --image-name ghcr.io/jovandeginste/workout-tracker-dev-container.
Here's a full example using PowerShell:
$env:GO_VERSION="1.24.1"
$env:NODE_VERSION="22"
devcontainer build --workspace-folder ./.devcontainer-template/ --image-name ghcr.io/jovandeginste/workout-tracker-dev-container
go mod vendor
go build -o workout-tracker ./cmd/workout-tracker/
./workout-tracker
This does not require npm or Tailwind, since the compiled css is included in the repository.
You need to install Golang and npm.
Alternatively, if you use Nix, you can use the provided flake:
nix develop
# or with direnv
direnv allow
Because I keep forgetting how to build every component, I created a Makefile.
# Make everything. This is also the default target.
make all # Run tests and build all components

# Install Javascript libraries
make install-deps

# Testing
make test # Runs all the tests
make test-assets test-go # Run tests for the individual components

# Building
make build # Builds all components
make build-frontend # Builds the frontend assets
make build-templates # Builds the templ templates
make build-server # Builds the web server (includes build-templates)
make build-docker # Performs all builds inside Docker containers, creates a Docker image
make swagger # Generates swagger docs
make track-gif # Generates animated track demonstration (docs/track.gif)


# Running it
make serve # Runs the compiled binary

# Cleanin' up
make clean # Removes build artifacts

# Development
make dev-docker # Runs the server in a docker compose setup
make dev-docker-sqlite # Runs the server in a docker compose setup with SQLite
make dev-docker-clean # Removes volumes created by the dev-docker targets
A single binary that runs on any platform, with no dependencies.
The binary contains all assets to serve a web interface, through which you can upload your GPX files, visualize your tracks and see their statistics and graphs. The web application is multi-user, with a simple registration and authentication form, session cookies and JWT tokens). New accounts are inactive by default. An admin user can activate (or edit, delete) accounts. The default database storage is a single SQLite file.
The application uses OpenStreetMap and Esri as its map providers and for geocoding a GPS coordinate to a location.
This is a work in progress. If you find any problems, please let us know. The application is tested with GPX files from these sources:
Latest release
Releases this year
656 followers · starred Mar 2024
973 followers · starred Mar 2024
23 followers · starred Mar 2024
62 followers · starred Aug 2026