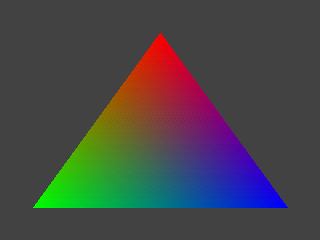
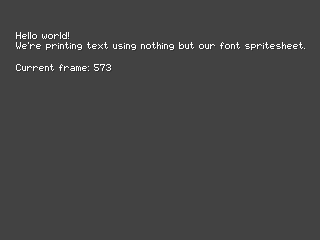
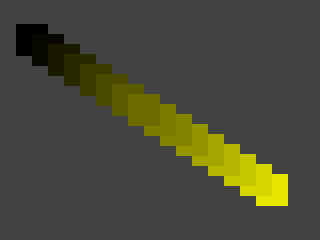
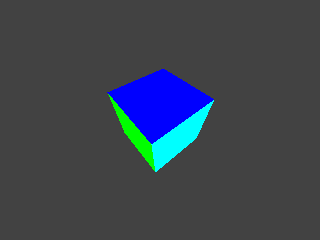
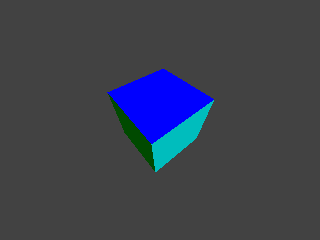
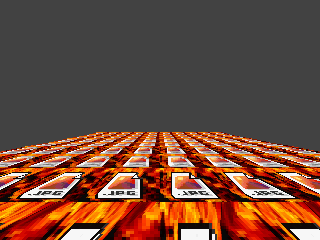
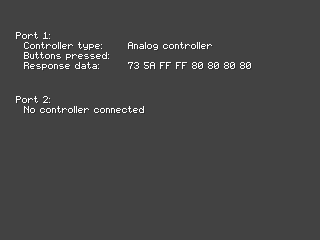
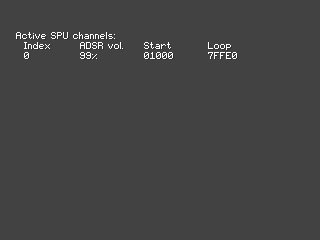
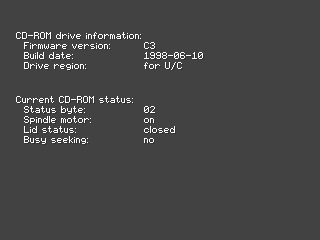
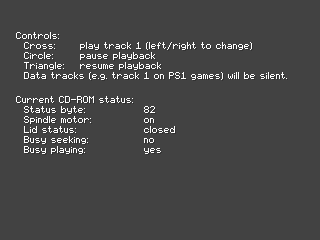
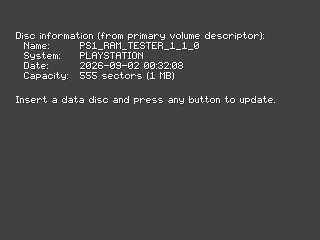
This is a C homebrew programming tutorial for the original Sony PlayStation, in the form of a series of well-commented examples showcasing each of the console's features. All examples are built using no external SDKs or tools other than an up-to-date, unmodified GCC toolchain targeting the MIPS architecture, CMake as the build system and some Python scripts.
The following examples are currently available:
New examples demonstrating more hardware features will be added over time. Since I strive for this repository to be a high-quality learning resource with a focus on clarity and correctness, all code and assets are authored by hand with no use of LLMs or generative AI whatsoever.
The following dependencies are required in order to compile the examples:
mipsel-none-elf target triplet
(toolchains targeting mipsel-linux-gnu will generally work as well, but are
not recommended as the ones available in most distros' package managers tend
to be outdated or configured improperly);psxavenc (optional, to
build examples that require it for ADPCM audio encoding).The toolchain can be installed on Windows through
the mips script from the pcsx-redux project,
on macOS using
Homebrew
or on Linux by
spawning it from source,
and should be added to your PATH environment variable in order to let CMake
find it. If you have any of the open-source PS1 SDKs installed there is a good
chance you already have a suitable toolchain set up (try running
mipsel-none-elf-gcc and mipsel-linux-gnu-gcc in a terminal). The other
dependencies can be obtained through a package manager.
The Python scripts require a few additional dependencies, which must be installed in a virtual environment by running the following commands from the repository's root:
# Windows (using PowerShell)
py -m venv env
env\Scripts\Activate.ps1
py -m pip install -r tools\requirements.txt

# Windows (using Cygwin/MSys2), Linux or macOS
python3 -m venv env
source env/bin/activate
pip3 install -r tools/requirements.txt
Many IDEs and text editors feature out-of-the-box support for CMake, so you should be able to import the repo into your IDE of choice and immediately get a working "build" button once the toolchain is set up. If you are using VS Code, installing the CMake Tools and clangd extensions for build integration as well as context-sensitive suggestions is highly recommended.
If the toolchain is not listed in your PATH environment variable, you will
have to set the TOOLCHAIN_PATH CMake variable to the full path to your
toolchain's bin subdirectory (e.g. /opt/mipsel-linux-gnu/bin) using your
IDE's CMake cache editor. See your IDE's documentation for information on
accessing the cache editor; in VS Code with the CMake Tools extension, the
editor can be opened by selecting "Edit CMake Cache (UI)" from the command
palette (Ctrl+Shift+P).
If you cannot use an IDE or prefer working from the command line, simply run these two commands from the repository's root:
cmake --preset debug
cmake --build build
If you are unfamiliar with CMake, the first command is what's known as the configure command and prepares the build directory for the second command, which actually runs the compiler and generates the executables. Once the build directory is prepared you'll no longer have to run the configure command unless you edit the CMake scripts to e.g. add new examples or source files.
You may replace debug with release to enable release mode, which will turn
on additional compiler optimizations, remove assertions and produce smaller
binaries. Replacing it with min-size-release will further optimize the
executables for size at the expense of performance.
If the toolchain is not listed in your PATH environment variable, you will
have to pass the path to its bin subdirectory to the configure command via the
-DTOOLCHAIN_PATH option, like this:
cmake --preset debug -DTOOLCHAIN_PATH=/opt/mipsel-linux-gnu/bin
The PlayStation does not have a floating point unit. While GCC can still provide
support for floats through emulation, some prebuilt versions of the
mipsel-none-elf and mipsel-linux-gnu toolchains ship with floating point
emulation partially or fully disabled at build time. For this reason, the build
scripts do not explicitly enable it.
If you have a toolchain known to have full support for software floating point
(e.g. one you built yourself with the appropriate options) but that does not
have it enabled by default, you may force it by adding the following line to
CMakeLists.txt:
target_compile_options(flags INTERFACE -msoft-float)
Keep in mind that software floats are particularly slow, code-heavy and shall be
avoided at all costs. The included printf library has been modified to disable
the %f specifier, regardless of whether the toolchain supports software
floats, in order to reduce code size.
The build scripts will compile each example into a .psexe file. This is the
PS1 BIOS's native executable format and is also supported by pretty much every
PS1 emulator, making it straightforward to run the examples through emulation.
The following emulators are recommended for development work:
Note that both DuckStation and Redux default to using a dynamic recompiler (dynarec) in order to boost performance at the cost of accuracy. The dynarec is incompatible with either emulator's debugger and can be prone to timing issues; it's thus recommended to disable it and switch to interpreted CPU mode instead.
Using other emulators is strongly discouraged as more or less all of them are outdated and known to be inaccurate. In particular, the emulators listed below are broken in many ways and will struggle to run anything not made using Sony's libraries or not following their practices.
The following emulators have generally acceptable accuracy but are not recommended due to their poor user experience:
At some point you will likely want to run your code on an actual PlayStation. The two main ways to do so are:
CD-ROM image creation is not currently covered here as it involves using
specialized tools and, depending on the region and revision of your PS1, a
license file. If you have a non-Japanese region unit with a modchip or softmod
(e.g. Unirom installed to a memory card), you may simply rename your executable
to PSX.EXE, burn it to a CD-R and the console should run it. Unirom also
comes with a file browser that will let you launch any executable on the disc.
Note that a PS2 is not a PS1, not even in its "native" (non-POPS) backwards compatibility mode. It's a chimera of real hardware, emulated hardware, semi-emulated hardware that differs across revisions and game-specific hacks in multiple places. As such, it's best left alongside the inaccurate emulators and not used for PS1 homebrew development.
If you want to write your own examples or projects, here's a quick overview of
the non-example subfolders in the src directory:
src/libc contains a barebones implementation of the C standard library. A
few functions have been replaced with optimized assembly implementations;src/ps1 contains a set of headers to help with low-level hardware access:
register definitions, GPU command builders, coprocessor accessors that wrap
inline assembly and so on;src/common can be considered a higher-level support library, consisting of
frequently used functions that would otherwise be duplicated across most of
the examples. This is essentially the "SDK" the examples sit on top of;src/vendor is for third-party libraries (currently only the printf library).If you create a new folder and want its contents to be built, remember to add it
to CMakeLists.txt (you may use the existing entries as a reference) and rerun
both the CMake configure and build commands afterwards.
I have been occasionally asked, particularly in the pre-AI era, if I could provide an example of PS1 homebrew programming that is completely self-contained and permissively licensed. While there are a number of PS1 SDK options around (some of which I have contributed to), their workflows may not suit everyone and the most popular options from a few years ago were additionally encumbered with potential legal issues that made them a non-starter for commercial projects. As I slowly moved away from them over time, I set out to take the custom code I replaced them with, clean it up and turn it into a step-by-step tutorial series for other people to follow.
I want this repo to be an introduction to bare-metal platforms and the PS1 for anybody who already has some experience with C/C++ but not necessarily with the process of linking and compiling, the internals of a standard library, the way threads and IRQs work at the kernel level and so on. I strongly believe that demystifying the inner workings of a platform can go a long way when it comes to helping people understand it. Most 8-bit and 16-bit consoles have received a lot of attention and excellent bare-metal tutorials have been written for them, so I don't get why people shall just give up and use ancient proprietary SDKs from the 1990s when it comes to the PS1.
Everything in this repository, including the vendored copy of Marco Paland's printf library, is licensed under the MIT license (or the functionally equivalent ISC license). The only "hard" requirements are attribution and preserving the license notice; you may otherwise freely use any of the code for both non-commercial and commercial purposes (such as a paid homebrew game, a book or a course).
3,387 followers · starred Jan 2025
56 followers · starred Oct 2024
65 followers · starred Jun 2026
This is a C homebrew programming tutorial for the original Sony PlayStation, in the form of a series of well-commented examples showcasing each of the console's features. All examples are built using no external SDKs or tools other than an up-to-date, unmodified GCC toolchain targeting the MIPS architecture, CMake as the build system and some Python scripts.
The following examples are currently available:
New examples demonstrating more hardware features will be added over time. Since I strive for this repository to be a high-quality learning resource with a focus on clarity and correctness, all code and assets are authored by hand with no use of LLMs or generative AI whatsoever.
The following dependencies are required in order to compile the examples:
mipsel-none-elf target triplet
(toolchains targeting mipsel-linux-gnu will generally work as well, but are
not recommended as the ones available in most distros' package managers tend
to be outdated or configured improperly);psxavenc (optional, to
build examples that require it for ADPCM audio encoding).The toolchain can be installed on Windows through
the mips script from the pcsx-redux project,
on macOS using
Homebrew
or on Linux by
spawning it from source,
and should be added to your PATH environment variable in order to let CMake
find it. If you have any of the open-source PS1 SDKs installed there is a good
chance you already have a suitable toolchain set up (try running
mipsel-none-elf-gcc and mipsel-linux-gnu-gcc in a terminal). The other
dependencies can be obtained through a package manager.
The Python scripts require a few additional dependencies, which must be installed in a virtual environment by running the following commands from the repository's root:
# Windows (using PowerShell)
py -m venv env
env\Scripts\Activate.ps1
py -m pip install -r tools\requirements.txt

# Windows (using Cygwin/MSys2), Linux or macOS
python3 -m venv env
source env/bin/activate
pip3 install -r tools/requirements.txt
Many IDEs and text editors feature out-of-the-box support for CMake, so you should be able to import the repo into your IDE of choice and immediately get a working "build" button once the toolchain is set up. If you are using VS Code, installing the CMake Tools and clangd extensions for build integration as well as context-sensitive suggestions is highly recommended.
If the toolchain is not listed in your PATH environment variable, you will
have to set the TOOLCHAIN_PATH CMake variable to the full path to your
toolchain's bin subdirectory (e.g. /opt/mipsel-linux-gnu/bin) using your
IDE's CMake cache editor. See your IDE's documentation for information on
accessing the cache editor; in VS Code with the CMake Tools extension, the
editor can be opened by selecting "Edit CMake Cache (UI)" from the command
palette (Ctrl+Shift+P).
If you cannot use an IDE or prefer working from the command line, simply run these two commands from the repository's root:
cmake --preset debug
cmake --build build
If you are unfamiliar with CMake, the first command is what's known as the configure command and prepares the build directory for the second command, which actually runs the compiler and generates the executables. Once the build directory is prepared you'll no longer have to run the configure command unless you edit the CMake scripts to e.g. add new examples or source files.
You may replace debug with release to enable release mode, which will turn
on additional compiler optimizations, remove assertions and produce smaller
binaries. Replacing it with min-size-release will further optimize the
executables for size at the expense of performance.
If the toolchain is not listed in your PATH environment variable, you will
have to pass the path to its bin subdirectory to the configure command via the
-DTOOLCHAIN_PATH option, like this:
cmake --preset debug -DTOOLCHAIN_PATH=/opt/mipsel-linux-gnu/bin
The PlayStation does not have a floating point unit. While GCC can still provide
support for floats through emulation, some prebuilt versions of the
mipsel-none-elf and mipsel-linux-gnu toolchains ship with floating point
emulation partially or fully disabled at build time. For this reason, the build
scripts do not explicitly enable it.
If you have a toolchain known to have full support for software floating point
(e.g. one you built yourself with the appropriate options) but that does not
have it enabled by default, you may force it by adding the following line to
CMakeLists.txt:
target_compile_options(flags INTERFACE -msoft-float)
Keep in mind that software floats are particularly slow, code-heavy and shall be
avoided at all costs. The included printf library has been modified to disable
the %f specifier, regardless of whether the toolchain supports software
floats, in order to reduce code size.
The build scripts will compile each example into a .psexe file. This is the
PS1 BIOS's native executable format and is also supported by pretty much every
PS1 emulator, making it straightforward to run the examples through emulation.
The following emulators are recommended for development work:
Note that both DuckStation and Redux default to using a dynamic recompiler (dynarec) in order to boost performance at the cost of accuracy. The dynarec is incompatible with either emulator's debugger and can be prone to timing issues; it's thus recommended to disable it and switch to interpreted CPU mode instead.
Using other emulators is strongly discouraged as more or less all of them are outdated and known to be inaccurate. In particular, the emulators listed below are broken in many ways and will struggle to run anything not made using Sony's libraries or not following their practices.
The following emulators have generally acceptable accuracy but are not recommended due to their poor user experience:
At some point you will likely want to run your code on an actual PlayStation. The two main ways to do so are:
CD-ROM image creation is not currently covered here as it involves using
specialized tools and, depending on the region and revision of your PS1, a
license file. If you have a non-Japanese region unit with a modchip or softmod
(e.g. Unirom installed to a memory card), you may simply rename your executable
to PSX.EXE, burn it to a CD-R and the console should run it. Unirom also
comes with a file browser that will let you launch any executable on the disc.
Note that a PS2 is not a PS1, not even in its "native" (non-POPS) backwards compatibility mode. It's a chimera of real hardware, emulated hardware, semi-emulated hardware that differs across revisions and game-specific hacks in multiple places. As such, it's best left alongside the inaccurate emulators and not used for PS1 homebrew development.
If you want to write your own examples or projects, here's a quick overview of
the non-example subfolders in the src directory:
src/libc contains a barebones implementation of the C standard library. A
few functions have been replaced with optimized assembly implementations;src/ps1 contains a set of headers to help with low-level hardware access:
register definitions, GPU command builders, coprocessor accessors that wrap
inline assembly and so on;src/common can be considered a higher-level support library, consisting of
frequently used functions that would otherwise be duplicated across most of
the examples. This is essentially the "SDK" the examples sit on top of;src/vendor is for third-party libraries (currently only the printf library).If you create a new folder and want its contents to be built, remember to add it
to CMakeLists.txt (you may use the existing entries as a reference) and rerun
both the CMake configure and build commands afterwards.
I have been occasionally asked, particularly in the pre-AI era, if I could provide an example of PS1 homebrew programming that is completely self-contained and permissively licensed. While there are a number of PS1 SDK options around (some of which I have contributed to), their workflows may not suit everyone and the most popular options from a few years ago were additionally encumbered with potential legal issues that made them a non-starter for commercial projects. As I slowly moved away from them over time, I set out to take the custom code I replaced them with, clean it up and turn it into a step-by-step tutorial series for other people to follow.
I want this repo to be an introduction to bare-metal platforms and the PS1 for anybody who already has some experience with C/C++ but not necessarily with the process of linking and compiling, the internals of a standard library, the way threads and IRQs work at the kernel level and so on. I strongly believe that demystifying the inner workings of a platform can go a long way when it comes to helping people understand it. Most 8-bit and 16-bit consoles have received a lot of attention and excellent bare-metal tutorials have been written for them, so I don't get why people shall just give up and use ancient proprietary SDKs from the 1990s when it comes to the PS1.
Everything in this repository, including the vendored copy of Marco Paland's printf library, is licensed under the MIT license (or the functionally equivalent ISC license). The only "hard" requirements are attribution and preserving the license notice; you may otherwise freely use any of the code for both non-commercial and commercial purposes (such as a paid homebrew game, a book or a course).
3,387 followers · starred Jan 2025
56 followers · starred Oct 2024
65 followers · starred Jun 2026