
Browser-based visual editor for building WebGL, WebGPU, WebXR apps
1,314
stars
747
commits
TypeScript
primary language
Sep 14, 2026
updated
README
PlayCanvas Editor




| User Manual | API Reference | Blog | Forum |
The PlayCanvas Editor is a visual editing environment for building WebGL/WebGPU/WebXR apps. It can be accessed at https://playcanvas.com.
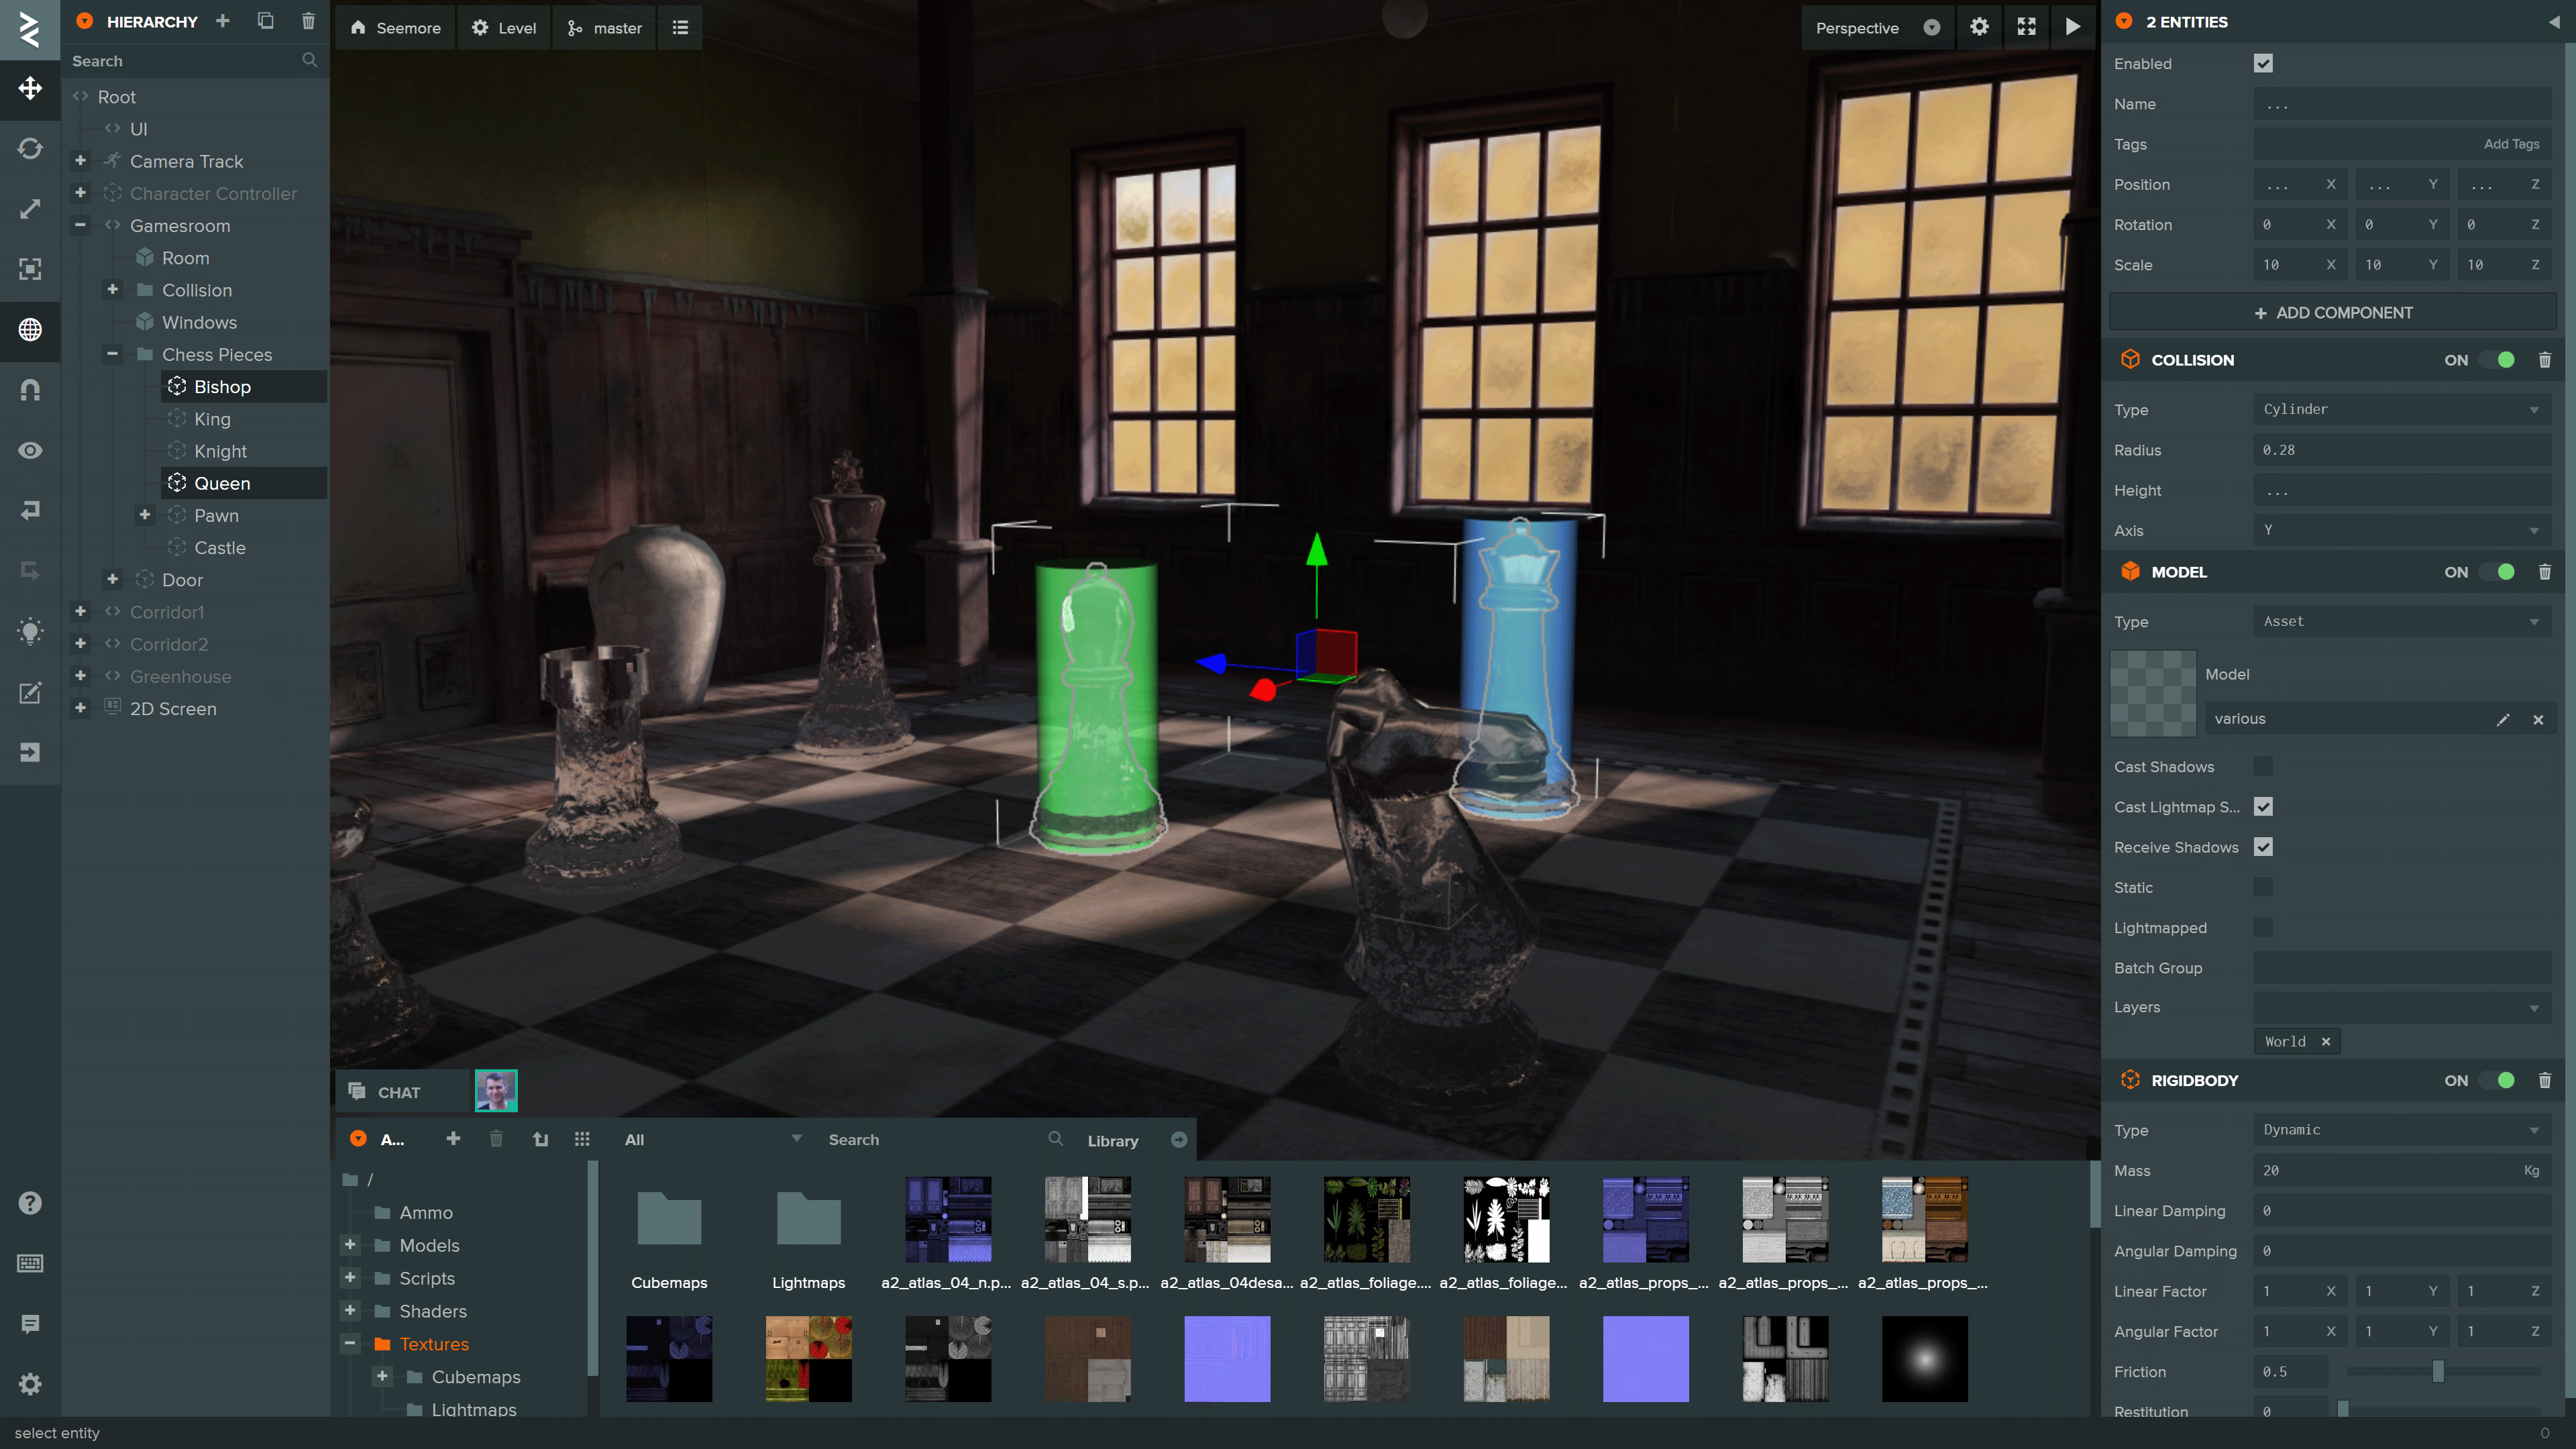
You can see more projects built using the Editor on the PlayCanvas website.
[!TIP] AI-assisted development: The Editor includes a built-in Model Context Protocol (MCP) integration, allowing AI assistants to inspect and modify projects directly through an open Editor session.
Local Development
To initialize a local development environment for the Editor Frontend, ensure you have Node.js 18 or later installed. Follow these steps:
-
Clone the repository:
git clone https://github.com/playcanvas/editor.git cd editor -
Install dependencies:
npm install -
Build the Editor frontend and start a local web server:
npm run develop -
Open the Editor at playcanvas.com and append the query parameter
use_local_frontendto load the development build:https://playcanvas.com/editor/scene/<YOUR_SCENE_ID>?use_local_frontendThis will load the Editor frontend from
http://localhost:3487instead of the production build.
[!NOTE] This query parameter is also supported in the code editor and launch page
Library integration testing
The Editor is built on the following open source libraries:
| Library | Details |
|---|---|
| PlayCanvas Engine | Powers the Editor's 3D View and Launch Page |
| Observer | Data binding and history |
| PCUI | Front-end component library |
| PCUI-Graph | PCUI plugin for rendering node-based graphs |
To test the integration of these libraries, use npm link. Follow these steps:
-
Create a global link from source
cd <library> npm link -
Create a link to the global link
cd editor
npm link <library>
Test Suite
The test suite for the PlayCanvas Editor uses Playwright for end-to-end testing.
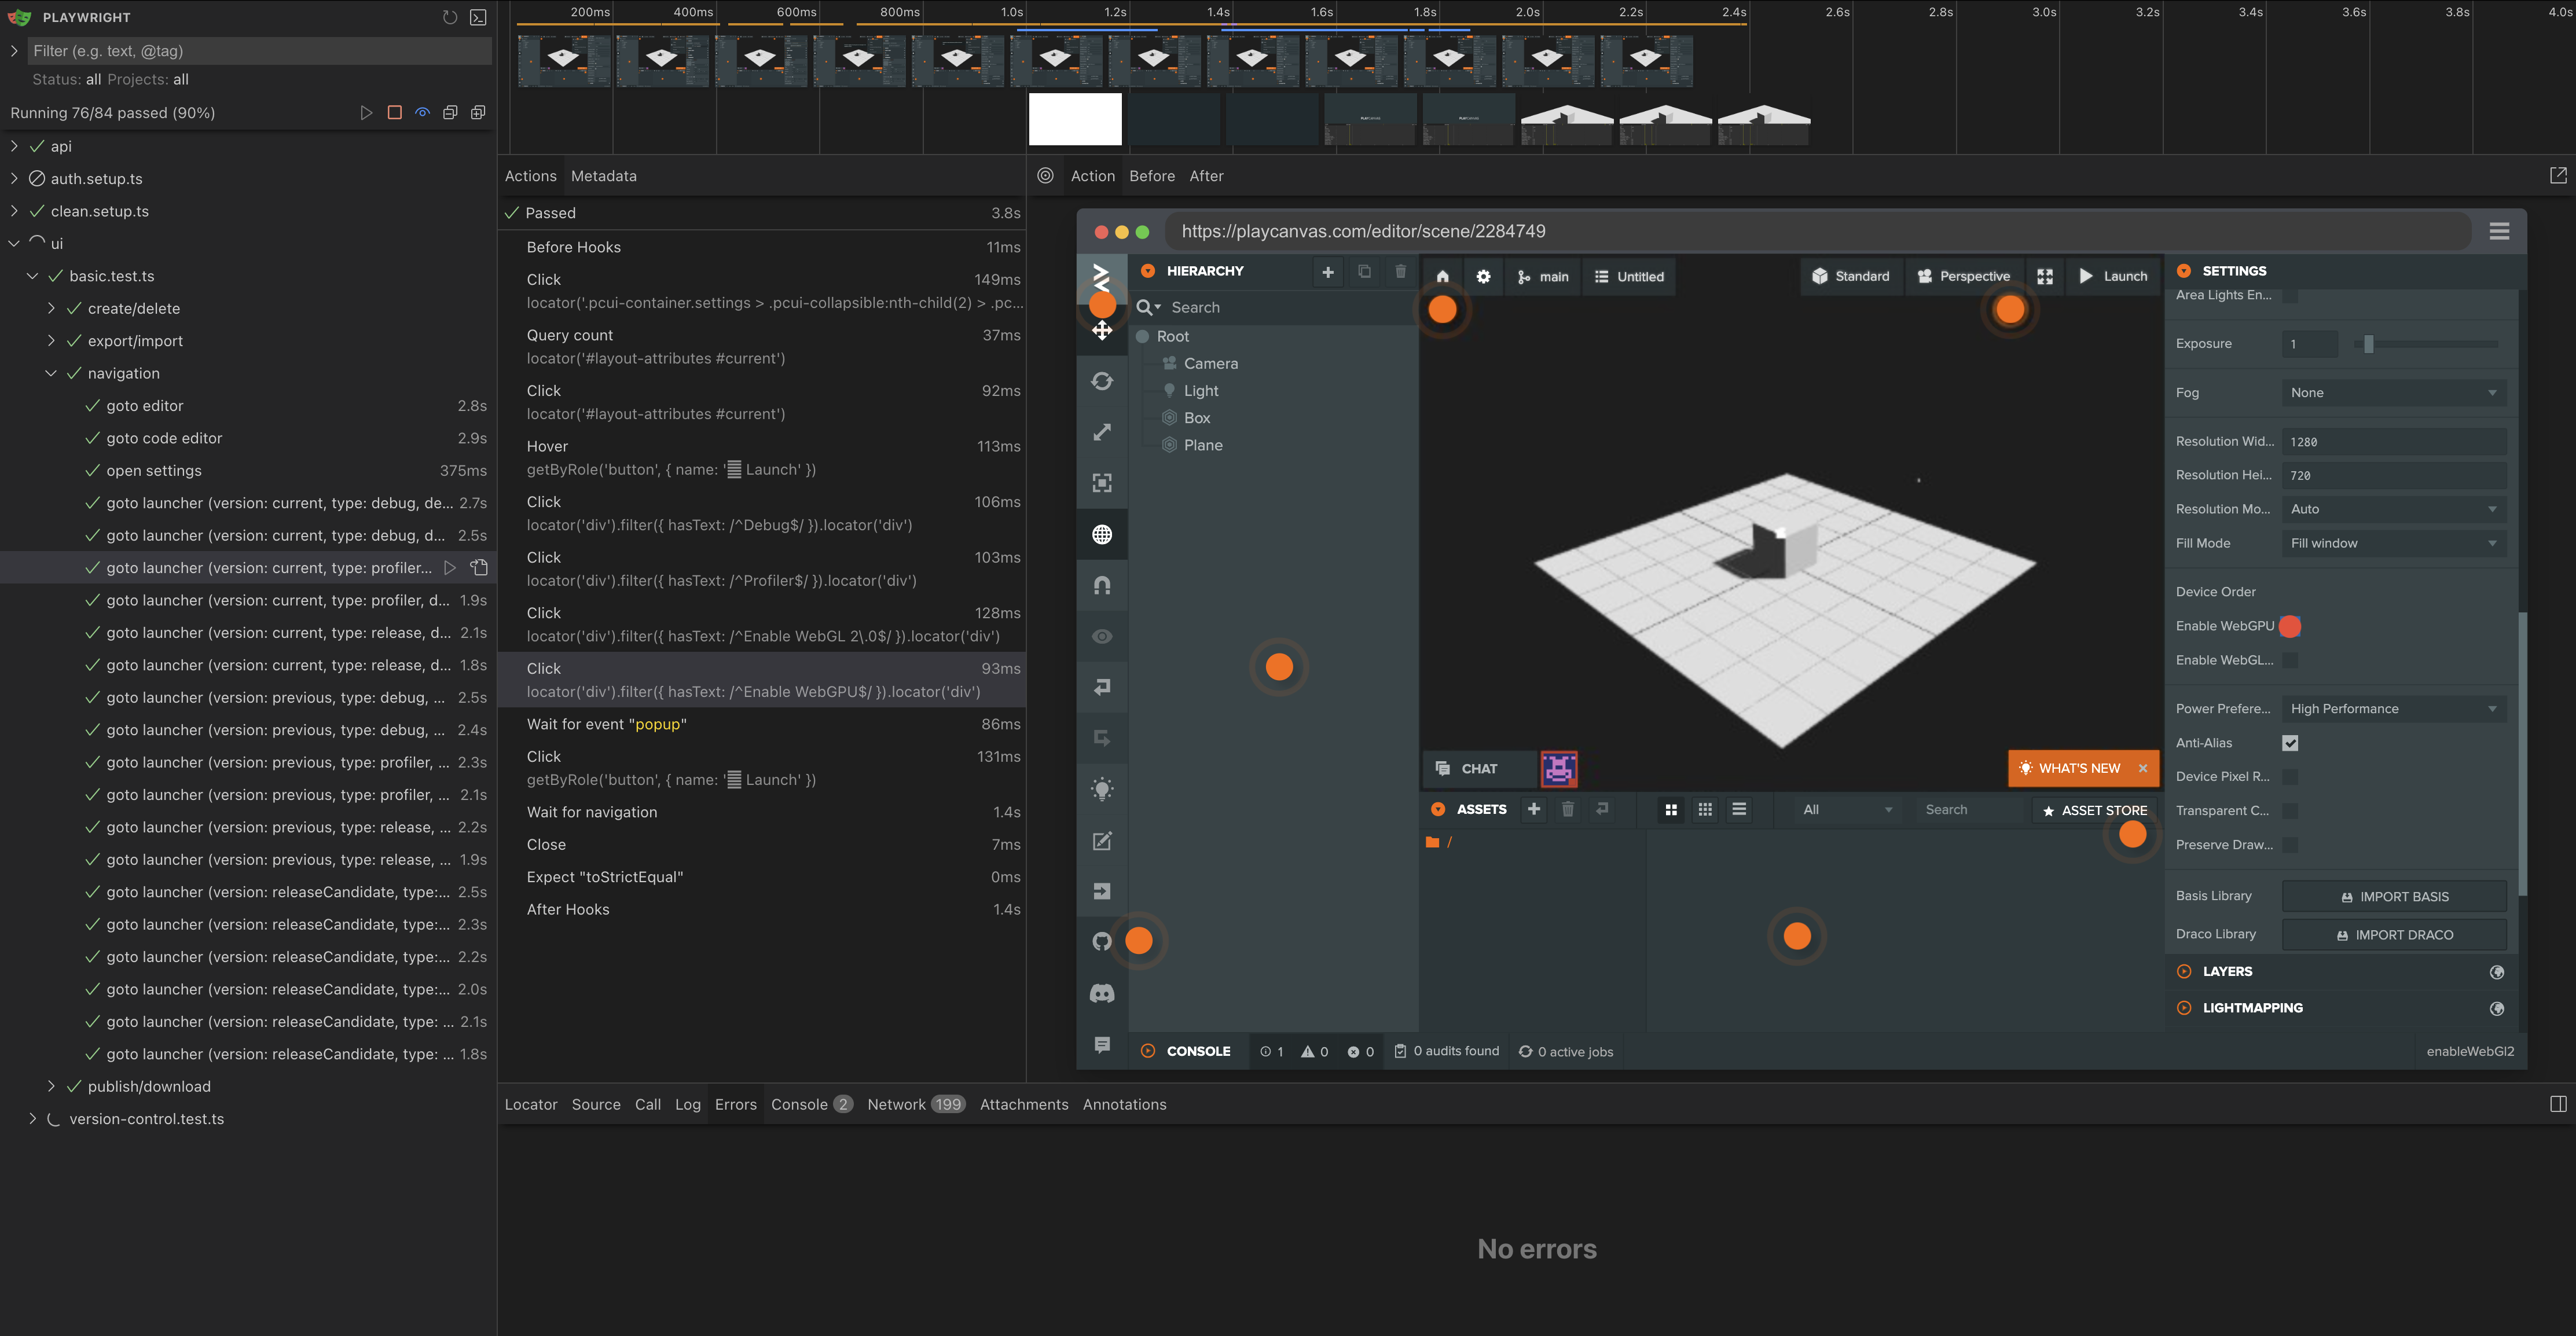
Tests
Tests are split into two categories:
test-suite/test/api- tests for the Editor API behaviortest-suite/test/ui- tests for the Editor UI behavior
Running Tests
To run the test suite ensure you have Docker installed. Follow these steps:
-
Create a
.envfile based on the templatePC_HOST=playcanvas.com PC_LOGIN_HOST=login.playcanvas.com PC_LAUNCH_HOST=launch.playcanvas.com PC_LOCAL_FRONTEND=<true|false> PC_COOKIE_NAME=pc_auth PC_COOKIE_VALUE=<playcanvas-cookie>
[!IMPORTANT] The account used must be an existing account. Create one here
-
Run the container with Docker compose
docker compose up -
Stop the container with Docker compose
docker compose down --remove-orphans
[!NOTE] To build the image from source instead of pulling from the registry append the
--buildflag
Test Suite Local Development
To create new tests, ensure you have Node.js 18 or later installed. Follow these steps:
-
Install dependencies:
cd test-suite npx playwright install --with-deps npm install -
Create tests and put them into the respective folders. For dynamic recording of tests run this command:
npm run codegen
[!NOTE] Run
npm runfor the full list of npm scripts
Contributors


Similar repos


Languages
TypeScript
88.0%
SCSS
8.7%
JavaScript
3.2%
Browser-based visual editor for building WebGL, WebGPU, WebXR apps
1,314
stars
747
commits
TypeScript
primary language
Sep 14, 2026
updated
README
PlayCanvas Editor
| User Manual | API Reference | Blog | Forum |
The PlayCanvas Editor is a visual editing environment for building WebGL/WebGPU/WebXR apps. It can be accessed at https://playcanvas.com.
You can see more projects built using the Editor on the PlayCanvas website.
[!TIP] AI-assisted development: The Editor includes a built-in Model Context Protocol (MCP) integration, allowing AI assistants to inspect and modify projects directly through an open Editor session.
Local Development
To initialize a local development environment for the Editor Frontend, ensure you have Node.js 18 or later installed. Follow these steps:
-
Clone the repository:
git clone https://github.com/playcanvas/editor.git cd editor -
Install dependencies:
npm install -
Build the Editor frontend and start a local web server:
npm run develop -
Open the Editor at playcanvas.com and append the query parameter
use_local_frontendto load the development build:https://playcanvas.com/editor/scene/<YOUR_SCENE_ID>?use_local_frontendThis will load the Editor frontend from
http://localhost:3487instead of the production build.
[!NOTE] This query parameter is also supported in the code editor and launch page
Library integration testing
The Editor is built on the following open source libraries:
| Library | Details |
|---|---|
| PlayCanvas Engine | Powers the Editor's 3D View and Launch Page |
| Observer | Data binding and history |
| PCUI | Front-end component library |
| PCUI-Graph | PCUI plugin for rendering node-based graphs |
To test the integration of these libraries, use npm link. Follow these steps:
-
Create a global link from source
cd <library> npm link -
Create a link to the global link
cd editor
npm link <library>
Test Suite
The test suite for the PlayCanvas Editor uses Playwright for end-to-end testing.
Tests
Tests are split into two categories:
test-suite/test/api- tests for the Editor API behaviortest-suite/test/ui- tests for the Editor UI behavior
Running Tests
To run the test suite ensure you have Docker installed. Follow these steps:
-
Create a
.envfile based on the templatePC_HOST=playcanvas.com PC_LOGIN_HOST=login.playcanvas.com PC_LAUNCH_HOST=launch.playcanvas.com PC_LOCAL_FRONTEND=<true|false> PC_COOKIE_NAME=pc_auth PC_COOKIE_VALUE=<playcanvas-cookie>
[!IMPORTANT] The account used must be an existing account. Create one here
-
Run the container with Docker compose
docker compose up -
Stop the container with Docker compose
docker compose down --remove-orphans
[!NOTE] To build the image from source instead of pulling from the registry append the
--buildflag
Test Suite Local Development
To create new tests, ensure you have Node.js 18 or later installed. Follow these steps:
-
Install dependencies:
cd test-suite npx playwright install --with-deps npm install -
Create tests and put them into the respective folders. For dynamic recording of tests run this command:
npm run codegen
[!NOTE] Run
npm runfor the full list of npm scripts
Similar repos
Contributors
Languages
TypeScript
88.0%
SCSS
8.7%
JavaScript
3.2%