Programmable adapter for USB input devices
See the codeFor user documentation please see the project's website at remapper.org.
This is a configurable USB dongle that allows you to remap inputs from mice, keyboards and other devices. It works completely in hardware and requires no software running on the computer during normal use.
It can do things like reassign buttons, change keyboard layouts, map mouse buttons to keyboard inputs, map keystrokes to mouse inputs, change mouse sensitivity (permanently or when a button is held), rotate mouse axes by arbitrary (non-90 degree) angles, drag-lock for mouse buttons, scroll by moving the mouse, and much more.
It is configurable through a web browser using WebHID (Chrome or Chrome-based browser required).
Wireless receivers are supported and multiple devices can be connected at the same time using a USB hub (with different mappings for each device if desired).
In addition to the remapping functionality, it can do polling rate overclocking up to 1000 Hz.
A separate serial version of the remapper takes inputs from a serial (RS-232) mouse and translates them to USB.
There's also a Bluetooth version that runs on nRF52840-based boards, which translates Bluetooth inputs to USB.
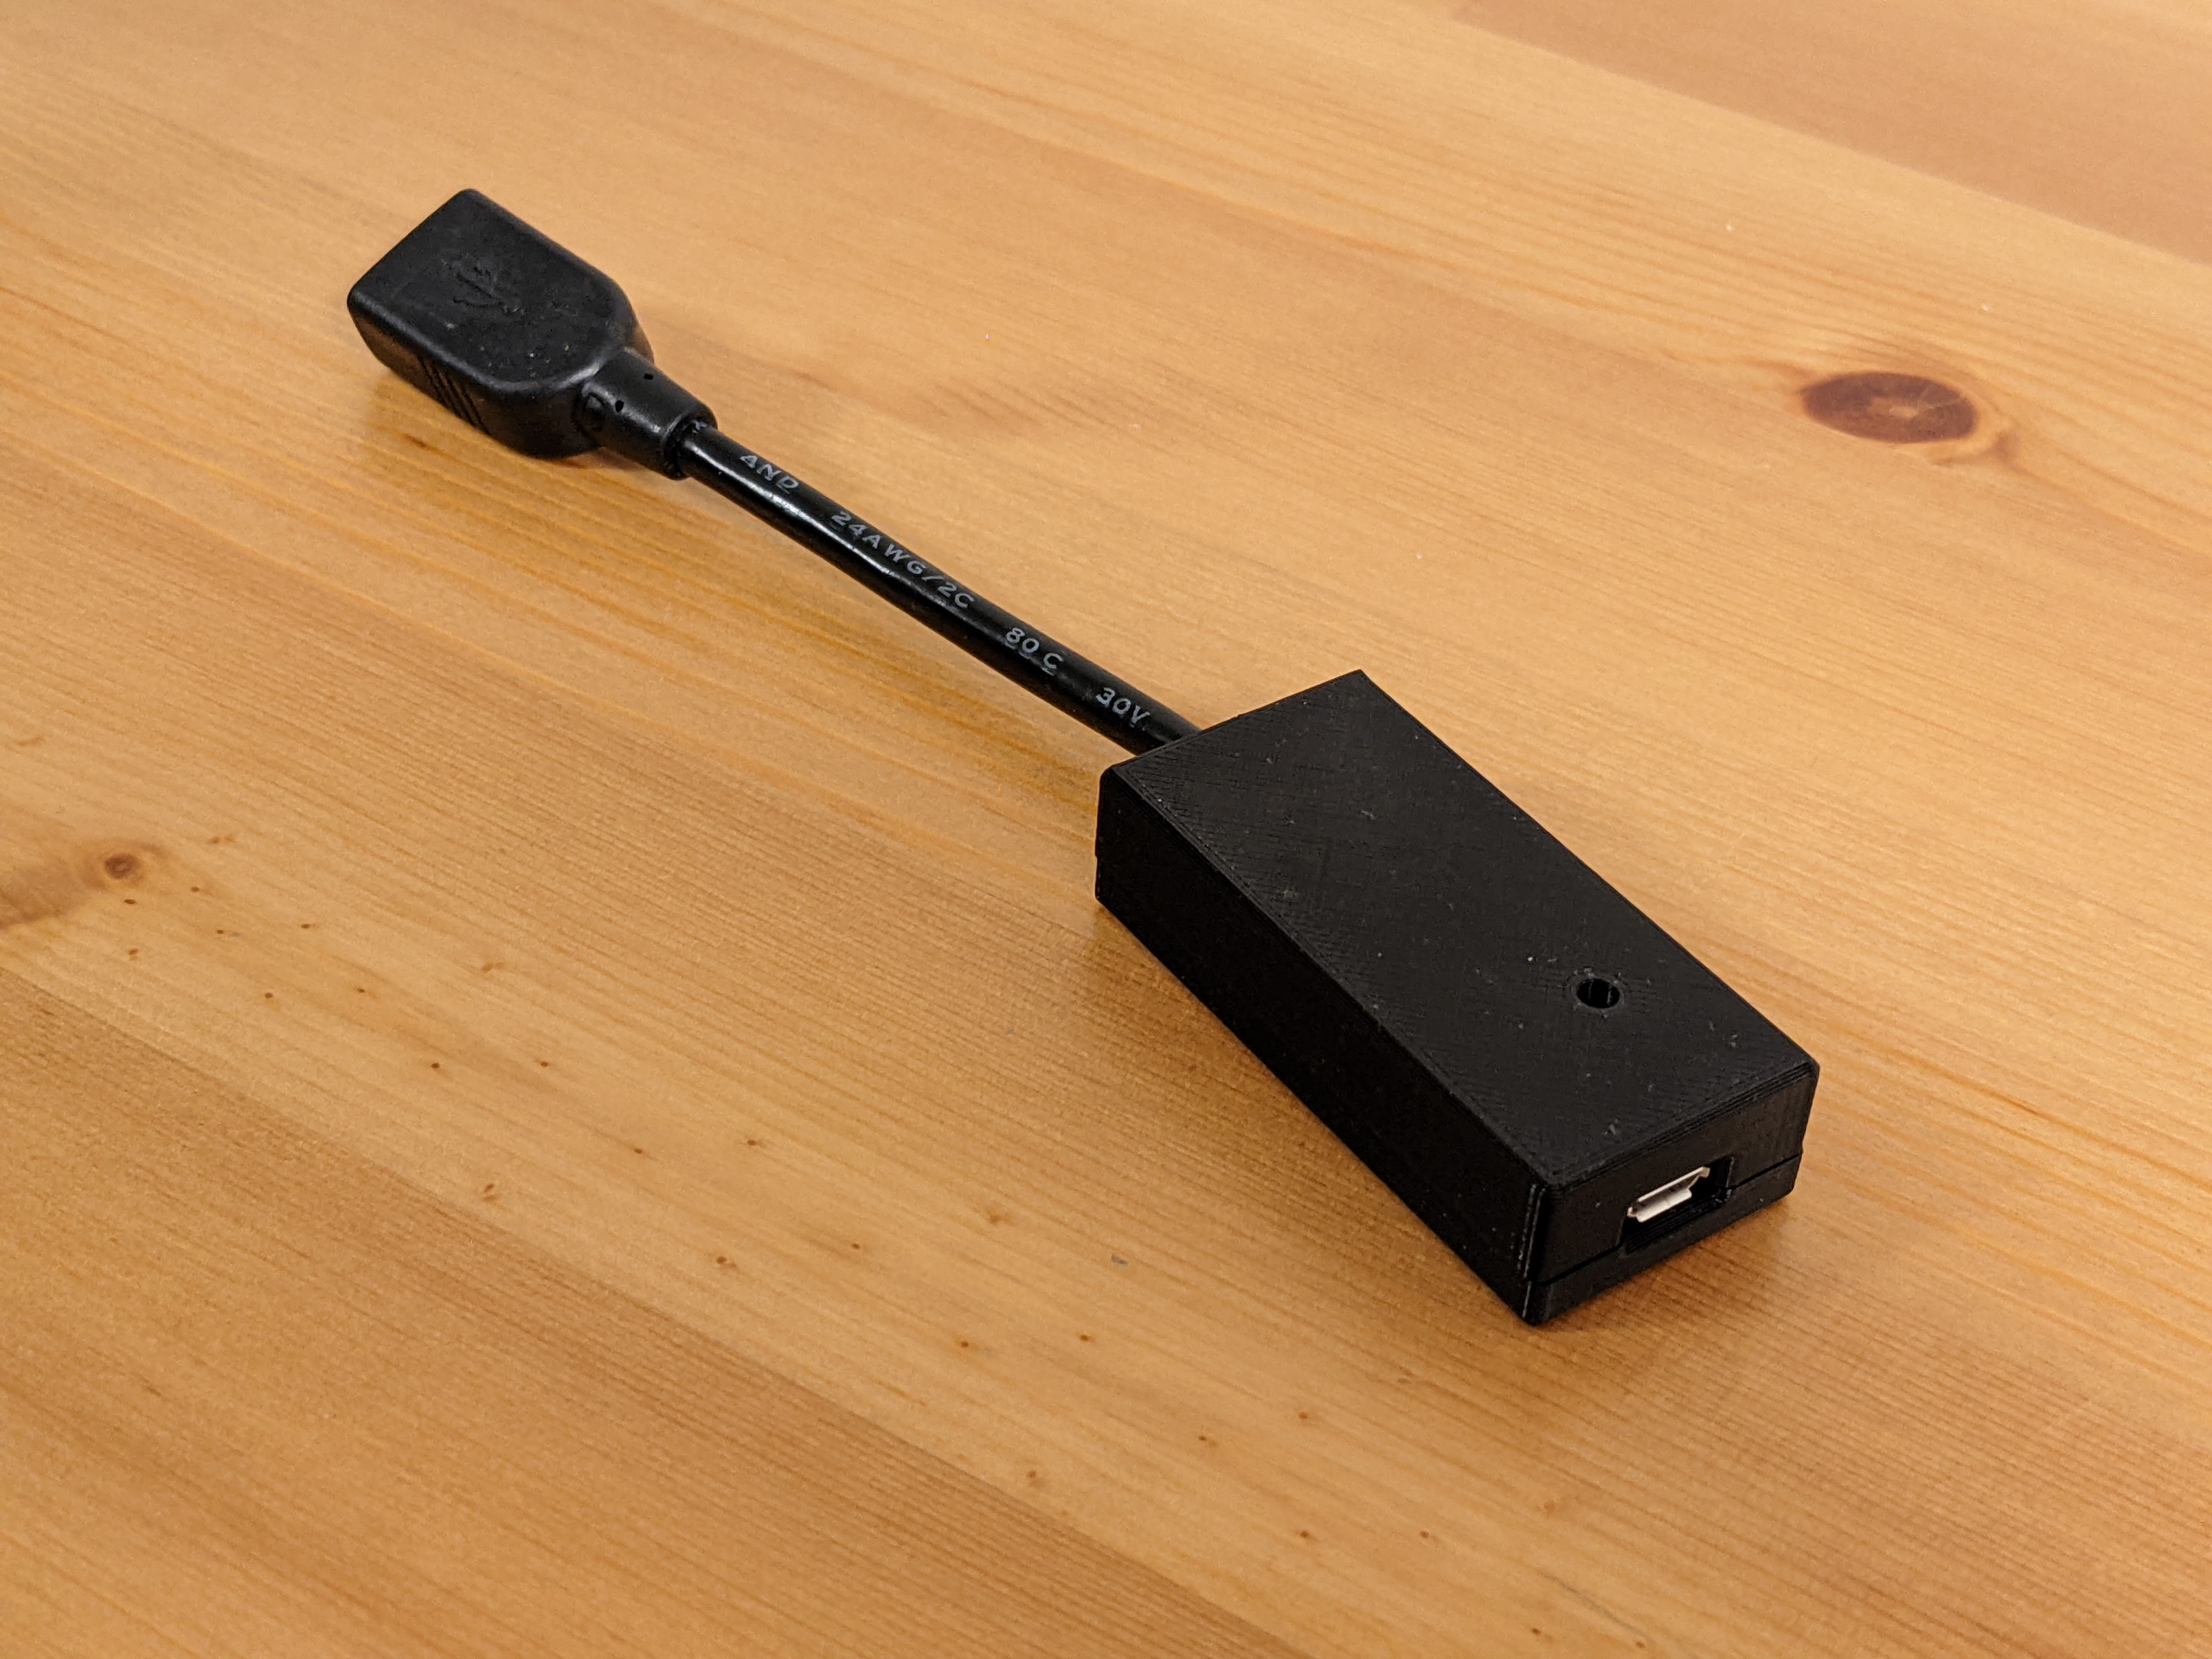
There are three main ways of making the HID Remapper. You can either buy this board from Adafruit, make it yourself using a Raspberry Pi Pico (or two), or you can use the provided files to manufacture a custom board at JLCPCB or a similar service. The functionality is the same in all cases.
If you get the Feather RP2040 USB Host board from Adafruit, the device is ready to use, you just need to flash it with the right firmware (remapper_feather.uf2). Hold the "Boot" button on the board, then press the "Reset" button. A USB drive should show up on your computer. Copy the UF2 file to that drive. That's it.
See here for details on how to make the Pico variants of the device and here for details on the custom board option.
A live version of the web configuration tool can be found at remapper.org/config.
For details on how to use it, please see the HID Remapper Manual.
If you can't use the browser-based configuration tool, there's also a command-line tool that takes JSON in the same format as the web tool on standard input. I only tested it on Linux, but in theory it should also run on Windows and Mac.
The procedure to update the firmware is similar on all variants. When you go to the configuration website and try to connect to your device when it doesn't have the latest firmware, you will get a message and a link to a version of the configuration interface that is compatible with your current (old) firmware. Click that link, connect to your HID Remapper by clicking "Open device" as usual, then go to the "Actions" tab and click "Flash firmware". This will put your device in firmware flashing mode. A drive should appear on your computer. For all the RP2040-based variants, the drive will be named "RPI-RP2". For the Bluetooth variants, it will be called something else, depending on what board you're using. Download the correct firmware file for your variant (see table below) and copy it to that drive. On custom boards v1, v2, v5, v6 and v7 (dual RP2040 boards), after flashing the firmware you have to disconnect and reconnect your HID Remapper. That's it, you can go back to the regular version of the configuration interface and carry on.
(Please note that previously a manual "Flash B side" step was required on custom boards v1, v2, v5, v6 and v7. That is no longer necessary.)
If you're using the dual Pico variant then you need to flash the A side using the remapper_dual_a.uf2 file as described above and then flash the B side manually. Disconnect your HID Remapper from your computer, disconnect the OTG adapter from the B-side Pico, hold the BOOTSEL button on the B-side Pico and then, while holding the button, connect the B-side Pico to your computer. A drive named "RPI-RP2" should appear. Copy the remapper_dual_b.uf2 file to that drive. Disconnect the B-side Pico from your computer, reconnect the OTG adapter and reconnect your HID Remapper to your computer.
When updating firmware, the current configuration on your HID Remapper is preserved. For extra peace of mind you can export your configuration to a JSON file before performing the update. That way if you need to revert to the old version of the firmware for any reason, you'll be able to import the configuration from the JSON file (configuration is lost when going from a newer firmware to an older firmware).
| variant | firmware file(s) | notes |
|---|---|---|
| single Pico | remapper.uf2 | |
| dual Pico | remapper_dual_a.uf2 remapper_dual_b.uf2 | each Pico needs to be flashed separately |
| Feather RP2040 with USB Host | remapper_feather.uf2 | |
| custom board v1 | remapper_board.uf2 | disconnect and reconnect after flashing |
| custom board v2 | remapper_board.uf2 | disconnect and reconnect after flashing |
| custom board v3 | remapper_feather.uf2 | |
| custom board v4 | remapper_feather.uf2 | |
| custom board v5 | remapper_board.uf2 | disconnect and reconnect after flashing |
| custom board v6 | remapper_board.uf2 | disconnect and reconnect after flashing |
| custom board v7 | remapper_board_v7.uf2 | disconnect and reconnect after flashing |
| custom board v8 | remapper_board_v8.uf2 | |
| Feather nRF52840 Express | remapper_adafruit_feather_nrf52840.uf2 | |
| Xiao nRF52840 | remapper_seeed_xiao_nrf52840.uf2 | |
| serial | remapper_serial.uf2 |
For boards not listed above, use the same file name you used when flashing it for the first time.
The easiest way to compile the firmware is to let GitHub do it for you. This repository has GitHub Actions that build the firmware, so you can just fork, make your changes, wait for the job to complete, and look for the binaries in the artifacts produced.
To compile the RP2040 firmware on your machine, use the following steps (details may vary depending on your Linux distribution):
sudo apt install gcc-arm-none-eabi libnewlib-arm-none-eabi libstdc++-arm-none-eabi-newlib srecord
git clone https://github.com/jfedor2/hid-remapper.git
cd hid-remapper
git submodule update --init
cd firmware
mkdir build
cd build
cmake ..
# or, to build for the custom boards:
# PICO_BOARD=remapper cmake ..
make
To compile the nRF52 firmware, you can either follow Nordic's setup instructions and then west build -b seeed_xiao_nrf52840 to compile the firmware, or you can use Docker with a command like this (start from the top level of the repository or adjust the path accordingly):
docker run --rm -v $(pwd):/workdir/project -w /workdir/project/firmware-bluetooth nordicplayground/nrfconnect-sdk:v2.2-branch west build -b seeed_xiao_nrf52840
The software in this repository is licensed under the MIT License, unless stated otherwise.
The hardware designs in this repository are licensed under the Creative Commons Attribution 4.0 International license (CC BY 4.0), unless stated otherwise.
(top 24 of 30)
305 followers · starred Feb 2025
193 followers · starred May 2026
664 followers · starred Nov 2025
431 followers · starred Jun 2022
Programmable adapter for USB input devices
See the codeFor user documentation please see the project's website at remapper.org.
This is a configurable USB dongle that allows you to remap inputs from mice, keyboards and other devices. It works completely in hardware and requires no software running on the computer during normal use.
It can do things like reassign buttons, change keyboard layouts, map mouse buttons to keyboard inputs, map keystrokes to mouse inputs, change mouse sensitivity (permanently or when a button is held), rotate mouse axes by arbitrary (non-90 degree) angles, drag-lock for mouse buttons, scroll by moving the mouse, and much more.
It is configurable through a web browser using WebHID (Chrome or Chrome-based browser required).
Wireless receivers are supported and multiple devices can be connected at the same time using a USB hub (with different mappings for each device if desired).
In addition to the remapping functionality, it can do polling rate overclocking up to 1000 Hz.
A separate serial version of the remapper takes inputs from a serial (RS-232) mouse and translates them to USB.
There's also a Bluetooth version that runs on nRF52840-based boards, which translates Bluetooth inputs to USB.
There are three main ways of making the HID Remapper. You can either buy this board from Adafruit, make it yourself using a Raspberry Pi Pico (or two), or you can use the provided files to manufacture a custom board at JLCPCB or a similar service. The functionality is the same in all cases.
If you get the Feather RP2040 USB Host board from Adafruit, the device is ready to use, you just need to flash it with the right firmware (remapper_feather.uf2). Hold the "Boot" button on the board, then press the "Reset" button. A USB drive should show up on your computer. Copy the UF2 file to that drive. That's it.
See here for details on how to make the Pico variants of the device and here for details on the custom board option.
A live version of the web configuration tool can be found at remapper.org/config.
For details on how to use it, please see the HID Remapper Manual.
If you can't use the browser-based configuration tool, there's also a command-line tool that takes JSON in the same format as the web tool on standard input. I only tested it on Linux, but in theory it should also run on Windows and Mac.
The procedure to update the firmware is similar on all variants. When you go to the configuration website and try to connect to your device when it doesn't have the latest firmware, you will get a message and a link to a version of the configuration interface that is compatible with your current (old) firmware. Click that link, connect to your HID Remapper by clicking "Open device" as usual, then go to the "Actions" tab and click "Flash firmware". This will put your device in firmware flashing mode. A drive should appear on your computer. For all the RP2040-based variants, the drive will be named "RPI-RP2". For the Bluetooth variants, it will be called something else, depending on what board you're using. Download the correct firmware file for your variant (see table below) and copy it to that drive. On custom boards v1, v2, v5, v6 and v7 (dual RP2040 boards), after flashing the firmware you have to disconnect and reconnect your HID Remapper. That's it, you can go back to the regular version of the configuration interface and carry on.
(Please note that previously a manual "Flash B side" step was required on custom boards v1, v2, v5, v6 and v7. That is no longer necessary.)
If you're using the dual Pico variant then you need to flash the A side using the remapper_dual_a.uf2 file as described above and then flash the B side manually. Disconnect your HID Remapper from your computer, disconnect the OTG adapter from the B-side Pico, hold the BOOTSEL button on the B-side Pico and then, while holding the button, connect the B-side Pico to your computer. A drive named "RPI-RP2" should appear. Copy the remapper_dual_b.uf2 file to that drive. Disconnect the B-side Pico from your computer, reconnect the OTG adapter and reconnect your HID Remapper to your computer.
When updating firmware, the current configuration on your HID Remapper is preserved. For extra peace of mind you can export your configuration to a JSON file before performing the update. That way if you need to revert to the old version of the firmware for any reason, you'll be able to import the configuration from the JSON file (configuration is lost when going from a newer firmware to an older firmware).
| variant | firmware file(s) | notes |
|---|---|---|
| single Pico | remapper.uf2 | |
| dual Pico | remapper_dual_a.uf2 remapper_dual_b.uf2 | each Pico needs to be flashed separately |
| Feather RP2040 with USB Host | remapper_feather.uf2 | |
| custom board v1 | remapper_board.uf2 | disconnect and reconnect after flashing |
| custom board v2 | remapper_board.uf2 | disconnect and reconnect after flashing |
| custom board v3 | remapper_feather.uf2 | |
| custom board v4 | remapper_feather.uf2 | |
| custom board v5 | remapper_board.uf2 | disconnect and reconnect after flashing |
| custom board v6 | remapper_board.uf2 | disconnect and reconnect after flashing |
| custom board v7 | remapper_board_v7.uf2 | disconnect and reconnect after flashing |
| custom board v8 | remapper_board_v8.uf2 | |
| Feather nRF52840 Express | remapper_adafruit_feather_nrf52840.uf2 | |
| Xiao nRF52840 | remapper_seeed_xiao_nrf52840.uf2 | |
| serial | remapper_serial.uf2 |
For boards not listed above, use the same file name you used when flashing it for the first time.
The easiest way to compile the firmware is to let GitHub do it for you. This repository has GitHub Actions that build the firmware, so you can just fork, make your changes, wait for the job to complete, and look for the binaries in the artifacts produced.
To compile the RP2040 firmware on your machine, use the following steps (details may vary depending on your Linux distribution):
sudo apt install gcc-arm-none-eabi libnewlib-arm-none-eabi libstdc++-arm-none-eabi-newlib srecord
git clone https://github.com/jfedor2/hid-remapper.git
cd hid-remapper
git submodule update --init
cd firmware
mkdir build
cd build
cmake ..
# or, to build for the custom boards:
# PICO_BOARD=remapper cmake ..
make
To compile the nRF52 firmware, you can either follow Nordic's setup instructions and then west build -b seeed_xiao_nrf52840 to compile the firmware, or you can use Docker with a command like this (start from the top level of the repository or adjust the path accordingly):
docker run --rm -v $(pwd):/workdir/project -w /workdir/project/firmware-bluetooth nordicplayground/nrfconnect-sdk:v2.2-branch west build -b seeed_xiao_nrf52840
The software in this repository is licensed under the MIT License, unless stated otherwise.
The hardware designs in this repository are licensed under the Creative Commons Attribution 4.0 International license (CC BY 4.0), unless stated otherwise.
(top 24 of 30)
305 followers · starred Feb 2025
193 followers · starred May 2026
664 followers · starred Nov 2025
431 followers · starred Jun 2022