
3D from any image, web-ready and interactive
See the codeSee what people are saying
README
Spatial Photos
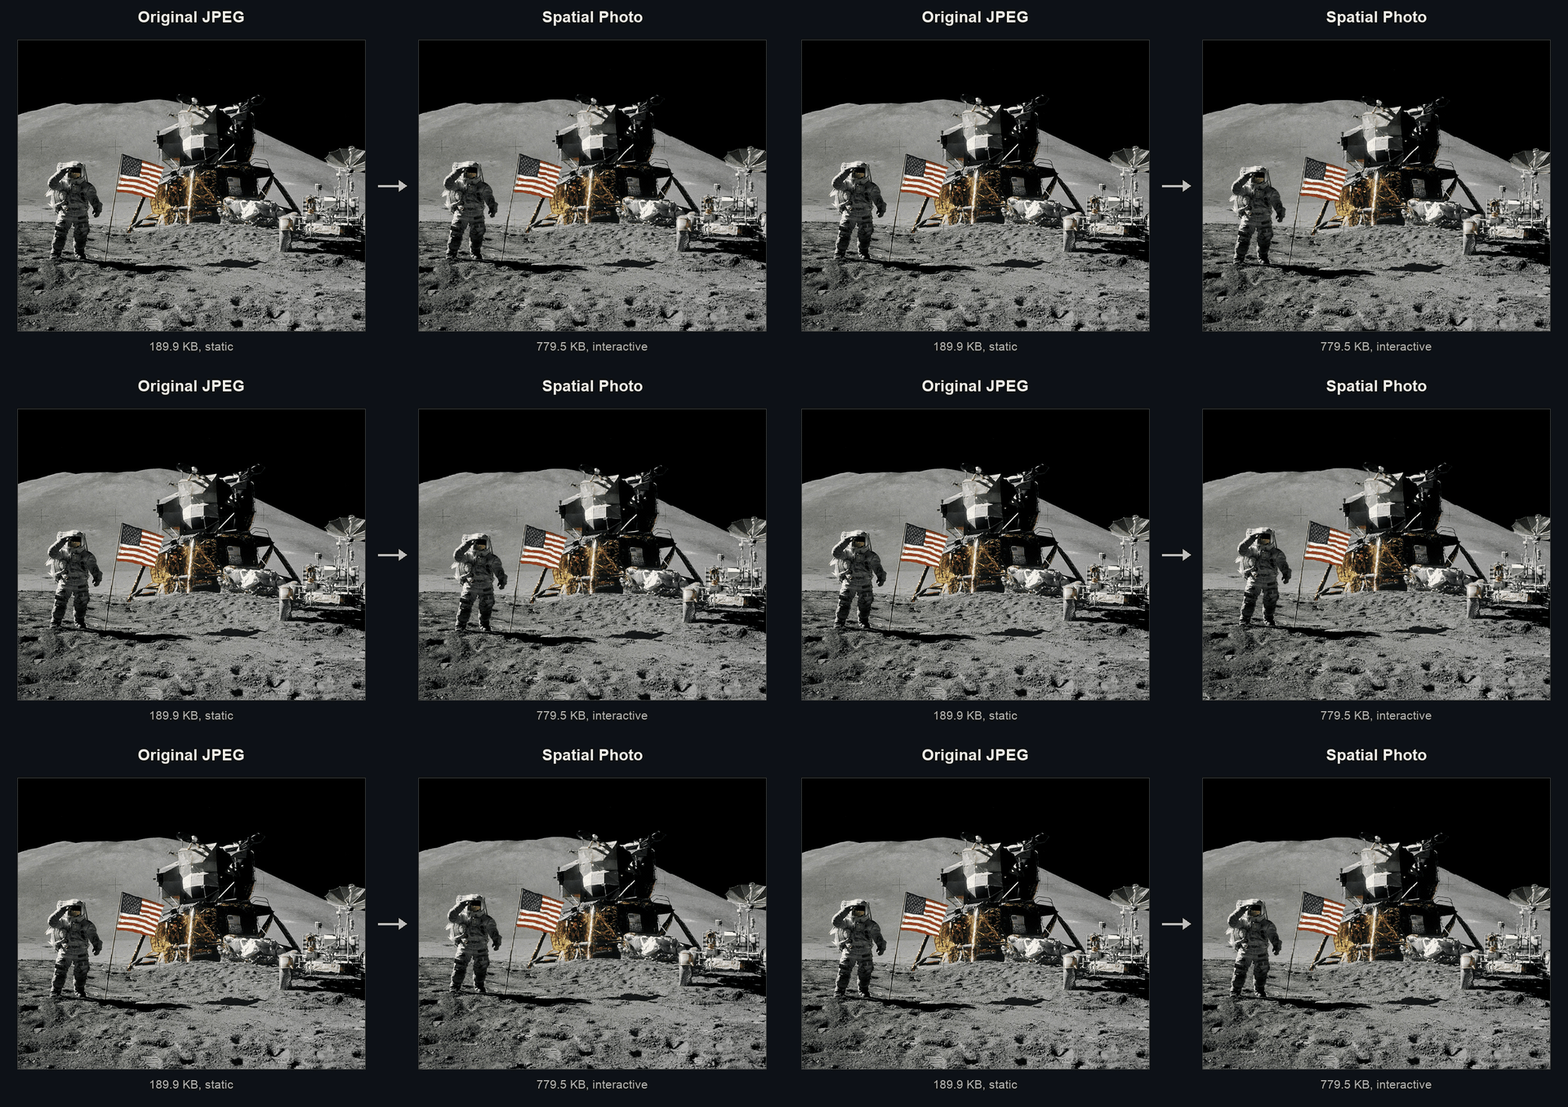
Add a 3D effect to any image, and ship it anywhere with a web-ready format! This project uses Apple's ML-SHARP model to generate a 3D Gaussian splat from a single image, then converts it into a compact .spatial format, ready to be shipped on the web and viewed anywhere.
Quickstart
Use Python 3.11+ and a C++20 compiler. Clone the repository with its submodule, then build from the repository root:
git clone --recurse-submodules https://github.com/frozein/SpatialPhotos.git
cd SpatialPhotos
python3 -m venv .venv
source .venv/bin/activate
python -m pip install -e ./ml-sharp rectpack ninja
python -m ddgs_cpu
On Windows, use python instead of python3 and activate with
.venv\Scripts\activate.bat from a Visual Studio Developer Command Prompt.
Then, to generate a spatial photo, run:
python predict.py input.jpg output.spatial
The ML-SHARP model checkpoint (about 2.8 GB) downloads automatically on first use. Pass
--checkpoint /path/to/sharp.pt to use a local checkpoint.
To view the output locally, use Node.js 22.12+ (or Node.js 20.19+) and run:
cd viewer
npm install
npm run dev
Open /example/ on the local server and load your .spatial file. See the
viewer README for component usage and development.
Documentation
predict.py accepts an image or image directory. Use a .spatial output path
for one image, or an output directory to save each image as name.spatial.
Directory inputs require a directory output.
| Option | Description |
|---|---|
--quality N | JPEG encoding quality for both color and alpha, 0–100. Default: 75. |
--slices N | Number of depth layers. More layers leads to larger files, but can help reduce artifacts. Default: 20. |
--block-size N | Block size in pixels, must be a multiple of 8. Smaller blocks generally lead to smaller files and higher quality, but slower processing and rendering. Default: 32. |
--outfill N | Extend output bounds by this fraction to fill borders when panning. Default: 0. |
--uv-padding N | Inset exposed atlas edges in pixels, helps reduce artifacts during rendering. Default: 1. |
--opaque-only | Use opaque rendering, leads smaller files, but at lower quality. |
--checkpoint PATH | Local ML-SHARP model checkpoint, otherwise downloaded and cached automatically. |
File Format // What is a Spatial Photo?
A spatial photo is a still image that can be viewed from slightly different positions, giving the impression that a full 3D scene was captured. This limited 3D representation is estimated by ML-SHARP, from nothing but the original image.
The scene is divided into depth layers, called slices. The foreground, midground, background, etc all get placed on distinct slices. Each slice is split into a regular grid of small image blocks. Empty blocks are omitted. Each block corner has a depth, which determines its 3D position.
The image data within each block gets packed into a texture atlas. The atlas is a single image containing every single block. There are 2 atlases: one for the RGB color, and one for alpha.
A .spatial file stores this information in three parts:
- Header: 68 bytes beginning with
SPA\x00, containing expanded image, original image, and atlas dimensions, slice count, block size, camera focal length, and payload lengths. - Geometry: each slice stores bitmasks marking which grid corners and blocks exist. Present corners have 32-bit floating-point depths; present blocks have a pair of one-byte atlas coordinates, measured in blocks. Each shared corner depth is stored once per slice.
- Images: the color JPEG followed by the grayscale alpha JPEG. Both are
compressed using the same
--qualitysetting and are lossy.
Multi-byte numeric fields are little-endian.
See exporter.py for the binary layout and encoding.
Project structure
| Path | Purpose |
|---|---|
| predict.py | CLI, model inference, and input settings. |
| spatial_photos.py | Slice rendering, atlas packing, and mesh generation. |
| exporter.py | Spatial serialization and JPEG encoding. |
| ddgs_cpu/ | C++ CPU Gaussian renderer. |
| ml-sharp/ | ML-SHARP model submodule. |
| viewer/ | Web component and standalone demo. |
Similar repos



3D from any image, web-ready and interactive
See the codeSee what people are saying
README
Spatial Photos
Add a 3D effect to any image, and ship it anywhere with a web-ready format! This project uses Apple's ML-SHARP model to generate a 3D Gaussian splat from a single image, then converts it into a compact .spatial format, ready to be shipped on the web and viewed anywhere.
Quickstart
Use Python 3.11+ and a C++20 compiler. Clone the repository with its submodule, then build from the repository root:
git clone --recurse-submodules https://github.com/frozein/SpatialPhotos.git
cd SpatialPhotos
python3 -m venv .venv
source .venv/bin/activate
python -m pip install -e ./ml-sharp rectpack ninja
python -m ddgs_cpu
On Windows, use python instead of python3 and activate with
.venv\Scripts\activate.bat from a Visual Studio Developer Command Prompt.
Then, to generate a spatial photo, run:
python predict.py input.jpg output.spatial
The ML-SHARP model checkpoint (about 2.8 GB) downloads automatically on first use. Pass
--checkpoint /path/to/sharp.pt to use a local checkpoint.
To view the output locally, use Node.js 22.12+ (or Node.js 20.19+) and run:
cd viewer
npm install
npm run dev
Open /example/ on the local server and load your .spatial file. See the
viewer README for component usage and development.
Documentation
predict.py accepts an image or image directory. Use a .spatial output path
for one image, or an output directory to save each image as name.spatial.
Directory inputs require a directory output.
| Option | Description |
|---|---|
--quality N | JPEG encoding quality for both color and alpha, 0–100. Default: 75. |
--slices N | Number of depth layers. More layers leads to larger files, but can help reduce artifacts. Default: 20. |
--block-size N | Block size in pixels, must be a multiple of 8. Smaller blocks generally lead to smaller files and higher quality, but slower processing and rendering. Default: 32. |
--outfill N | Extend output bounds by this fraction to fill borders when panning. Default: 0. |
--uv-padding N | Inset exposed atlas edges in pixels, helps reduce artifacts during rendering. Default: 1. |
--opaque-only | Use opaque rendering, leads smaller files, but at lower quality. |
--checkpoint PATH | Local ML-SHARP model checkpoint, otherwise downloaded and cached automatically. |
File Format // What is a Spatial Photo?
A spatial photo is a still image that can be viewed from slightly different positions, giving the impression that a full 3D scene was captured. This limited 3D representation is estimated by ML-SHARP, from nothing but the original image.
The scene is divided into depth layers, called slices. The foreground, midground, background, etc all get placed on distinct slices. Each slice is split into a regular grid of small image blocks. Empty blocks are omitted. Each block corner has a depth, which determines its 3D position.
The image data within each block gets packed into a texture atlas. The atlas is a single image containing every single block. There are 2 atlases: one for the RGB color, and one for alpha.
A .spatial file stores this information in three parts:
- Header: 68 bytes beginning with
SPA\x00, containing expanded image, original image, and atlas dimensions, slice count, block size, camera focal length, and payload lengths. - Geometry: each slice stores bitmasks marking which grid corners and blocks exist. Present corners have 32-bit floating-point depths; present blocks have a pair of one-byte atlas coordinates, measured in blocks. Each shared corner depth is stored once per slice.
- Images: the color JPEG followed by the grayscale alpha JPEG. Both are
compressed using the same
--qualitysetting and are lossy.
Multi-byte numeric fields are little-endian.
See exporter.py for the binary layout and encoding.
Project structure
| Path | Purpose |
|---|---|
| predict.py | CLI, model inference, and input settings. |
| spatial_photos.py | Slice rendering, atlas packing, and mesh generation. |
| exporter.py | Spatial serialization and JPEG encoding. |
| ddgs_cpu/ | C++ CPU Gaussian renderer. |
| ml-sharp/ | ML-SHARP model submodule. |
| viewer/ | Web component and standalone demo. |