ChatGPT web interface using the OpenAI API
See the code


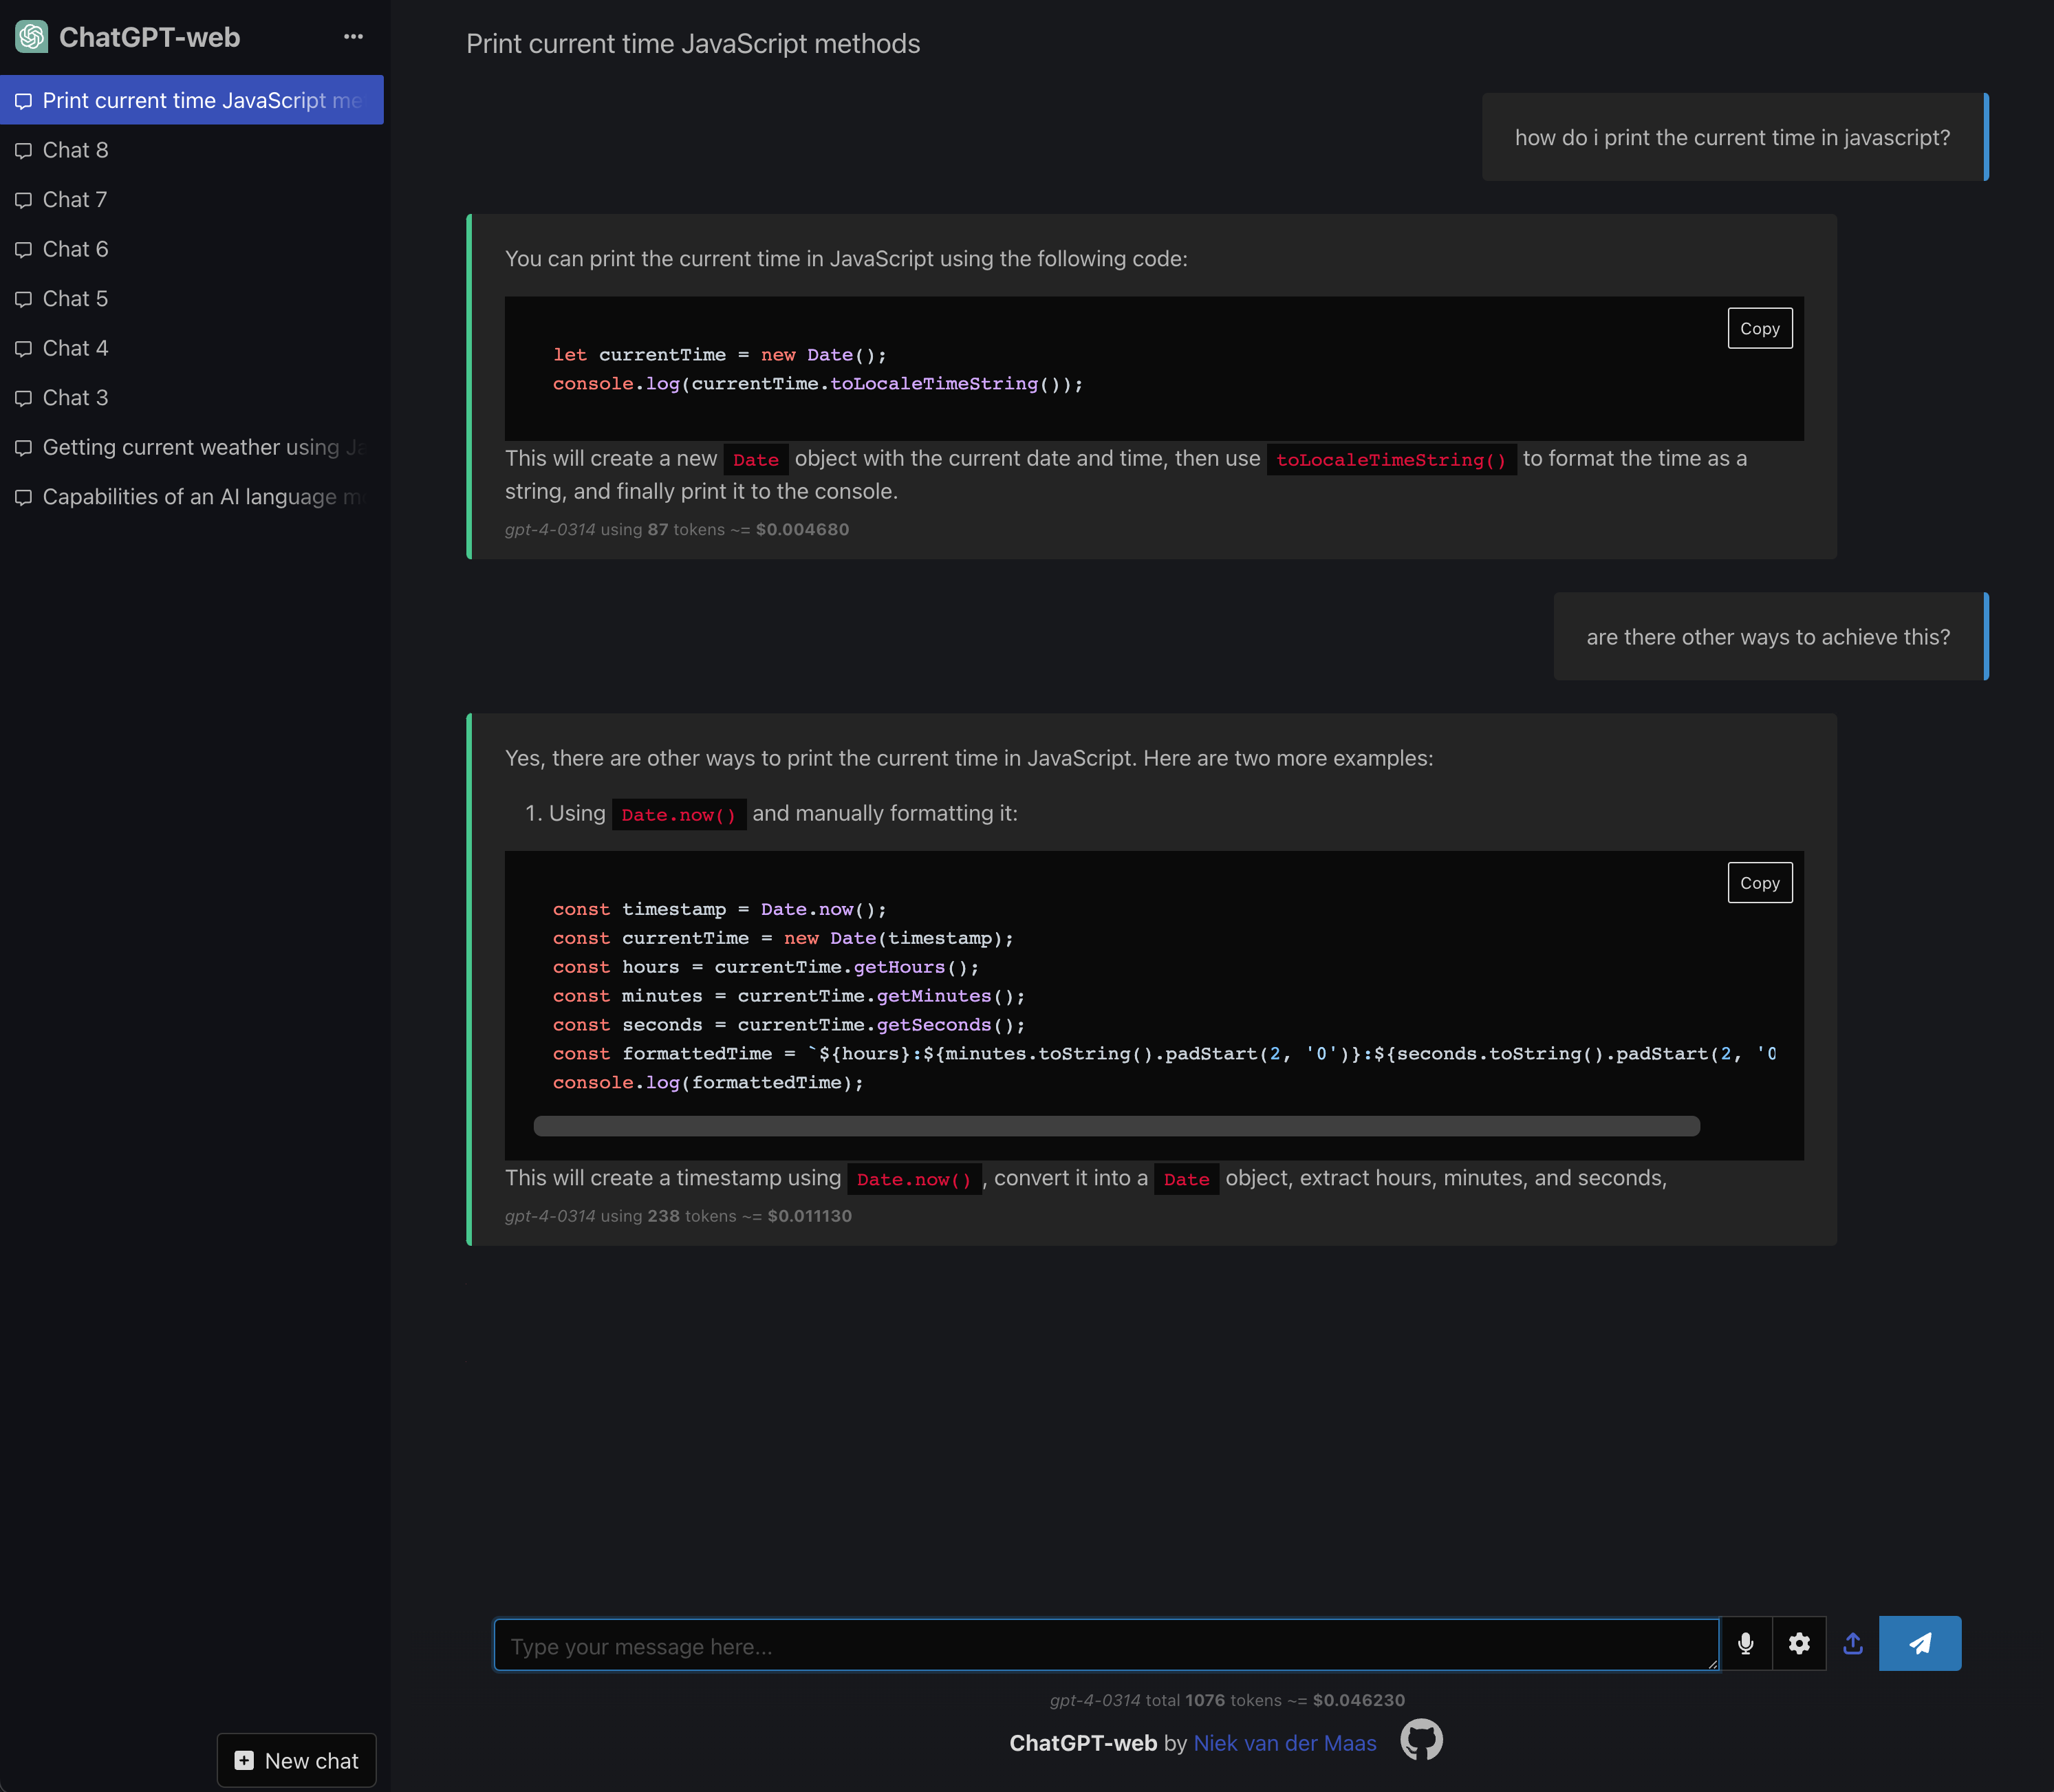
ChatGPT-web is a simple one-page web interface for OpenAI-compatible chat APIs. Select a provider, enter its API key, and the app discovers its available models. Chats are stored in your browser's local storage; prompts are sent directly to the selected provider.
The setup screen has presets for:
Anthropic's compatibility layer is intended primarily for testing and comparison. Some OpenAI request fields are ignored or translated; see Anthropic's compatibility documentation for the current limitations.
Image generation is available for providers with a compatible image endpoint. ChatGPT-web automatically uses the provider default, such as gpt-image-2 for OpenAI, grok-imagine-image-quality for xAI, or gemini-2.5-flash-image for Google Gemini. The chat setting can override that default; providers without a known default require an explicit model ID.
Here’s how to participate in development and prepare your build for production:
To install dependencies and start the development server:
npm ci
npm run dev
To compile the project for production, ensuring optimal performance:
npm run build
This command generates a dist folder containing the production build of your project, ready for deployment.
The prompts.chat data provides the pre-selected prompts shown in the chat interface. The bundled list contains the 100 most-upvoted text prompts from the public prompts.chat API.
To refresh the bundled snapshot, run:
npm run update-prompts
The updater validates the response before atomically replacing src/awesome-chatgpt-prompts/prompts.csv, so an API or network failure leaves the existing snapshot intact.
Deploying the application and its mocked API locally is streamlined using Docker Compose. By executing the following command, you initialize both services effortlessly:
docker compose up -d
Upon successfully running the Docker Compose command, the local version of the web service becomes accessible. You can interact with it by visiting: http://localhost:5173/
For instances where immediate API responses are preferred, consider utilizing the mocked API. Follow the steps below to configure and customize your mocked API responses:
Configuration:
.env file located at the project's root.VITE_PROVIDER=custom.VITE_API_BASE=http://localhost:5174 to redirect requests to the mocked API.VITE_API_KEY.docker compose up -d mocked_api to start the mocked API service.mock-image and prompt "show me an image of ...".mock svg without enabling image generation.Customizing Responses:
d followed by the desired number of seconds (e.g., d2 for a 2-second delay).l followed by the desired number of sentences (e.g., l10 for a response of 10 sentences).d2 l10 configures the mocked API to delay the response by 2 seconds and to include 10 sentences.To use ChatGPT-web as a desktop application:
Installation: First, ensure Rust is installed on your computer.
Development Version:
npm run tauri dev to start the desktop app in development mode.Production Version:
npm run tauri build to compile the production version of the app.Location of the Built Application:
src-tauri/target folder.1,475 followers · starred Sep 2023
2,359 followers · starred Apr 2023
2,975 followers · starred Apr 2023
195 followers · starred Mar 2023
ChatGPT web interface using the OpenAI API
See the code
ChatGPT-web is a simple one-page web interface for OpenAI-compatible chat APIs. Select a provider, enter its API key, and the app discovers its available models. Chats are stored in your browser's local storage; prompts are sent directly to the selected provider.
The setup screen has presets for:
Anthropic's compatibility layer is intended primarily for testing and comparison. Some OpenAI request fields are ignored or translated; see Anthropic's compatibility documentation for the current limitations.
Image generation is available for providers with a compatible image endpoint. ChatGPT-web automatically uses the provider default, such as gpt-image-2 for OpenAI, grok-imagine-image-quality for xAI, or gemini-2.5-flash-image for Google Gemini. The chat setting can override that default; providers without a known default require an explicit model ID.
Here’s how to participate in development and prepare your build for production:
To install dependencies and start the development server:
npm ci
npm run dev
To compile the project for production, ensuring optimal performance:
npm run build
This command generates a dist folder containing the production build of your project, ready for deployment.
The prompts.chat data provides the pre-selected prompts shown in the chat interface. The bundled list contains the 100 most-upvoted text prompts from the public prompts.chat API.
To refresh the bundled snapshot, run:
npm run update-prompts
The updater validates the response before atomically replacing src/awesome-chatgpt-prompts/prompts.csv, so an API or network failure leaves the existing snapshot intact.
Deploying the application and its mocked API locally is streamlined using Docker Compose. By executing the following command, you initialize both services effortlessly:
docker compose up -d
Upon successfully running the Docker Compose command, the local version of the web service becomes accessible. You can interact with it by visiting: http://localhost:5173/
For instances where immediate API responses are preferred, consider utilizing the mocked API. Follow the steps below to configure and customize your mocked API responses:
Configuration:
.env file located at the project's root.VITE_PROVIDER=custom.VITE_API_BASE=http://localhost:5174 to redirect requests to the mocked API.VITE_API_KEY.docker compose up -d mocked_api to start the mocked API service.mock-image and prompt "show me an image of ...".mock svg without enabling image generation.Customizing Responses:
d followed by the desired number of seconds (e.g., d2 for a 2-second delay).l followed by the desired number of sentences (e.g., l10 for a response of 10 sentences).d2 l10 configures the mocked API to delay the response by 2 seconds and to include 10 sentences.To use ChatGPT-web as a desktop application:
Installation: First, ensure Rust is installed on your computer.
Development Version:
npm run tauri dev to start the desktop app in development mode.Production Version:
npm run tauri build to compile the production version of the app.Location of the Built Application:
src-tauri/target folder.1,475 followers · starred Sep 2023
2,359 followers · starred Apr 2023
2,975 followers · starred Apr 2023
195 followers · starred Mar 2023