
A chatbot made to write client code based on WCF service
C#
0
78 commits
updated Sep 20, 2025
README
WCF-chatbot
A chatbot made to write client code based on WCF service
Trainer
Environment variables
Set variables
export PDF_FOLDER_PATH=../pdf
export PDF_FOLDER_PATH_TEST=../pdf-test
export MSDN_ADDRESS=https://learn.microsoft.com/en-us
export GITHUB_DOCS_PATH=../docs-main/docs/framework/wcf
Installation
To make chatbot ingest work you need to:
- Install tesseract and poppler.
- Install all libraries from requirements.txt.
- Install ollama
Ollama installation
curl -fsSL https://ollama.com/install.sh | sh
Pgvector Docker install
If you are a Linux user, type following commands in bash terminal:
docker run -d --name pgvector -p 7654:5432 -e POSTGRES_USER=YOUR_USER -e POSTGRES_PASSWORD=YOUR_PASSWORD pgvector/pgvector:0.8.0-pg17
In psql, type:
CREATE EXTENSION vector;
Data ingestion
To ingest embedding data to pgvector database, you can do it in two ways.
- First way is by running main.py in Trainer directory. (Automatic ingestion)
- Second way is by manual data ingestion. (Manual Ingestion)
Automatic ingestion
To ingest automatically, just run main.py from Trainer directory and data will be fetched, cleaned and inserted in pgvector database.
Manual ingestion
To digest data manually, open pgvector_manualinject directory.
-
Run table creation script on pgvector database.
CREATE TABLE vector_embeddings ( id SERIAL PRIMARY KEY, hash TEXT, title TEXT, text TEXT, token_length INTEGER, vector VECTOR(768) NOT NULL, metadata JSONB ); -
Connect to the pgvector database via psql and run the following script.
\COPY vector_embeddings(id, hash, title, text, token_length, vector, metadata)
FROM
'path/to/your/directory/vector-embeddings-export.csv'
WITH (FORMAT csv, HEADER true);
This will insert all vector embeddings with their text samples to pgvector databases from .csv file (which is made with automatic ingestion, but it requires hours of work).
Redis
To work with redis container, just enter bash script:
docker run -d --name wcf-chatbot -p 6379:6379 redis
ChainingService
Installation
To set up the ChainingService, follow these steps:
- Install Dependencies:
Ensure you have .NET 9 SDK installed.
Install the required NuGet packages by running dotnet restore
- Configure Services:
Update the appsettings.json file with your configuration settings, including the Gemini API and PostgreSQL connection strings.
{
  "Logging": {
    "LogLevel": {
      "Default": "Information",
      "Microsoft.AspNetCore": "Warning"
    }
  },
  "AllowedHosts": "*",
  "GeminiApiClient": {
    "ApiKey": "YOUR_GEMINI_API_KEY",
    "modelId": "GEMINI_MODEL_NAME",
    "TokenLimit": "1048576",
    "hitCountPerCall": "5",
    "delayMiliseconds": "1000"

  },
  "GroqKey": "YOUR_GROQ_KEY",
  "PgVectorConnectionString": "Host=YOUR_HOST;Port=YOUR_PORT;Username=YOUR_DB_USERNAME;Password=YOUR_PASSWORD;Database=nikola",
  "EmbeddingModel": {
    "ModelId": "MODEL_ID",
    "BaseUri": "YOUR_EMBEDDING_MODEL_URI"
  },
  "RedisConnectionString": "REDIS_HOST:REDIS_PORT",
  "Session": {
    "SessionTimeoutMinutes": 60
  }
}
-
Run the Service:
Build and run the service using the following commands:
dotnet build
dotnet run
WCF GUI
This is an Angular project built with Angular CLI. It is located in gui/ path.
📦 Prerequisites
Before you can run this project, make sure you have:
- Node.js (Recommended: LTS version, e.g.
v23.x) - npm (Comes with Node.js) or yarn if you prefer
Check your versions:
node -v
npm -v
After you opened gui folder in repository and checked that you have Node, angular-cli and npm, run:
npm install
Or if you use yarn:
yarn install
To run the app locally, type:
ng serve
Usage
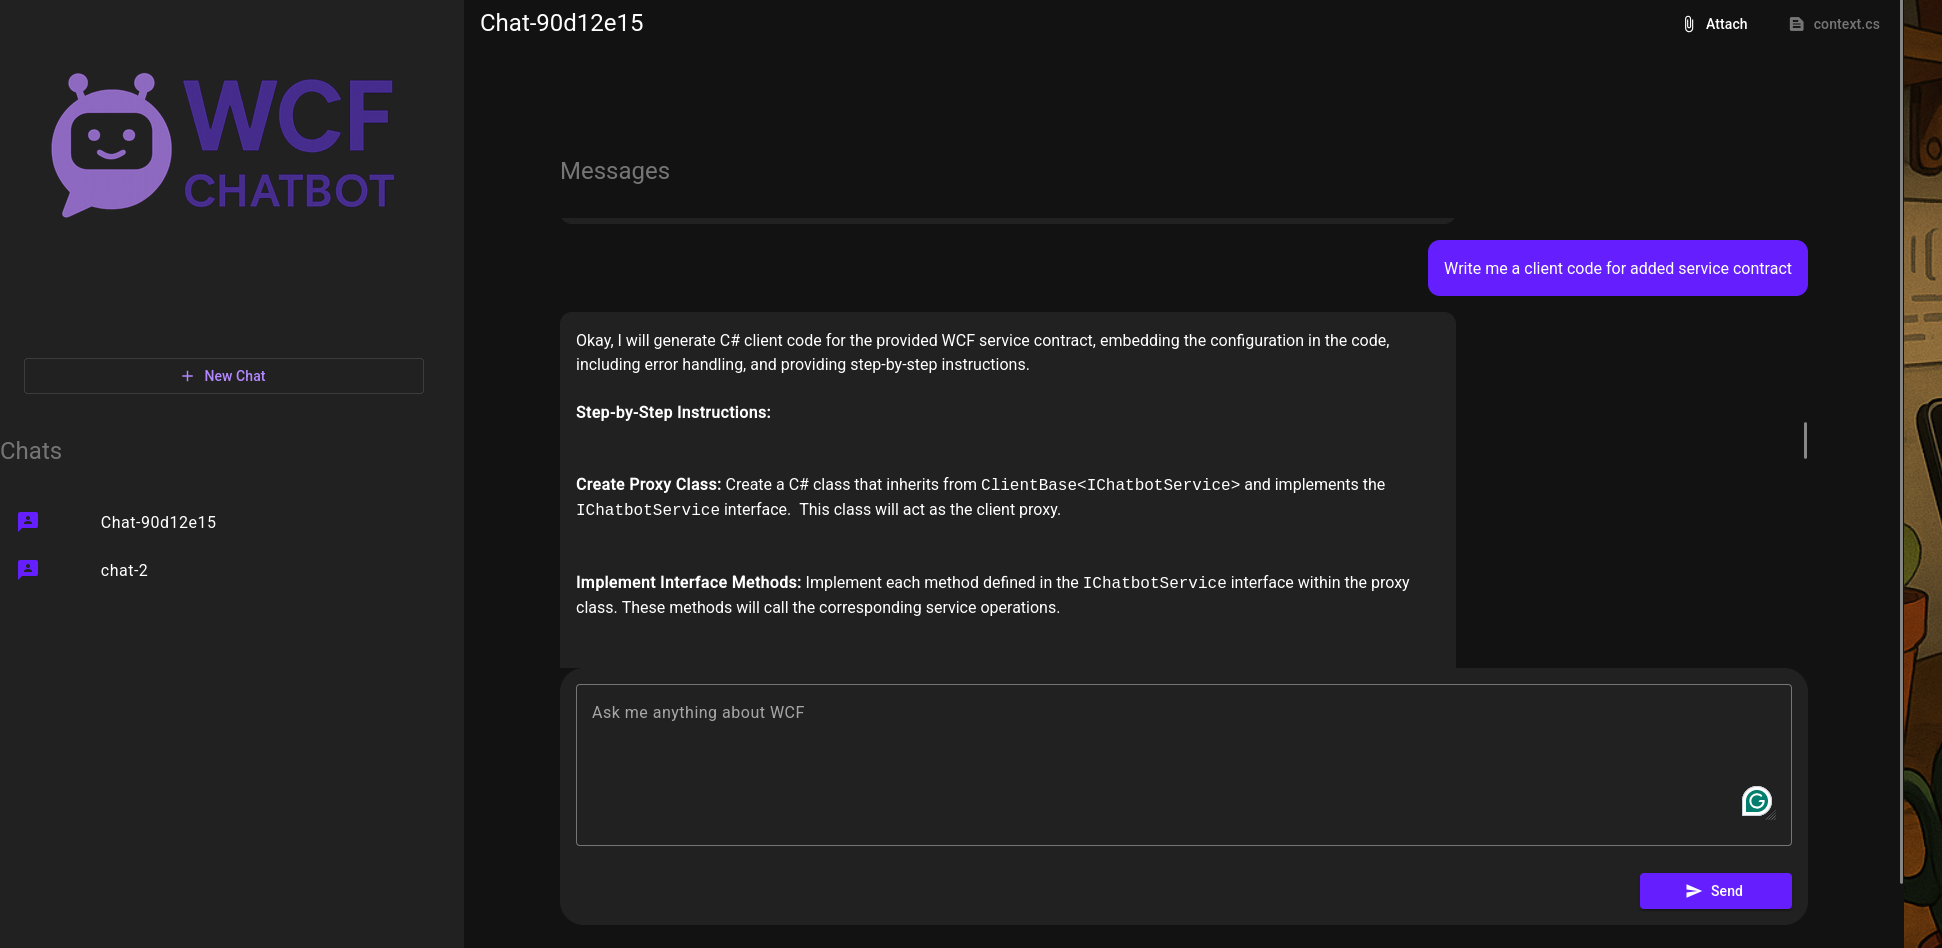
In the beginning, you can add new chats and write messages on every created chat.
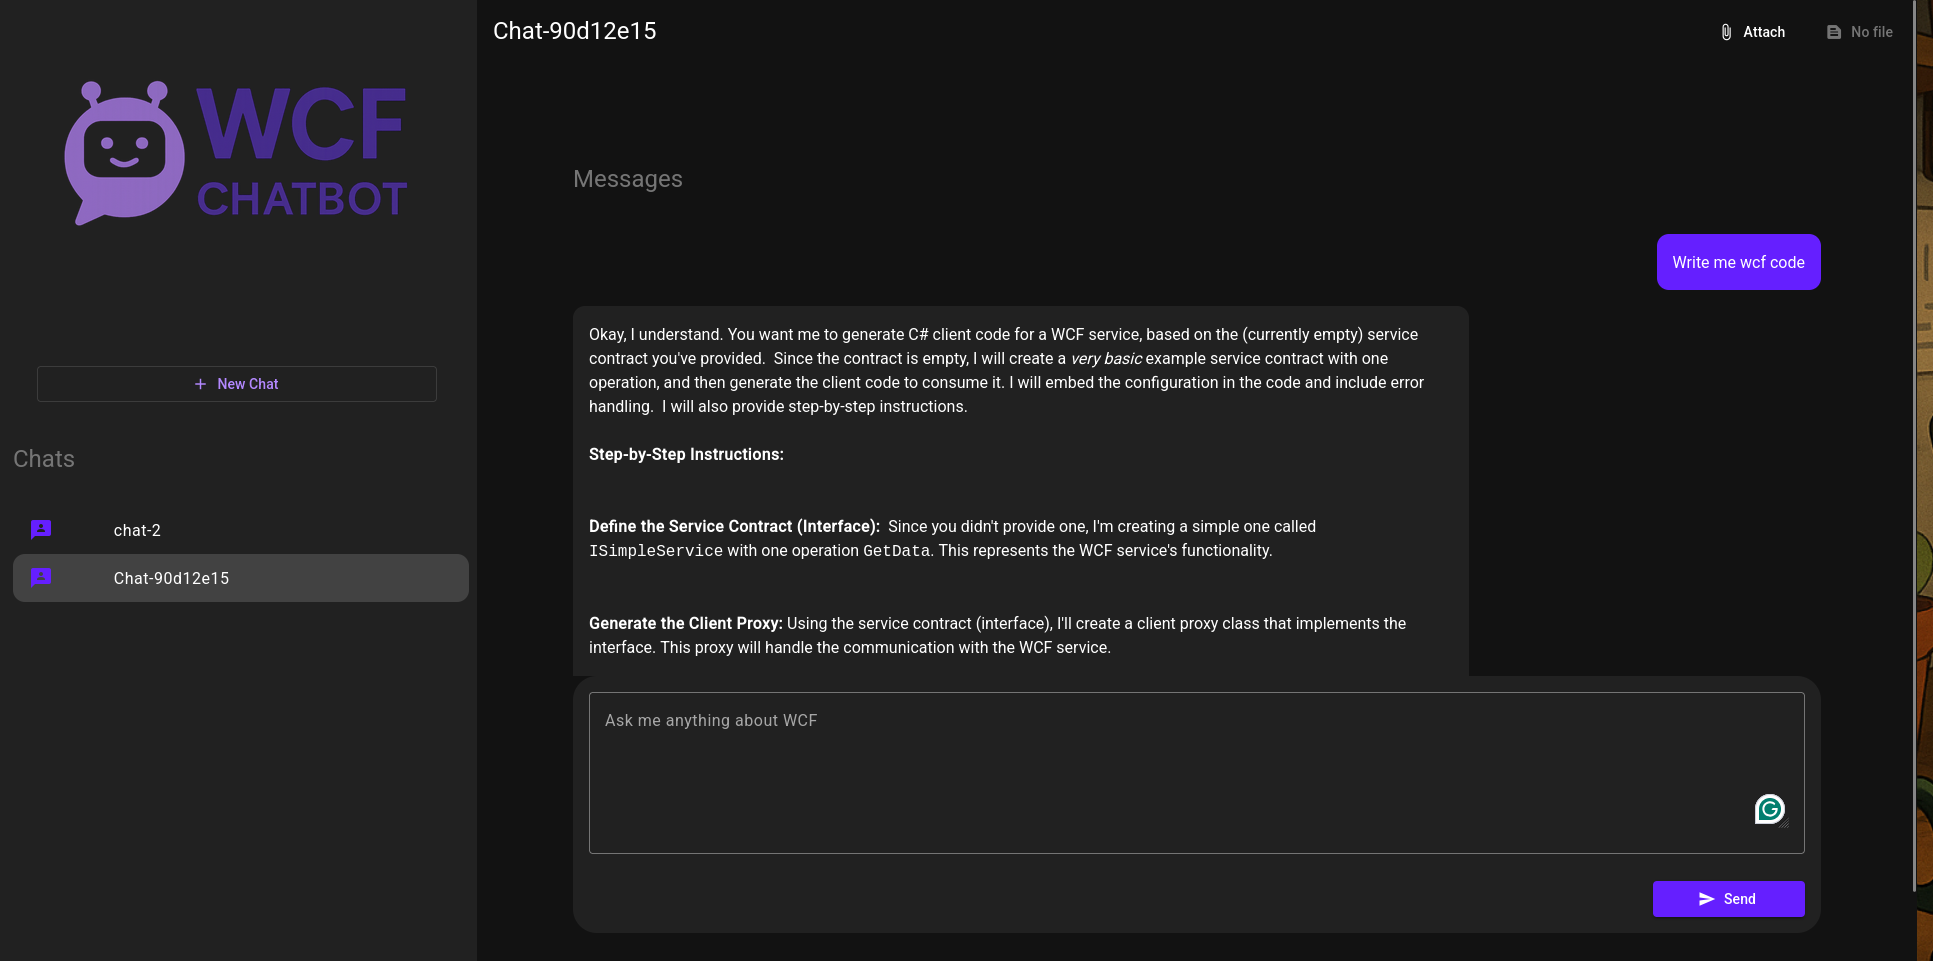
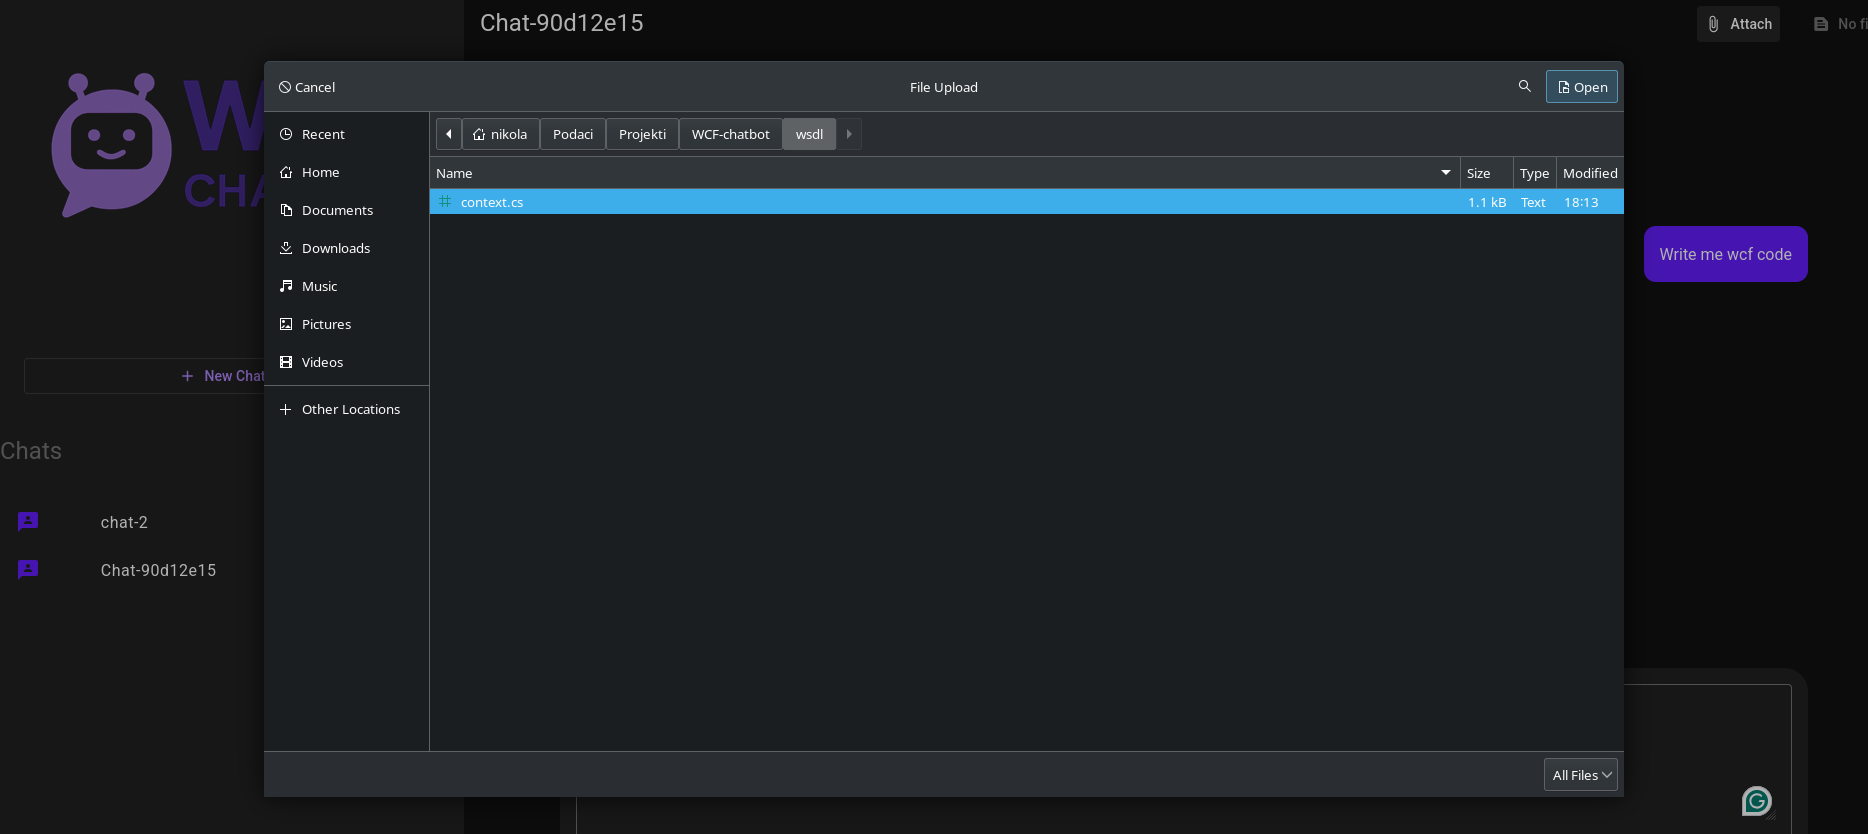
As you have seen, the chatbot receives the answer, but it requires a context in form of a wcf service contract (for which it will generate wcf client code). To upload the file, click on the Attach button on upper right corner and choose the file you want to upload.
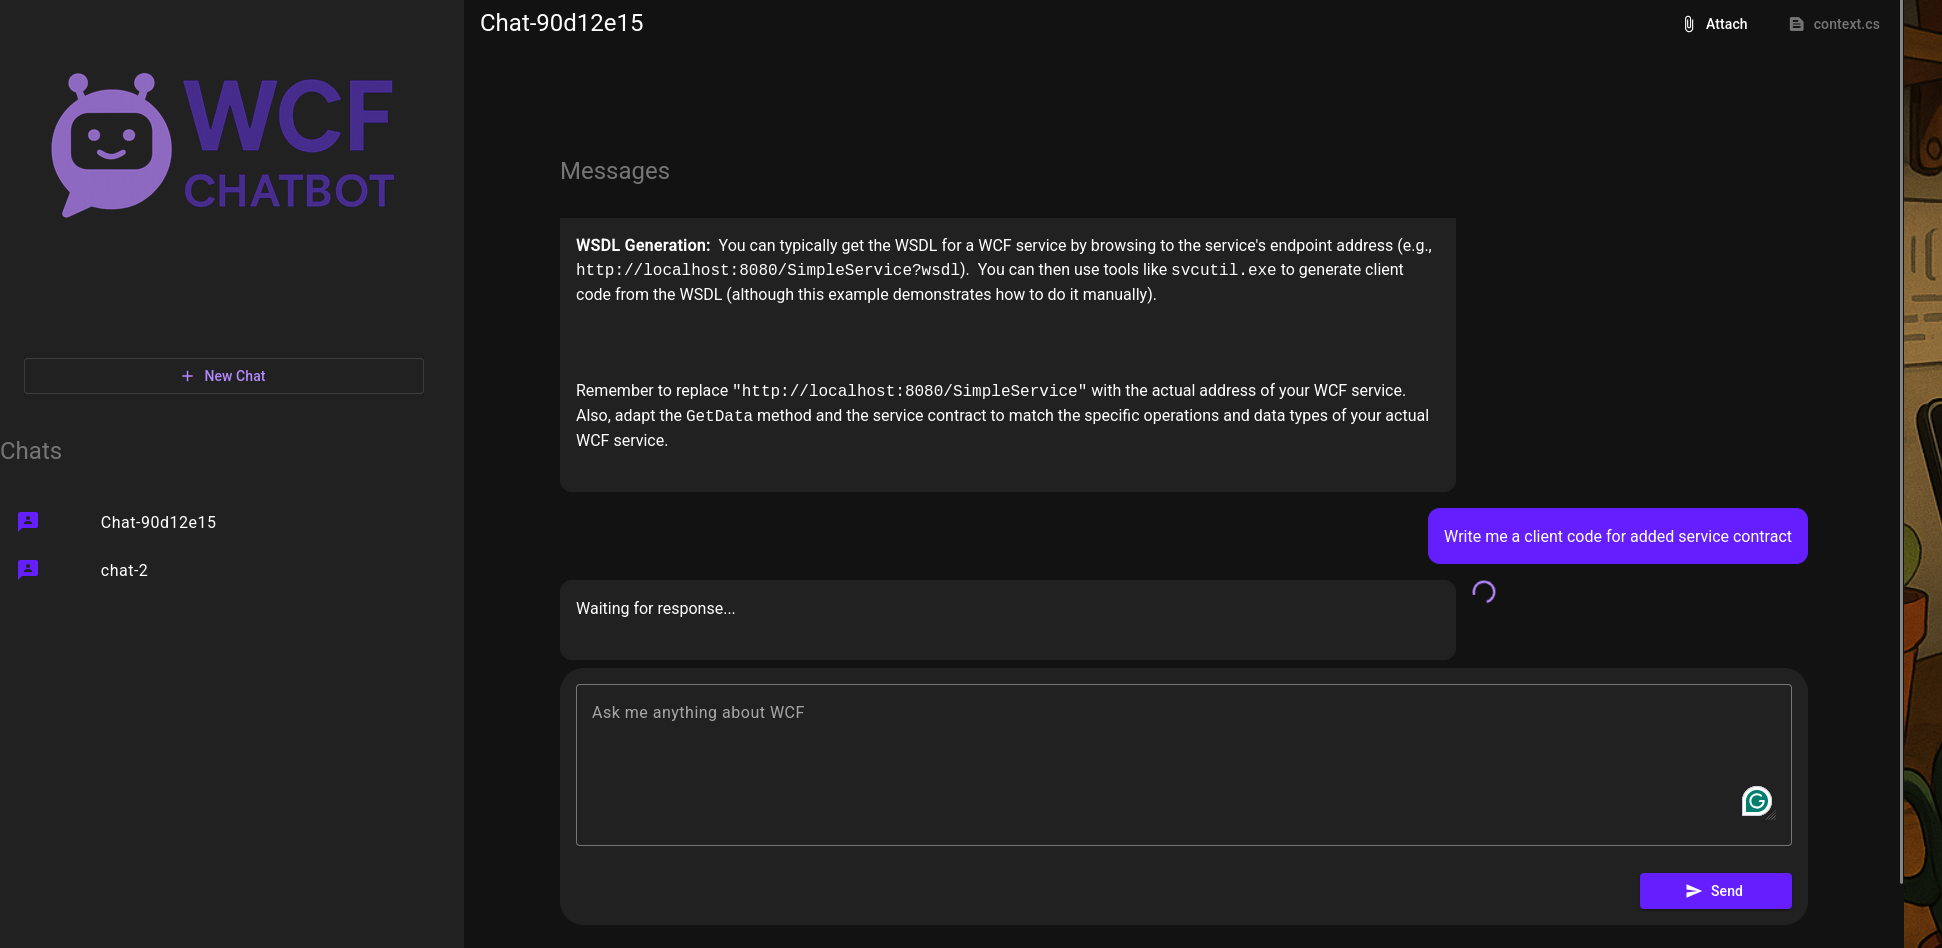
After you uploaded file, you can create queries to generate you the client code and chatbot will return the value. You may notice that wait time is a few seconds. It is due to the Gemini Free API, which is busy at some instances, so the goal of ChainingService is to hit the Gemini API's endpoint as long as it doesn't become available (until hit limit, which can be set in ChainingService appsettings.json)
Similar repos




Languages
C#
37.8%
Rich Text Format
29.6%
Visual Basic .NET
29.1%
F#
1.9%
A chatbot made to write client code based on WCF service
C#
0
78 commits
updated Sep 20, 2025
README
WCF-chatbot
A chatbot made to write client code based on WCF service
Trainer
Environment variables
Set variables
export PDF_FOLDER_PATH=../pdf
export PDF_FOLDER_PATH_TEST=../pdf-test
export MSDN_ADDRESS=https://learn.microsoft.com/en-us
export GITHUB_DOCS_PATH=../docs-main/docs/framework/wcf
Installation
To make chatbot ingest work you need to:
- Install tesseract and poppler.
- Install all libraries from requirements.txt.
- Install ollama
Ollama installation
curl -fsSL https://ollama.com/install.sh | sh
Pgvector Docker install
If you are a Linux user, type following commands in bash terminal:
docker run -d --name pgvector -p 7654:5432 -e POSTGRES_USER=YOUR_USER -e POSTGRES_PASSWORD=YOUR_PASSWORD pgvector/pgvector:0.8.0-pg17
In psql, type:
CREATE EXTENSION vector;
Data ingestion
To ingest embedding data to pgvector database, you can do it in two ways.
- First way is by running main.py in Trainer directory. (Automatic ingestion)
- Second way is by manual data ingestion. (Manual Ingestion)
Automatic ingestion
To ingest automatically, just run main.py from Trainer directory and data will be fetched, cleaned and inserted in pgvector database.
Manual ingestion
To digest data manually, open pgvector_manualinject directory.
-
Run table creation script on pgvector database.
CREATE TABLE vector_embeddings ( id SERIAL PRIMARY KEY, hash TEXT, title TEXT, text TEXT, token_length INTEGER, vector VECTOR(768) NOT NULL, metadata JSONB ); -
Connect to the pgvector database via psql and run the following script.
\COPY vector_embeddings(id, hash, title, text, token_length, vector, metadata)
FROM
'path/to/your/directory/vector-embeddings-export.csv'
WITH (FORMAT csv, HEADER true);
This will insert all vector embeddings with their text samples to pgvector databases from .csv file (which is made with automatic ingestion, but it requires hours of work).
Redis
To work with redis container, just enter bash script:
docker run -d --name wcf-chatbot -p 6379:6379 redis
ChainingService
Installation
To set up the ChainingService, follow these steps:
- Install Dependencies:
Ensure you have .NET 9 SDK installed.
Install the required NuGet packages by running dotnet restore
- Configure Services:
Update the appsettings.json file with your configuration settings, including the Gemini API and PostgreSQL connection strings.
{
  "Logging": {
    "LogLevel": {
      "Default": "Information",
      "Microsoft.AspNetCore": "Warning"
    }
  },
  "AllowedHosts": "*",
  "GeminiApiClient": {
    "ApiKey": "YOUR_GEMINI_API_KEY",
    "modelId": "GEMINI_MODEL_NAME",
    "TokenLimit": "1048576",
    "hitCountPerCall": "5",
    "delayMiliseconds": "1000"

  },
  "GroqKey": "YOUR_GROQ_KEY",
  "PgVectorConnectionString": "Host=YOUR_HOST;Port=YOUR_PORT;Username=YOUR_DB_USERNAME;Password=YOUR_PASSWORD;Database=nikola",
  "EmbeddingModel": {
    "ModelId": "MODEL_ID",
    "BaseUri": "YOUR_EMBEDDING_MODEL_URI"
  },
  "RedisConnectionString": "REDIS_HOST:REDIS_PORT",
  "Session": {
    "SessionTimeoutMinutes": 60
  }
}
-
Run the Service:
Build and run the service using the following commands:
dotnet build
dotnet run
WCF GUI
This is an Angular project built with Angular CLI. It is located in gui/ path.
📦 Prerequisites
Before you can run this project, make sure you have:
- Node.js (Recommended: LTS version, e.g.
v23.x) - npm (Comes with Node.js) or yarn if you prefer
Check your versions:
node -v
npm -v
After you opened gui folder in repository and checked that you have Node, angular-cli and npm, run:
npm install
Or if you use yarn:
yarn install
To run the app locally, type:
ng serve
Usage
In the beginning, you can add new chats and write messages on every created chat.
As you have seen, the chatbot receives the answer, but it requires a context in form of a wcf service contract (for which it will generate wcf client code). To upload the file, click on the Attach button on upper right corner and choose the file you want to upload.
After you uploaded file, you can create queries to generate you the client code and chatbot will return the value. You may notice that wait time is a few seconds. It is due to the Gemini Free API, which is busy at some instances, so the goal of ChainingService is to hit the Gemini API's endpoint as long as it doesn't become available (until hit limit, which can be set in ChainingService appsettings.json)
Similar repos
Languages
C#
37.8%
Rich Text Format
29.6%
Visual Basic .NET
29.1%
F#
1.9%